The BEST Gluten Free Brownies
- Gluten-Free
- Dairy-Free
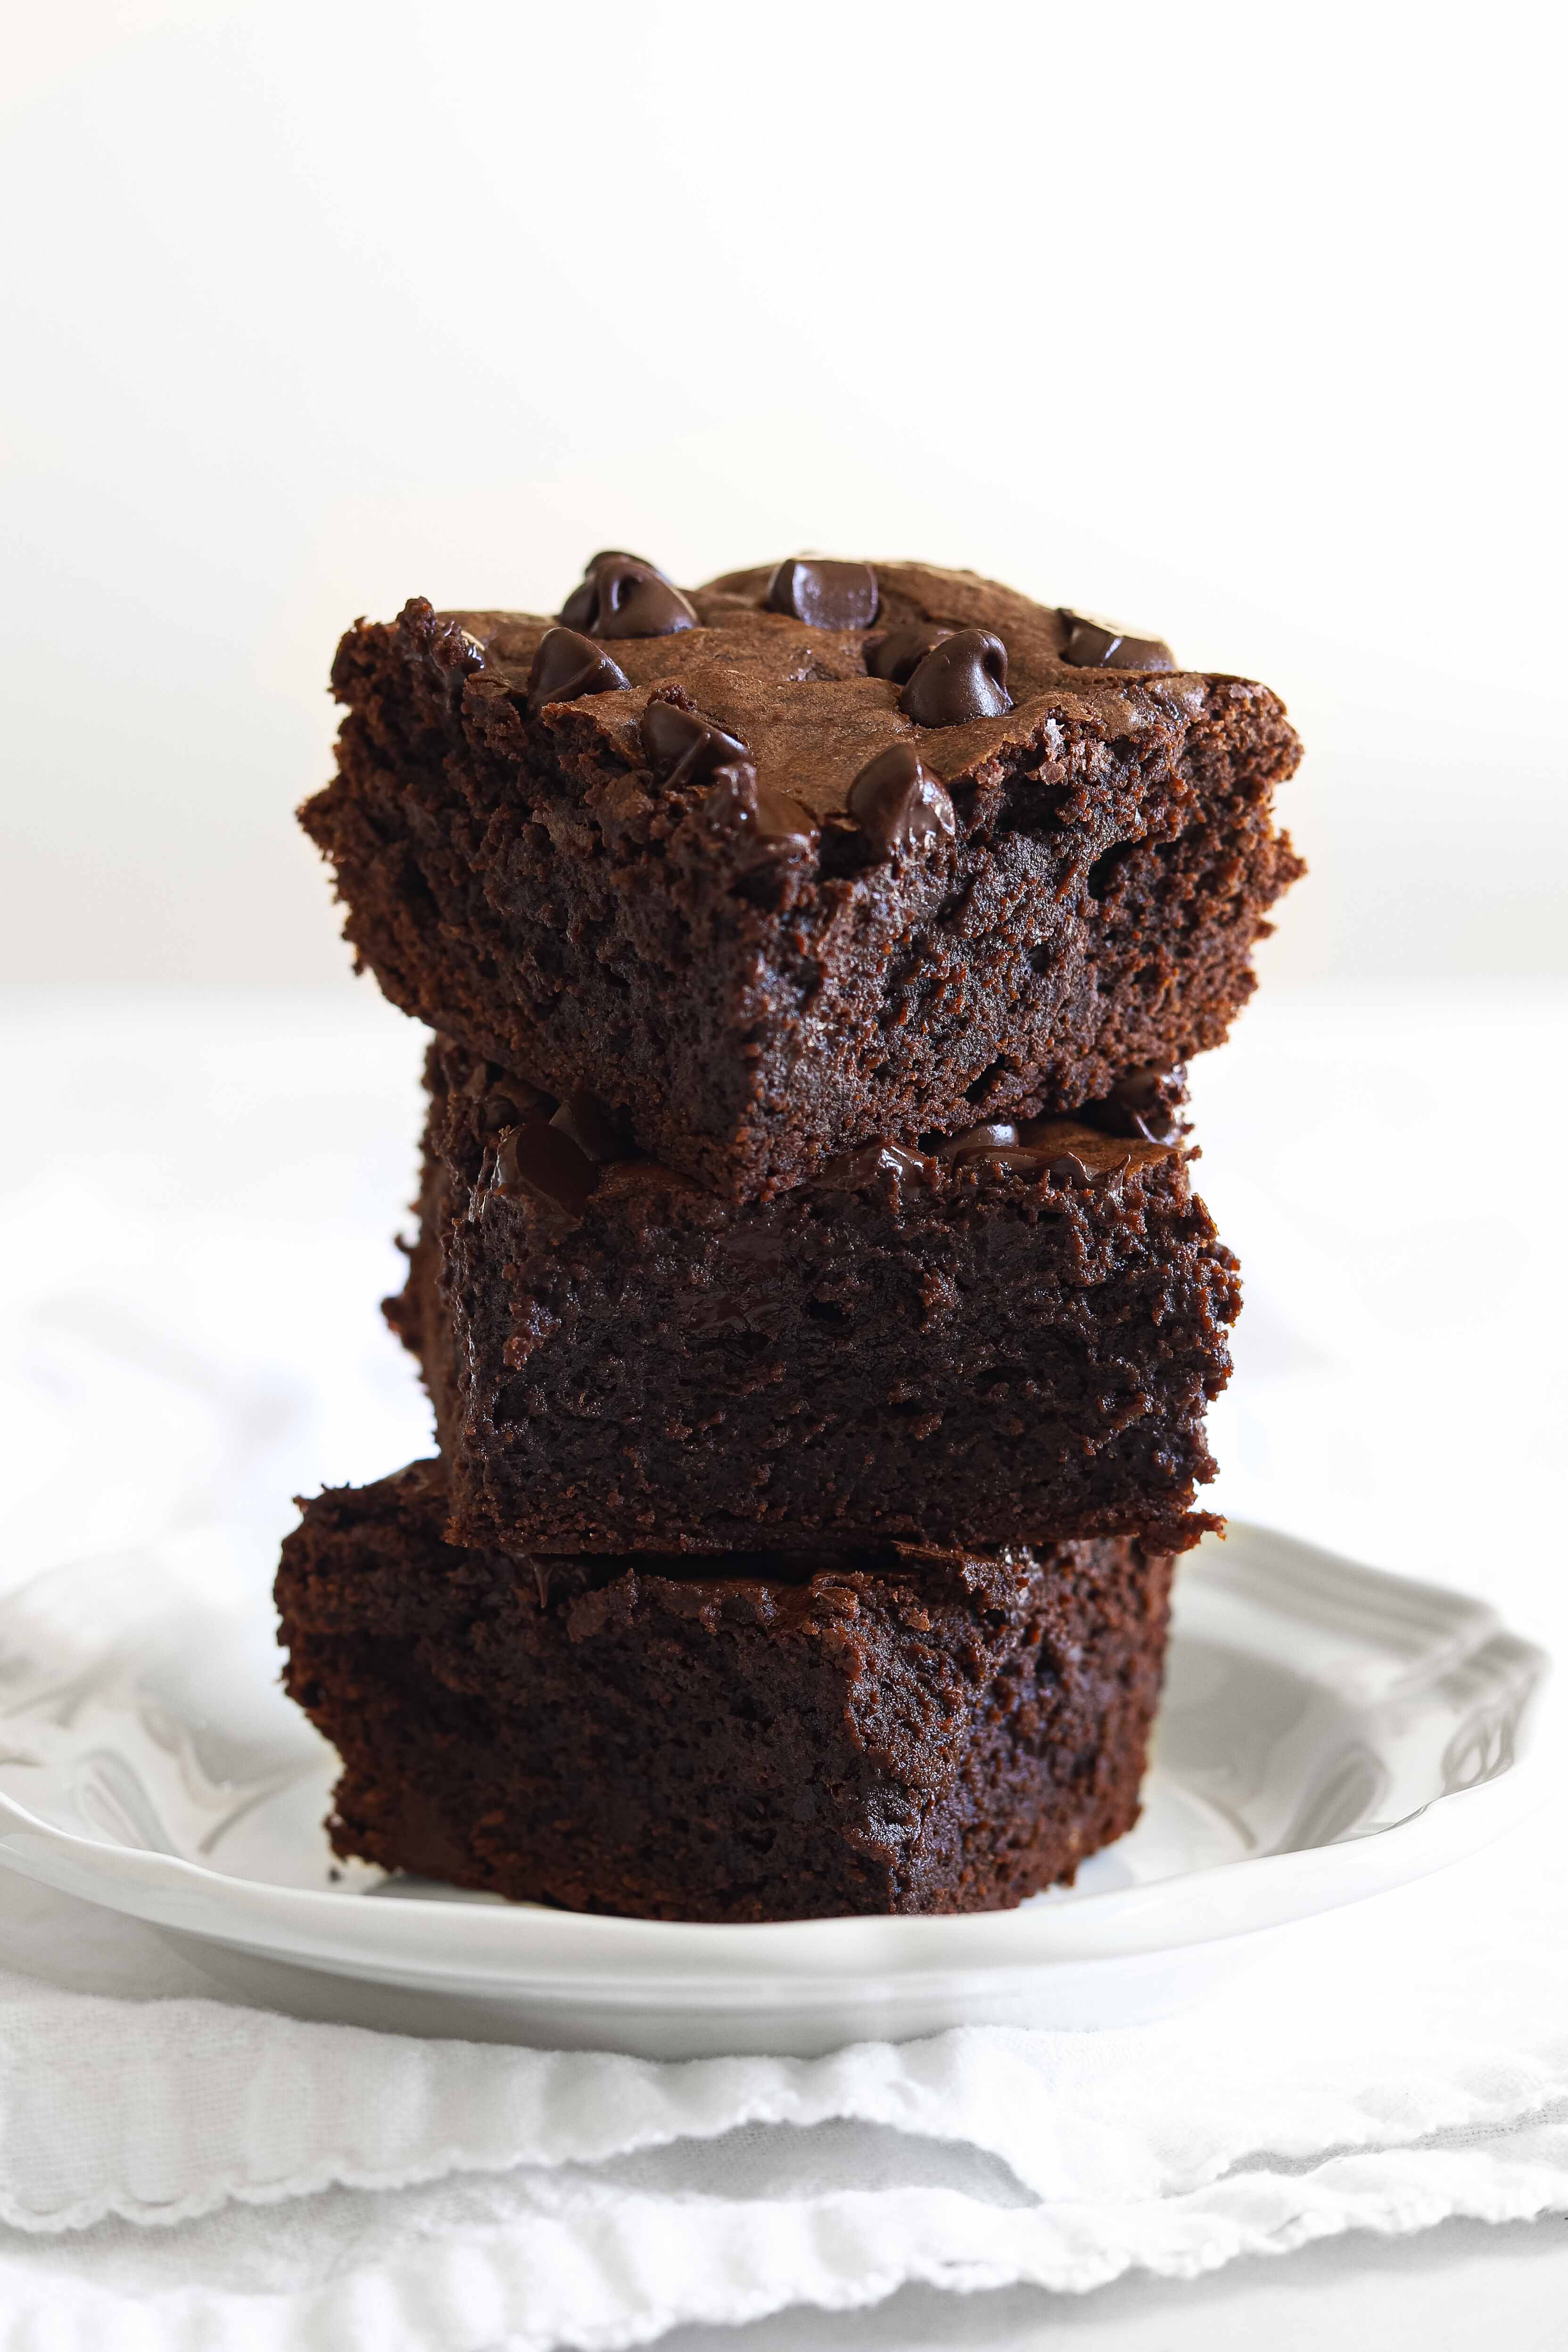
These gluten free brownies come together in just 10 minutes, are full of chocolaty flavor, and so dense and delicious you won’t want to share!

The BEST Gluten Free Brownie Recipe!
These Gluten Free Triple Chocolate Brownies are the move! If you’ve been looking for the perfect gluten free brownie recipe that you can make for years to come, look no further because these are perfect!
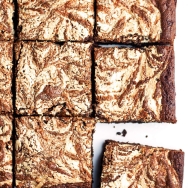
They are the perfect intersection between fudgy and cakey brownies and just bursting with chocolate flavor. Between the melted chocolate, chocolate chips, and cocoa powder, I don’t think I could pack these babies with more chocolate! And that signature crinkly, shiny top? Just perfection.
Healthy Gluten Free Brownies Recipe
Not only are these delicious brownies gluten free, but they are also refined sugar free! They are made with maple sugar to make them even healthier and help prevent blood sugar spikes and other unhealthy side effects caused by regular processed cane sugar.
Now these brownies are by no means low calorie or lacking in flavor. Nope, these are real deal brownies. The perfect weekend treat!

Ingredients to make gluten free brownies
- 1 cup salted grass-fed butter (226g) – I use Kerrygold
- 1 ¼ cups chocolate chips (225g) – for allergy-friendly use this, for paleo use this, and for sugar-free use this
- 2 cups (324g) maple sugar – I use this brand – so good!
- 4 large eggs, room temperature
- 1 Tbsp pure vanilla extract
- 1 cup (148g) gluten free 1:1 flour – this recipe was tested with this flour
- One cup (85g) cocoa powder – I like this for this recipe
- ½ tsp fine sea salt – my fave is this one!

How to make the best gluten free brownies recipe
STEP 1
Preheat your oven to 350ºF. Line an 8×8” brownie pan with parchment paper. You’ll want to make two pieces of parchment and overlap them in a cross shape with overhanging sides.
STEP 2
Melt the butter and ½ cup of your chocolate chips together over a double boiler or in the microwave in short increments. I use a double boiler set up with a regular pot of water and a glass bowl over it. Heat until just melted. You don’t want it too hot or the egg will cook when you add it in the next step.
STEP 3
Remove from heat and add maple sugar and whisk well to combine. Add eggs and vanilla and whisk to combine.
STEP 4
Sift in flour, cocoa powder, and salt. Add in ½ cup chocolate chips. Fold everything together using a silicone spatula until combined. The batter should be silky, smooth, and shiny.
STEP 5
Pour the batter into your prepared baking pan and spread evenly with spatula.
STEP 6
Sprinkle with remaining ¼ cup chocolate chips.
STEP 7
Bake on center rack for 45 minutes or until set in the middle.
STEP 8
Allow to cool in pan for 30 minutes, then use the parchment overhang to remove and place on a cooling rack. Allow brownies to cool completely and then slice into 9 squares with a chef’s knife.

My inspiration for this easy gluten free brownie recipe
This recipe is inspired by my time living in Holland and visiting Belgium. Belgium is known for it’s divine chocolate and I had some of the best chocolates in Bruges!
Bruges is such a cute little town full of fun shops, chocolatiers, breweries, and cafés. I highly recommend visiting! There are a million options for chocolates there but not all of them are mind-blowing. And for me, I’ve gotta find the best of the best. No time for second-rate chocolate. My favorite was always Pierre Marcolini. So good!!
Okay, so brownies aren’t really common in Belgium, they’re definitely more of an American thing, but the chocolate flavor and complexities in this brownie are definitely inspired by my time there. And inspired by where I lived in Holland!
We lived in Alkmaar, just north of Amsterdam, and had the cutest café just down the street that served little brownies with their coffee and they were just divine! I’m all for a fudgy brownie, but I also like a little fluffiness to go along with it. That’s exactly what these were. Just the perfect intersection of fudge and fluff. And that’s what I’ve recreated here! SO GOOD!!
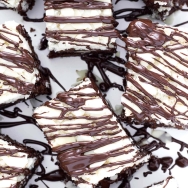
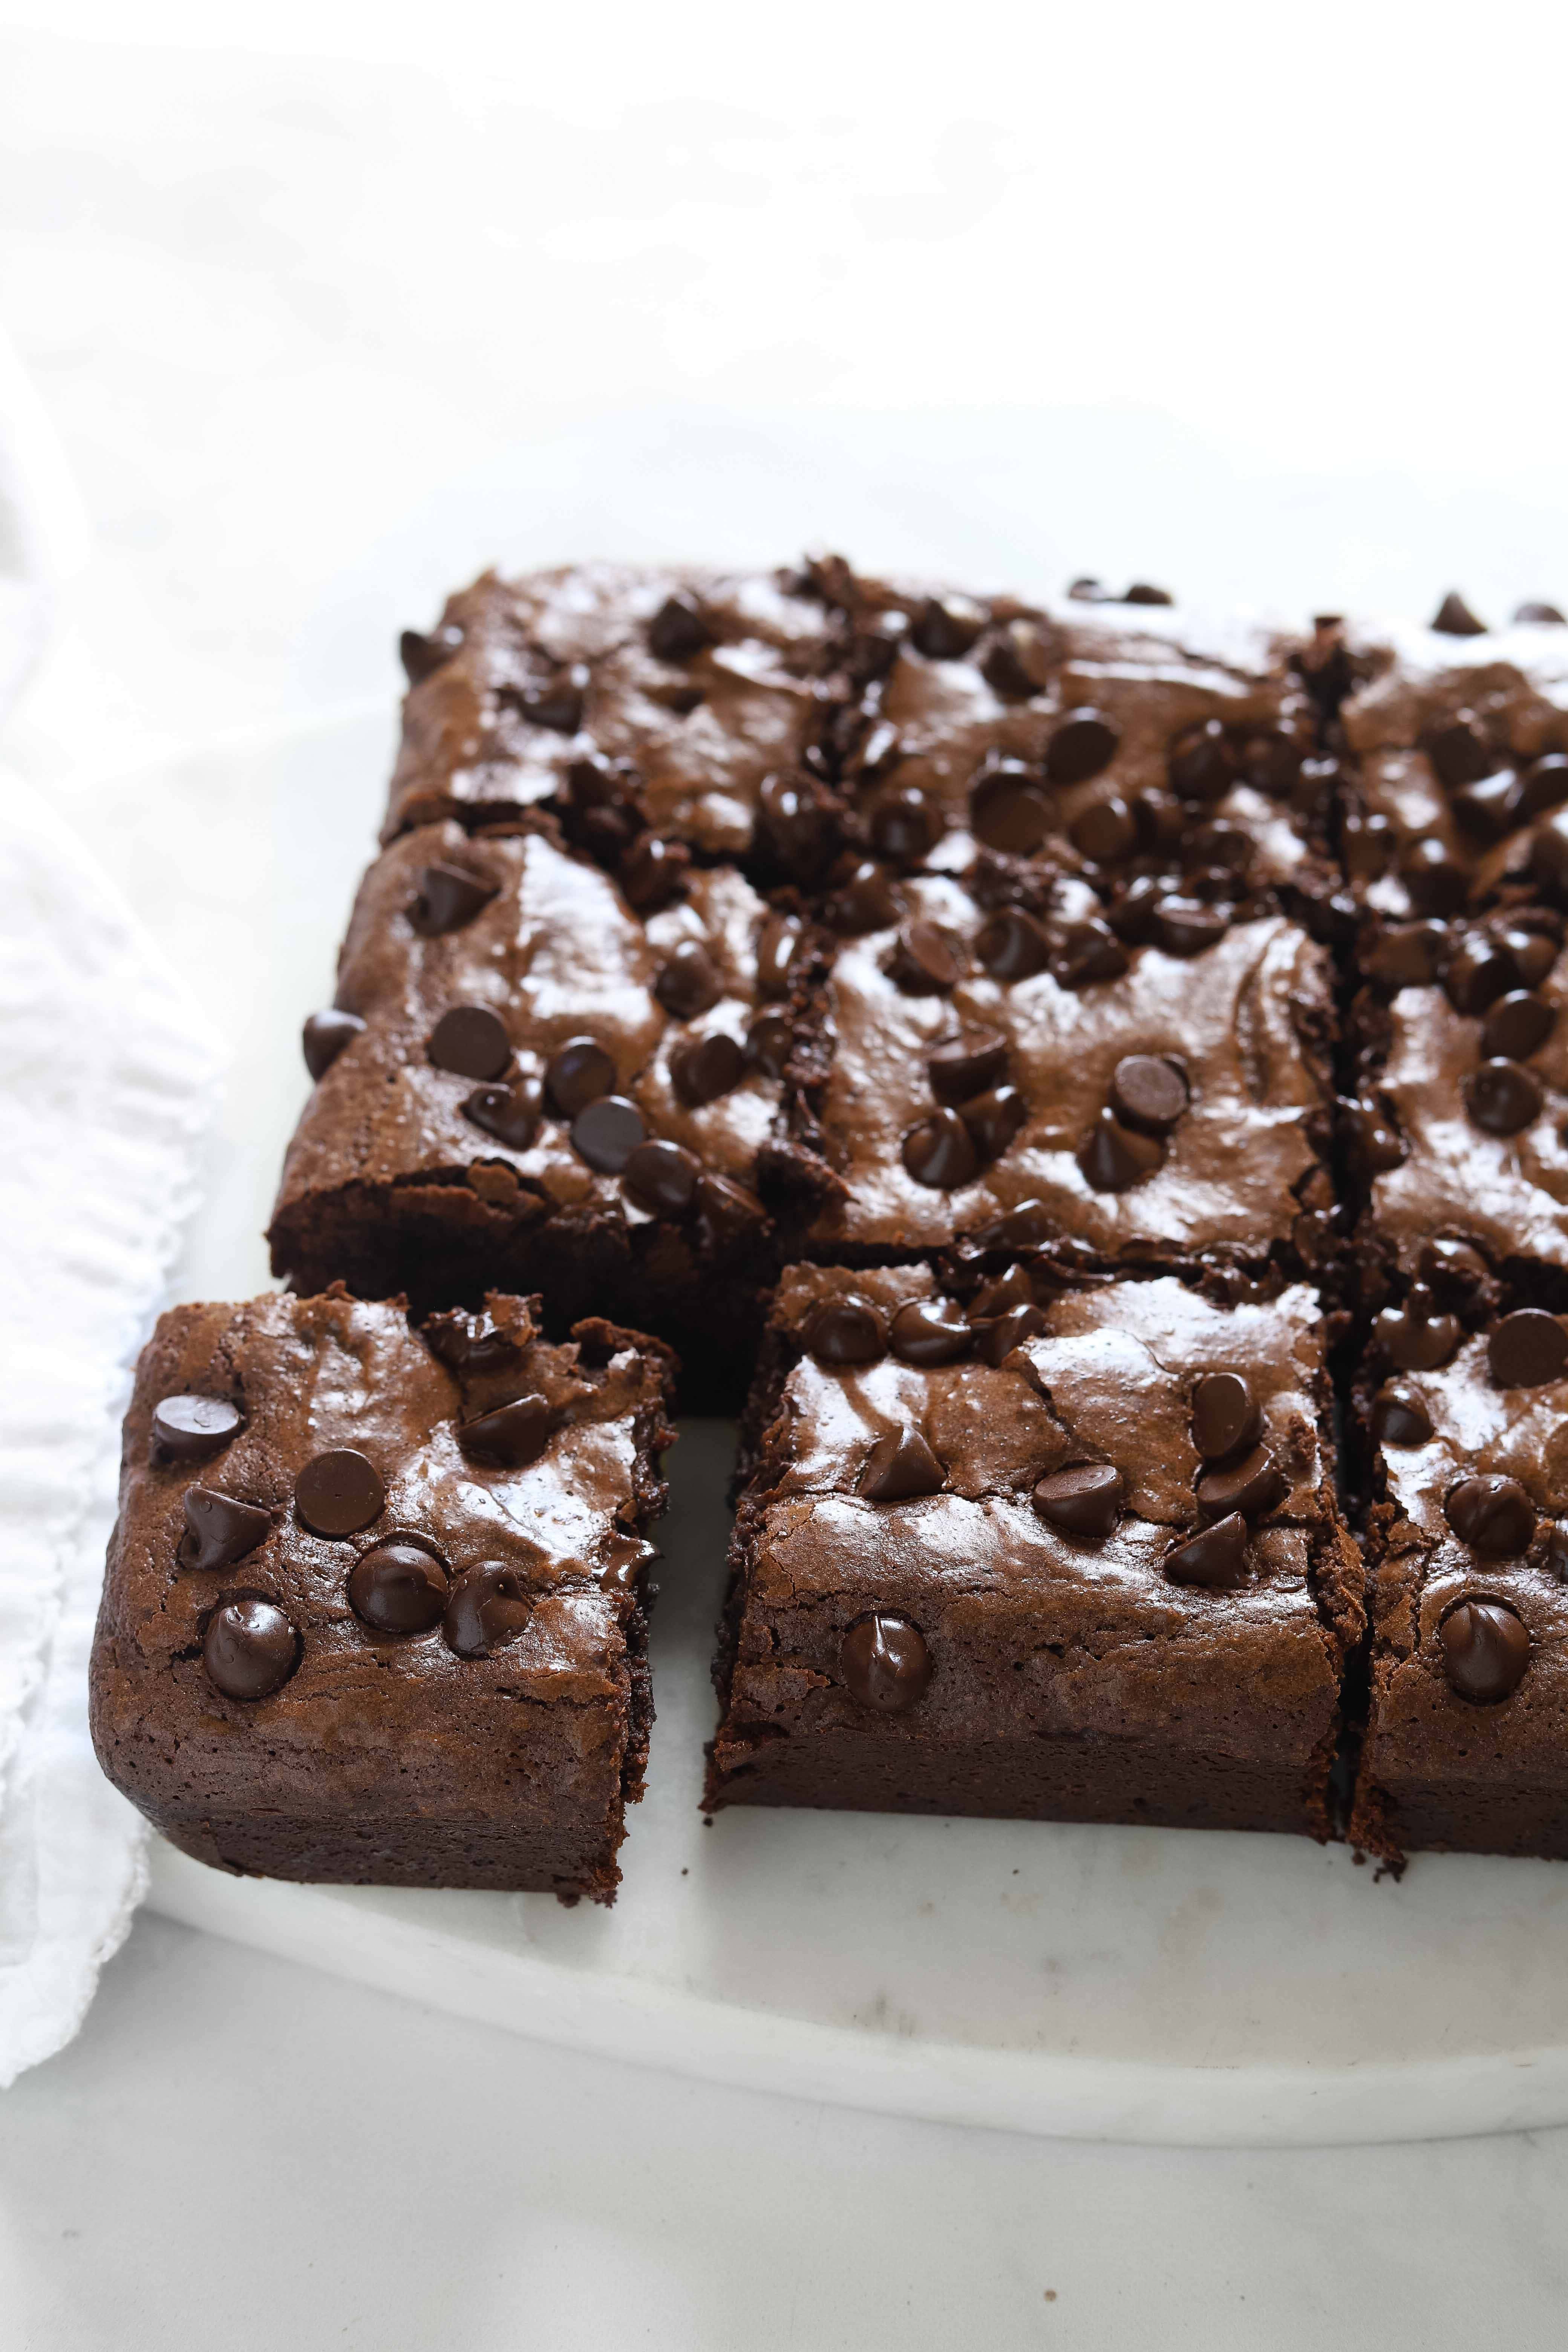
How to cut brownies cleanly
To cut brownies cleanly, dip a sharp chef’s knife in warm water, allow the excess water to drip off for a few seconds, then make one slice. Clean the knife off with a towel, dip it into the water again, then make your next slice. Repeat until you finish slicing all the brownies.
The key here is to clean the knife completely between slices. The water portion of the process is totally optional, but does help you get a cleaner slice.
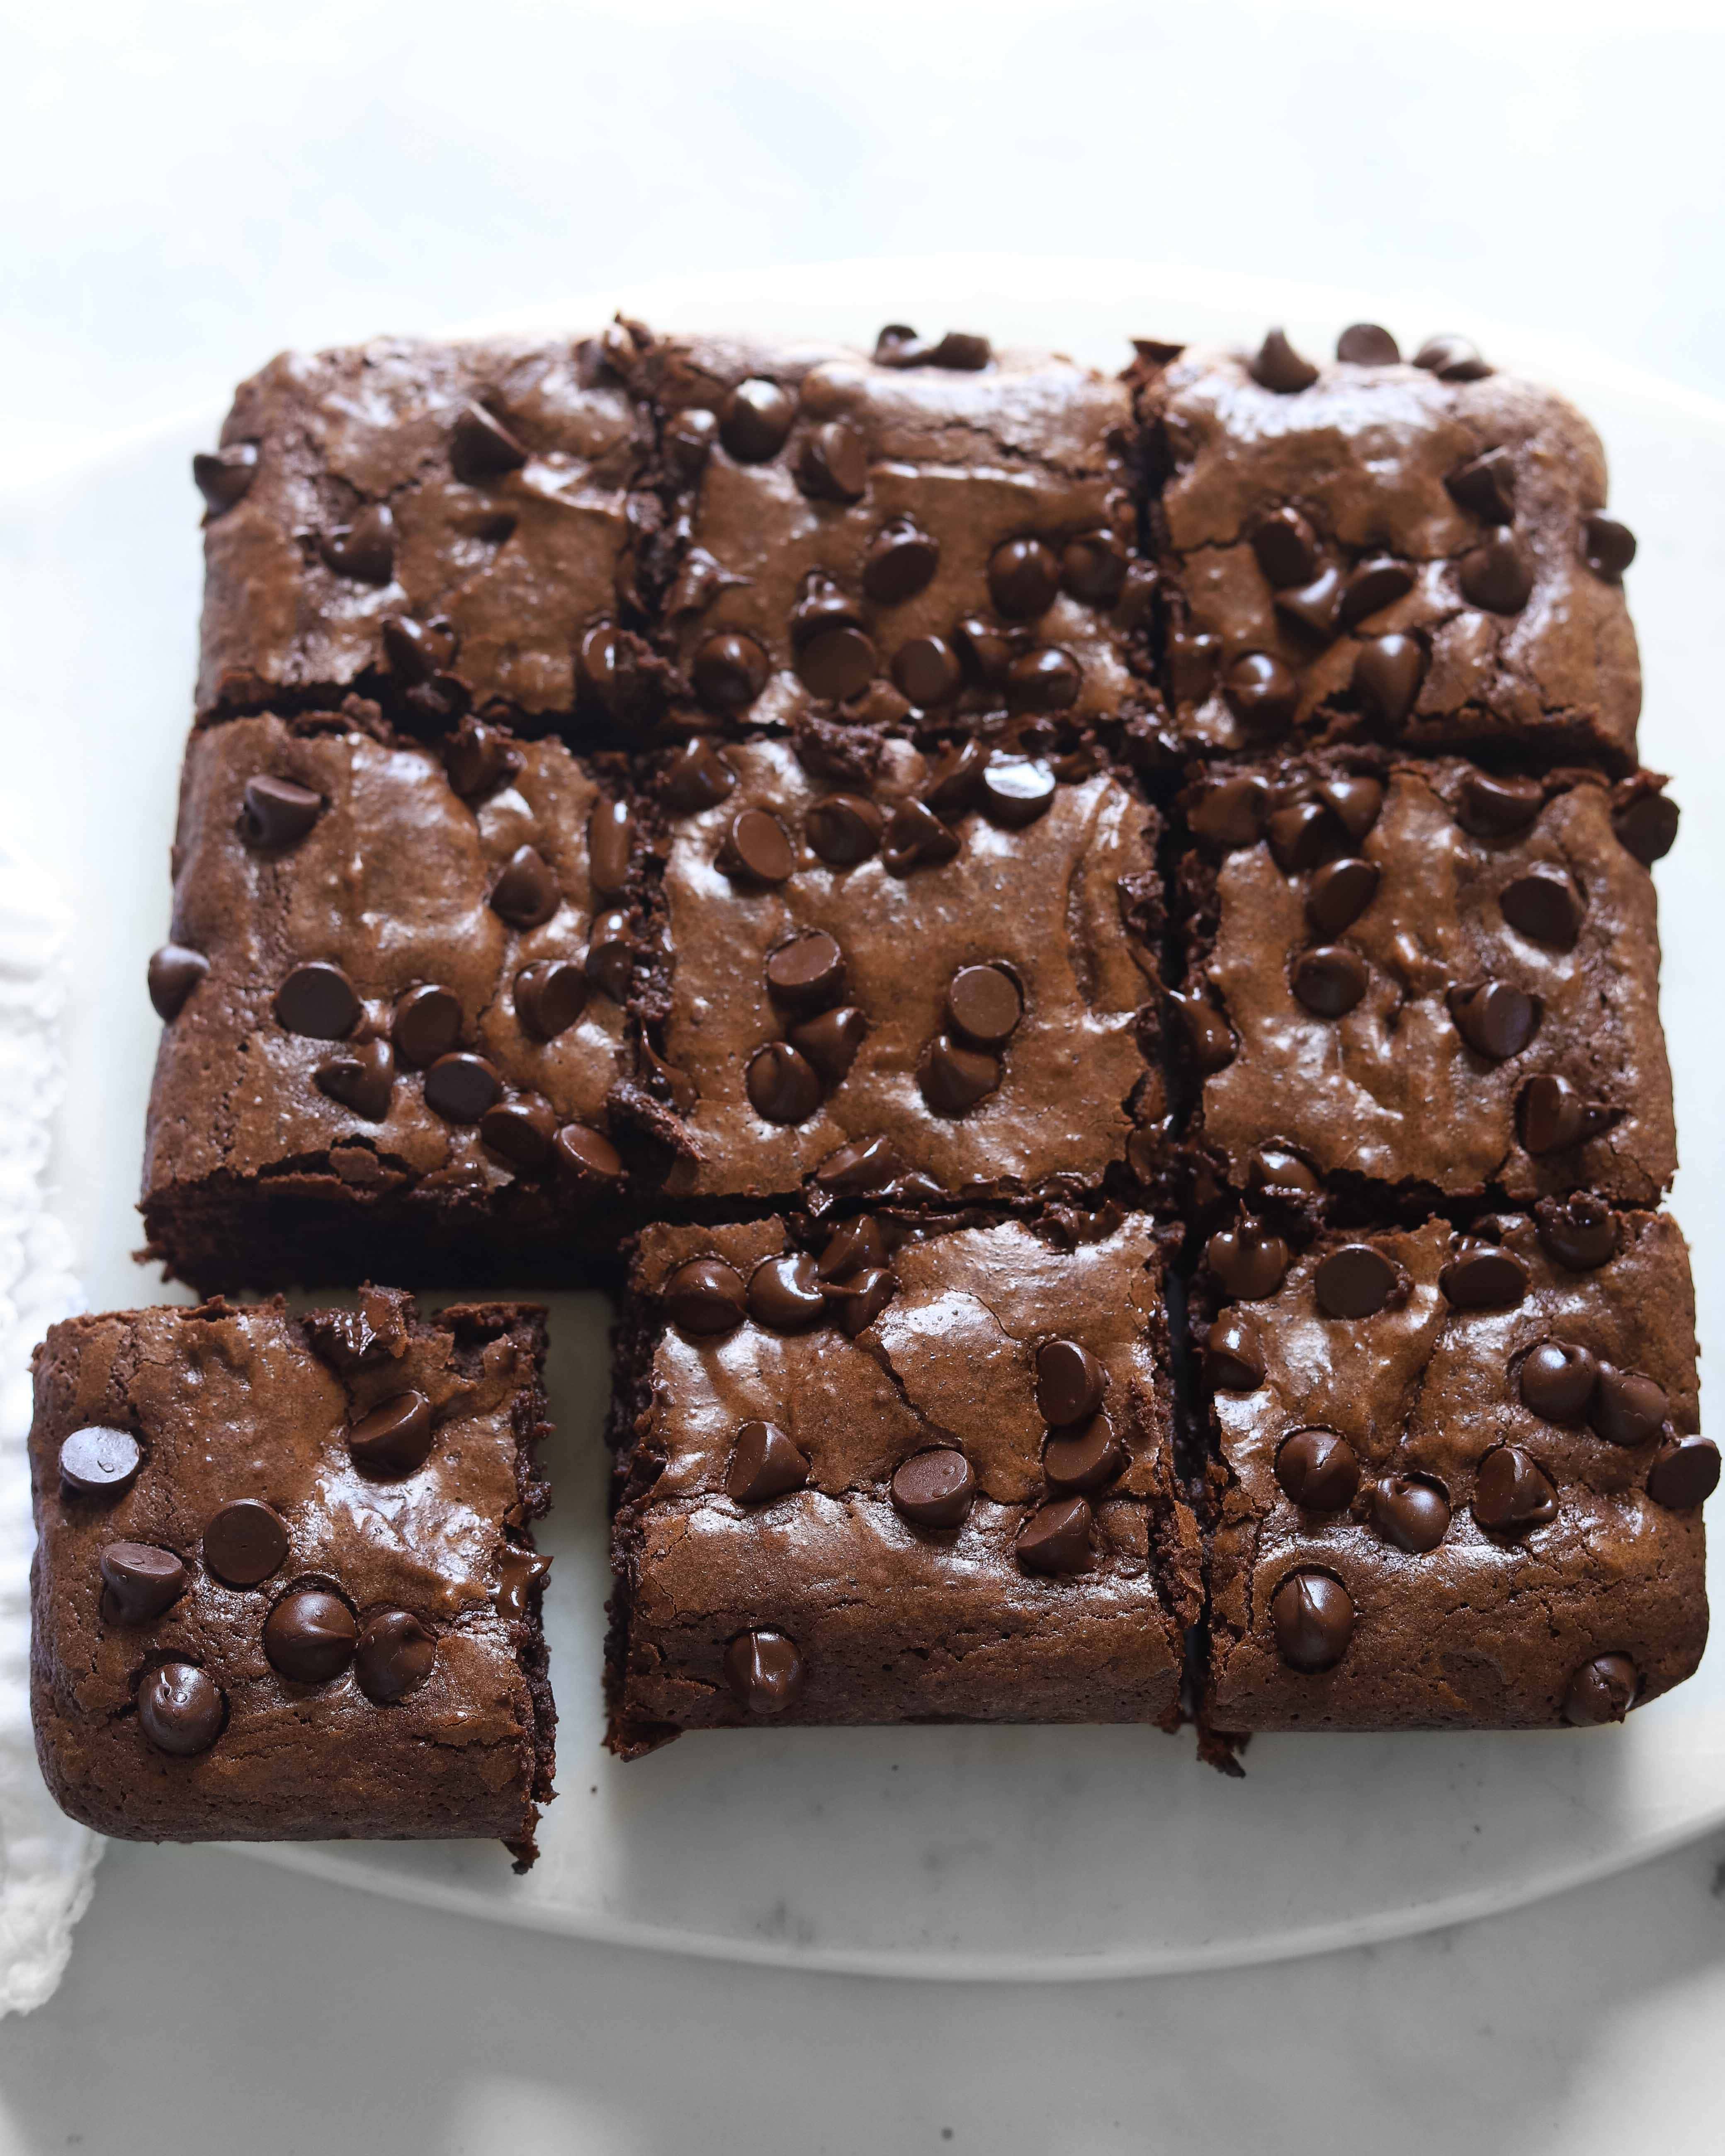
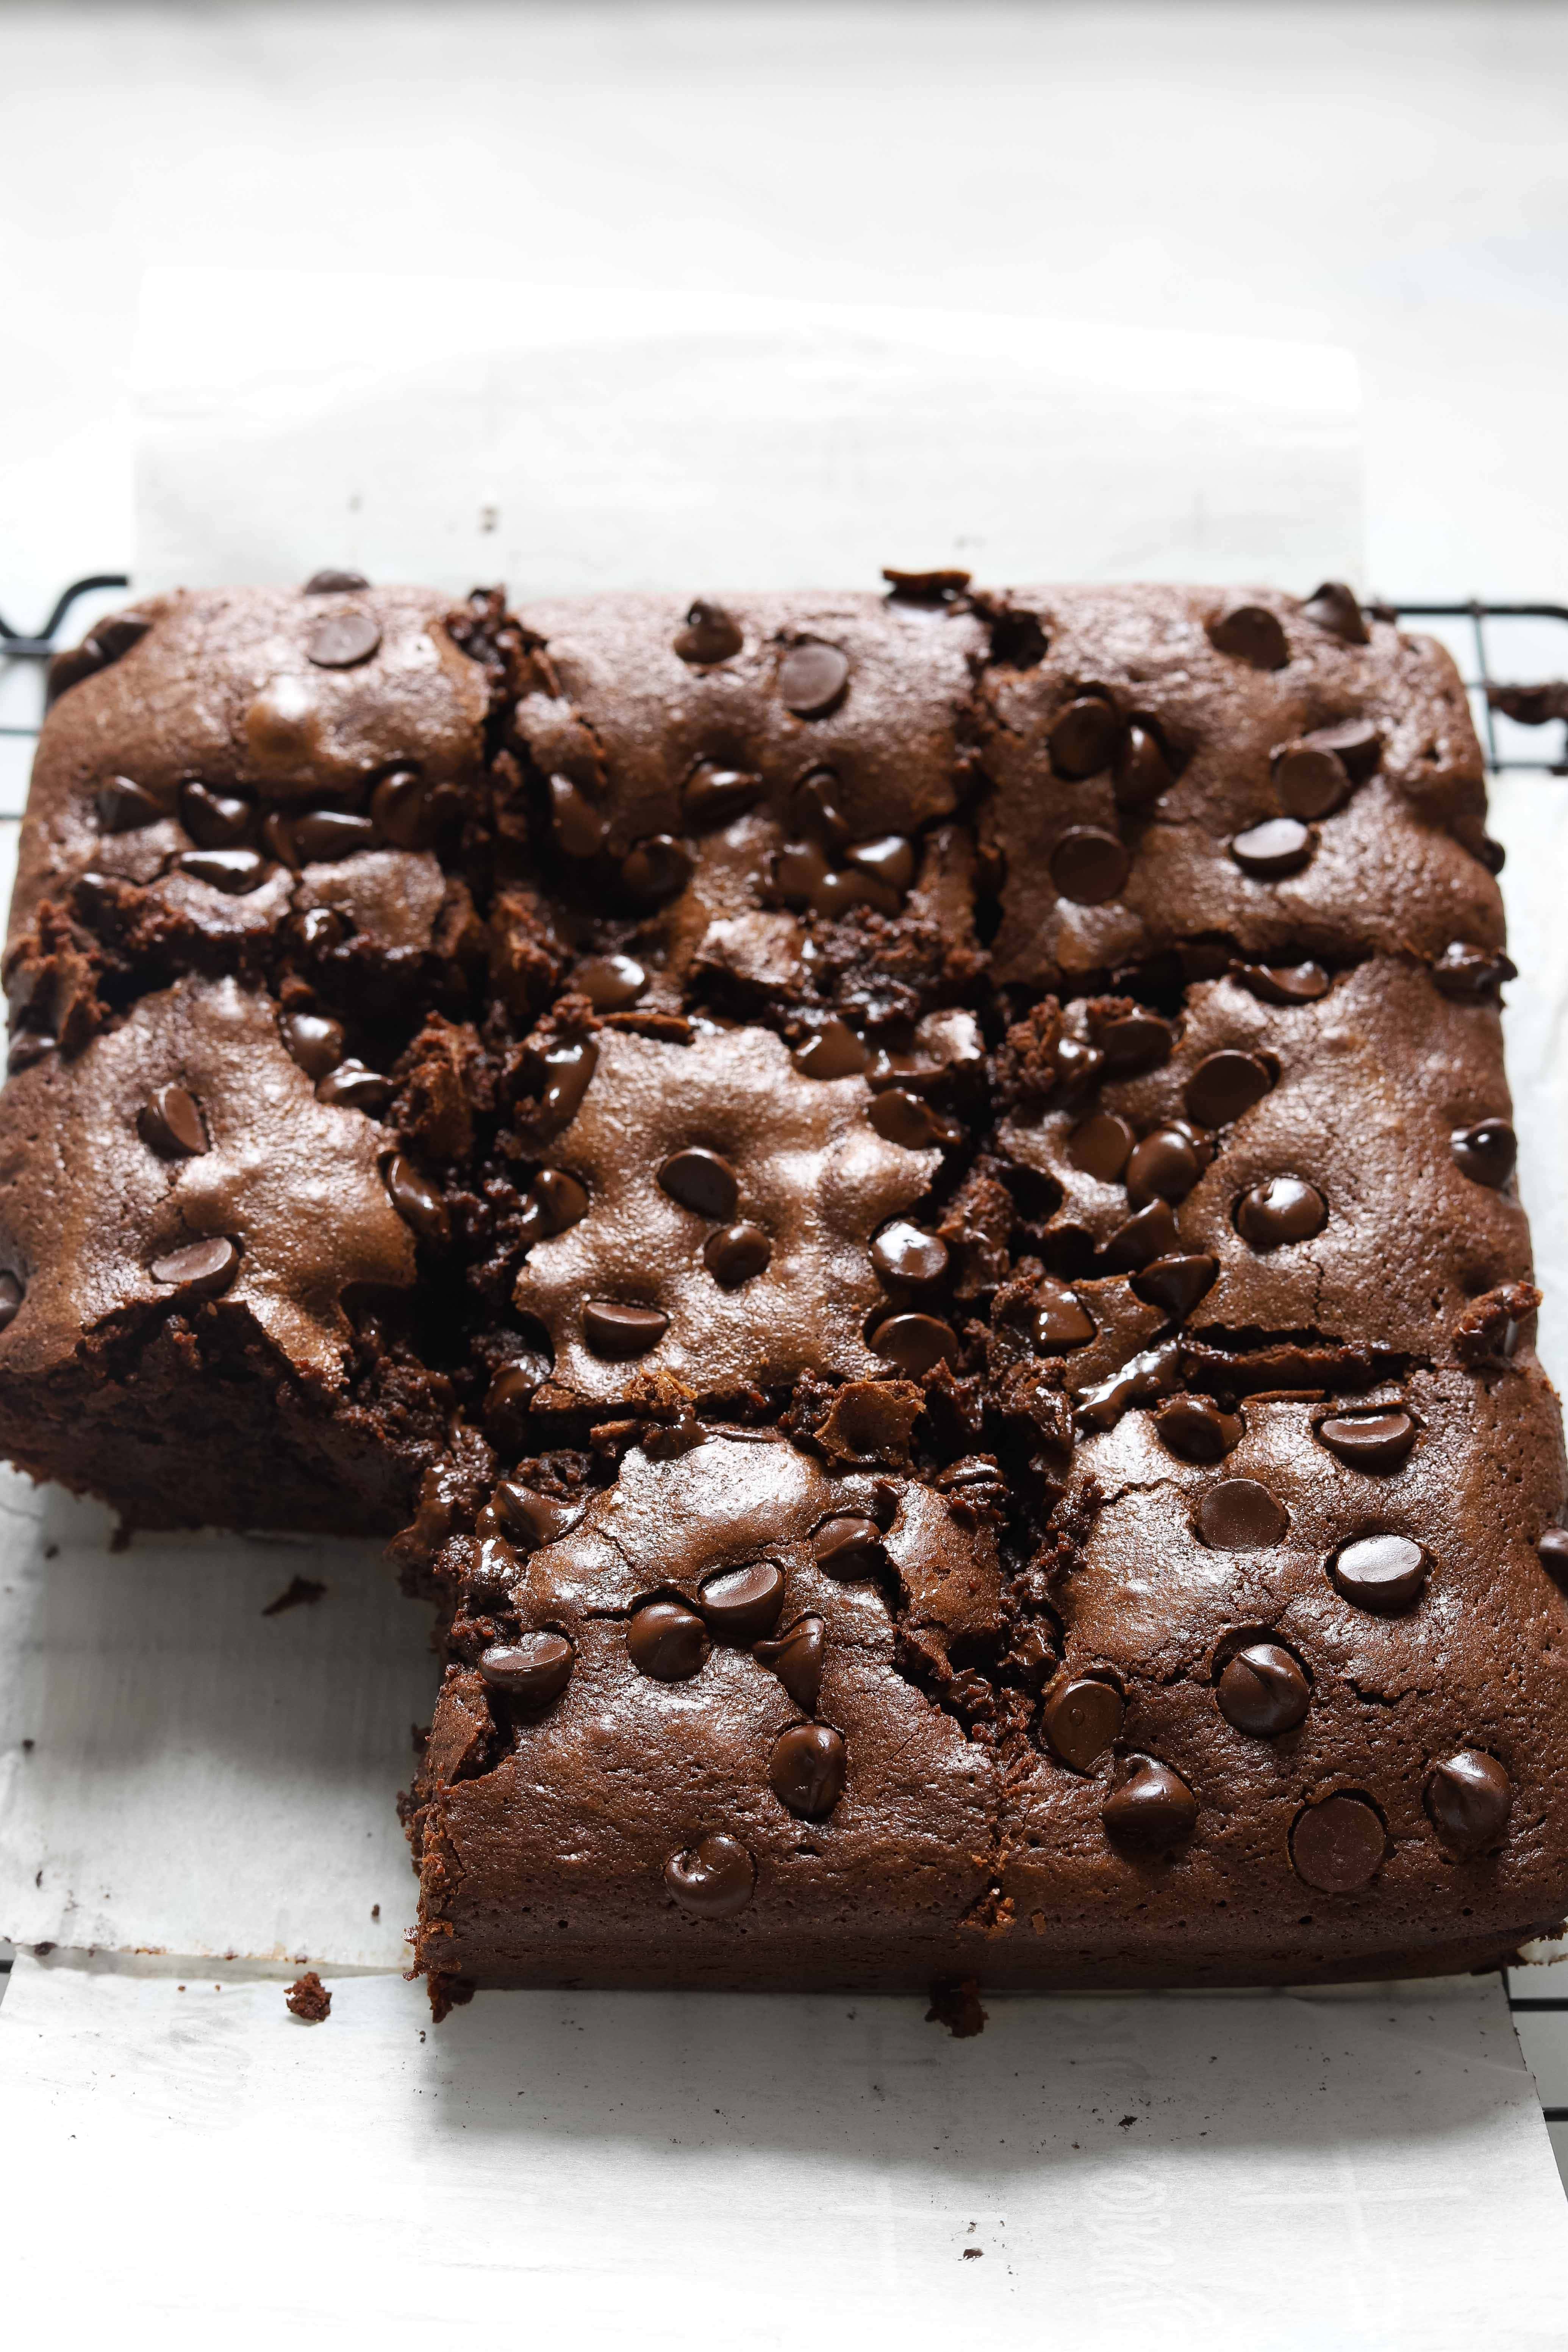
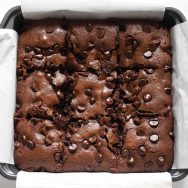
One more note, the photo of the brownies in the pan that I’ve included in this post are not cleanly cut. I cut these with a regular dinner knife. The photos of the brownies outside of the pan are a different batch that I cut using the method described above. Just to clarify!
How to tell if brownies are done
To see if your brownies are done, just take a wooden toothpick and insert it into the very middle of the brownies before removing them from the oven.
If the toothpick comes out clean with only a few crumbs on it then they are done! If the toothpick comes out covered in batter then it needs more time. I would bake for 5 more minutes and test again. Repeat until the center is set.
You can also jiggle the pan a bit to see if the center is set. That will give you an idea of the consistency of the center without even having to use a toothpick.
If you don’t have any toothpicks, you can also use a wooden grilling skewer or even a regular old dinner knife! I like the toothpick method the best though because sometimes the metal knife can still come out clean even if the center isn’t completely set since it’s kind of a slippery surface.
And you know if you see that signature shiny, crinkly top then they are almost certainly done! A little double check with a toothpick is always a good idea though.
How to keep brownies fresh
To keep brownies fresh, you want to let them cool completely, then slice into slices, usually 9 large squares or 18 little squares. Then store in an air-tight container at room temp for up to 3-4 days.
After that you’ll want to move them to the refrigerator where you can store them for up to a week. Again, in an air-tight container.
If you don’t think you’ll finish them in a week, I recommend freezing them. Wrap each brownie individually in cling wrap or foil, then place them all in a big freezer bag, press out as much air as you can, then seal up the top and stick it in the freezer.
When you feel like having a brownie you can just grab it from the freezer and let it thaw on the counter for about 30 minutes before digging in! Alternately, you can microwave it to enjoy it even faster! Top with some homemade vanilla ice cream for the ultimate treat!
Join My Community!
Want to get my new recipes delivered straight to your inbox?
Sign up for my weekly newsletter and never miss a new recipe!
The BEST Gluten Free Brownies
- Gluten-Free
- Dairy-Free
Ingredients
- 1 cup salted grass-fed butter (226g)
- 1 ¼ cups chocolate chips (225g)
- 2 cups 324g maple sugar
- 4 eggs, room temperature
- 1 Tbsp pure vanilla extract
- 1 cup 148g gluten free 1:1 flour*
- 1 cup 85g cocoa powder**
- ½ tsp fine sea salt
Instructions
- Preheat oven to 350ºF. Line an 8×8” brownie pan with parchment paper (two pieces of parchment with overhanging sides).
- Melt butter and ½ cup chocolate chips together over a double boiler or in the microwave in short increments. Heat until just melted. You don’t want it too hot or the egg will cook when you add it in the next step.
- Remove from heat and add maple sugar and whisk well to combine. Add eggs and vanilla and whisk to combine.
- Sift in flour, cocoa powder, and salt. Add in ½ cup chocolate chips. Fold together using a silicone spatula until combined.
- Pour batter into baking pan and spread evenly with spatula.
- Sprinkle with remaining ¼ cup chocolate chips.
- Bake on center rack for 45 minutes or until set in the middle.
- Allow to cool in pan for 30 minutes, then use the parchment overhang to remove and place on a cooling rack. Allow brownies to cool completely and then slice into 9 squares with a chef’s knife.
Did you love the recipe? I would love it if you left me a 5-star review below! ![]()
Notes
Did you make this recipe?
Tag @itskitskitchen on Instagram and hashtag it #kitskitchen
Disclosure: This post contains affiliate links (Amazon Associate). These links do not cost you anything, but I do receive a commission when you use them. They are a great way to support blogs you love and pick up some good things while doing it!