The Best Gluten Free Pie Crust Recipe (Easy + Extra Flaky!)
- Gluten-Free
- Low Carb
- Keto
This is the BEST gluten free pie crust recipe out there. If you’re looking for something easy to make that tastes EXACTLY like Pillsbury, then you’ve come to the right place! It’s made with just 6 simple ingredients that you can buy at any grocery store. Did I mention it’s also low carb & keto?? YES! But don’t worry, you would never know when you taste it!
The Best Gluten Free Pie Crust Recipe for the holidays and beyond!
This easy gluten free pie crust recipe is perfect for all of your holiday baking and can be used to make everything from sweet pies to savory pies and single crust pies to double crust pies! This great recipe can even be used for quiches, empanadas, pizza, calzones, homemade poptarts, palmiers, crackers, fruit pies, single-crust pies like an old-fashioned custard pie, the topping for savory pies like shepherd’s pie or chicken pot pie, or hand pies!
Just like a traditional Pillsbury crust, this flaky crust isn’t sweetened, so it can be used for a variety of different dishes! The possibilities are truly endless! I would love to see all of your tasty creations, so don’t forget to tag me on Instagram @itskitskitchen so that I can see!
My Inspiration for this gluten free pie crust recipe
I grew up mostly in the South, where pie is seriously a big deal. From holiday pies, to chicken pot pie, to crawfish pie. Southerners know their pies and a good pie crust is an absolute must!
I’ve sampled my fair share of pies over the years and I’m pretty picky when it comes to my crust. To me it’s the best part of the pie! Honestly just give me a pie crust and some whipped cream and I’m good to go!
So yeah, when it came to creating the perfect gluten free pie crust, I started with very high standards. This crust did not disappoint! I honestly could not believe how well it turned out! And on the first try! This flaky pie crust is a winner for sure. Dare I say, maybe the best pie crust I’ve had? Definitely up there! I love the nuttiness you get from the almond flour!
This Gluten Free Pie Crust Recipe is Low Carb & Keto too!
Not only is this perfect pie crust gluten free, but it’s also low carb! With only 2g net carbs per serving, you can use this for all of your keto baking! I’d say that makes for the best gluten-free pie crust ever!
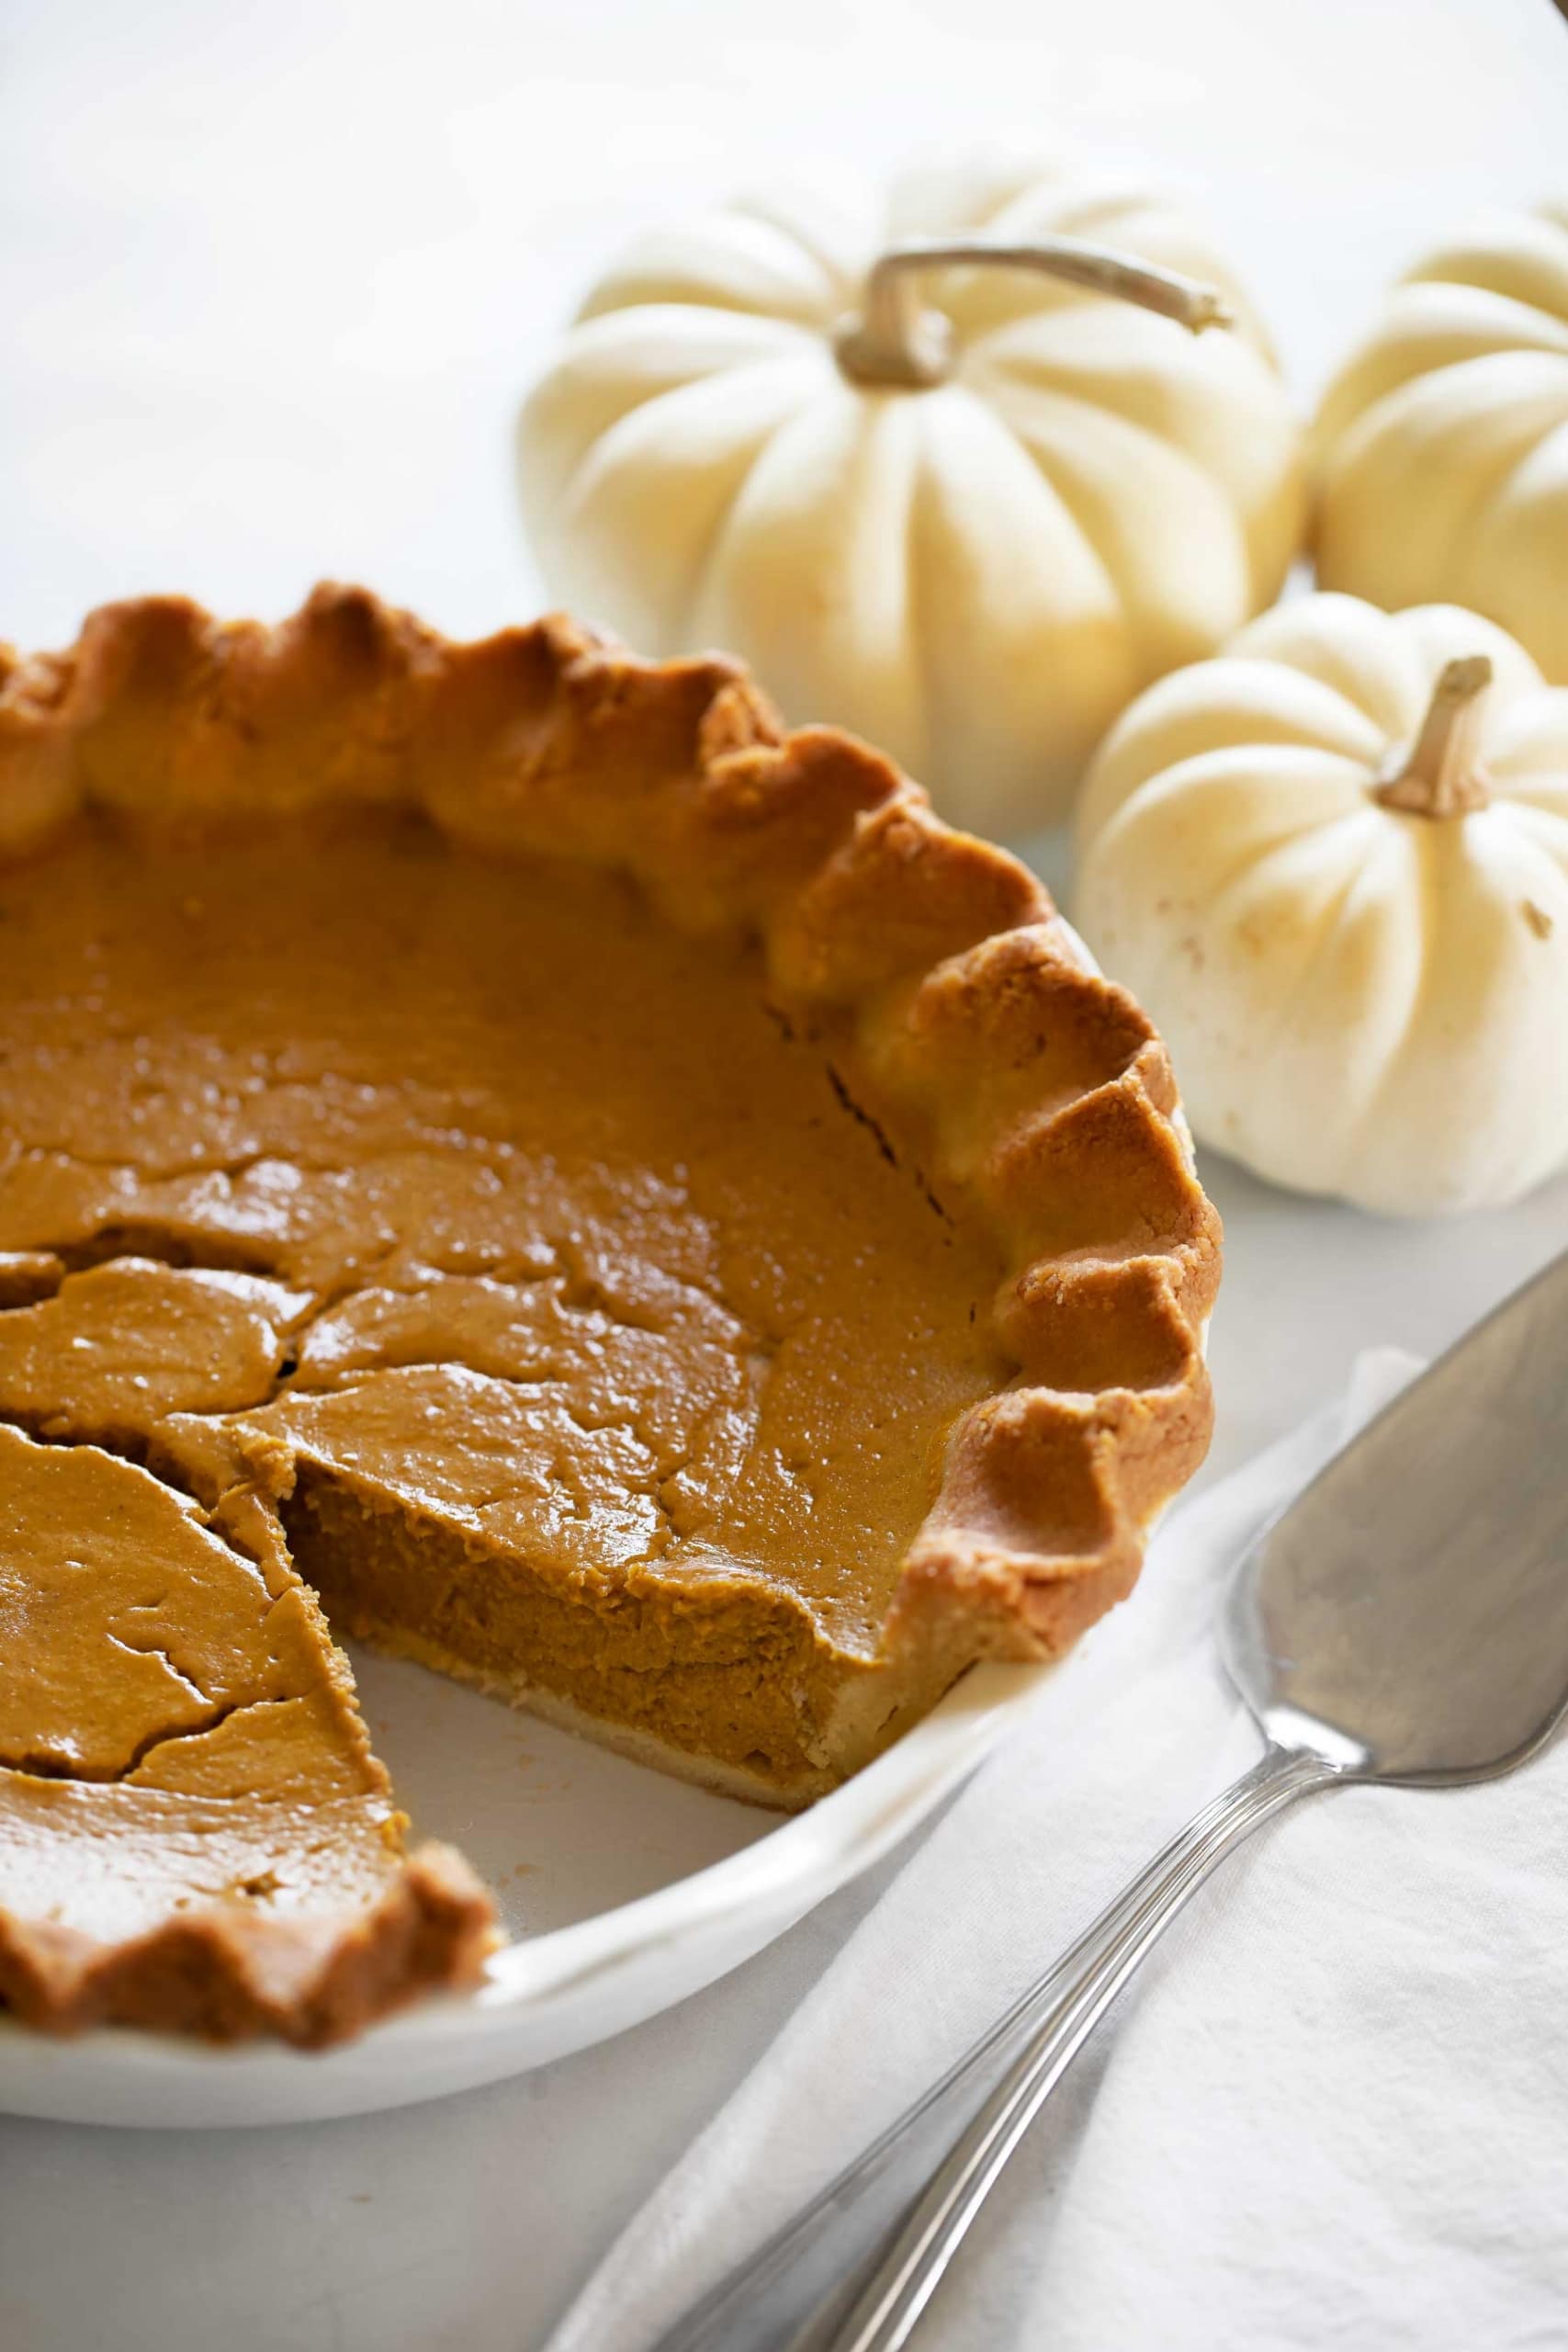
Looking for the perfect low carb pumpkin pie recipe to go inside this yummy gluten free pie crust? Check out my Sugar Free Pumpkin Pie recipe! So good!! You would never know it’s keto!
Half the butter of other pie crusts!
When creating this gluten free crust, I really wanted something a little healthier in addition to being gluten free and low carb. Most gluten free and keto pie crusts pie crusts out there have 1/2 cup butter in them. I only use 1/4 cup for this easy gluten-free pie crust! But don’t worry, it’s still super flavorful and flaky! You would never know it’s got half the butter!
Speaking of flaky, keep in mind that if you are making a pie that needs to be refrigerated like my Sugar Free Pumpkin Pie recipe, the crust will lose most of its flakiness. But for something that can sit out unrefrigerated like a pecan pie or apple pie, the crust around the edges will be nice and flaky!
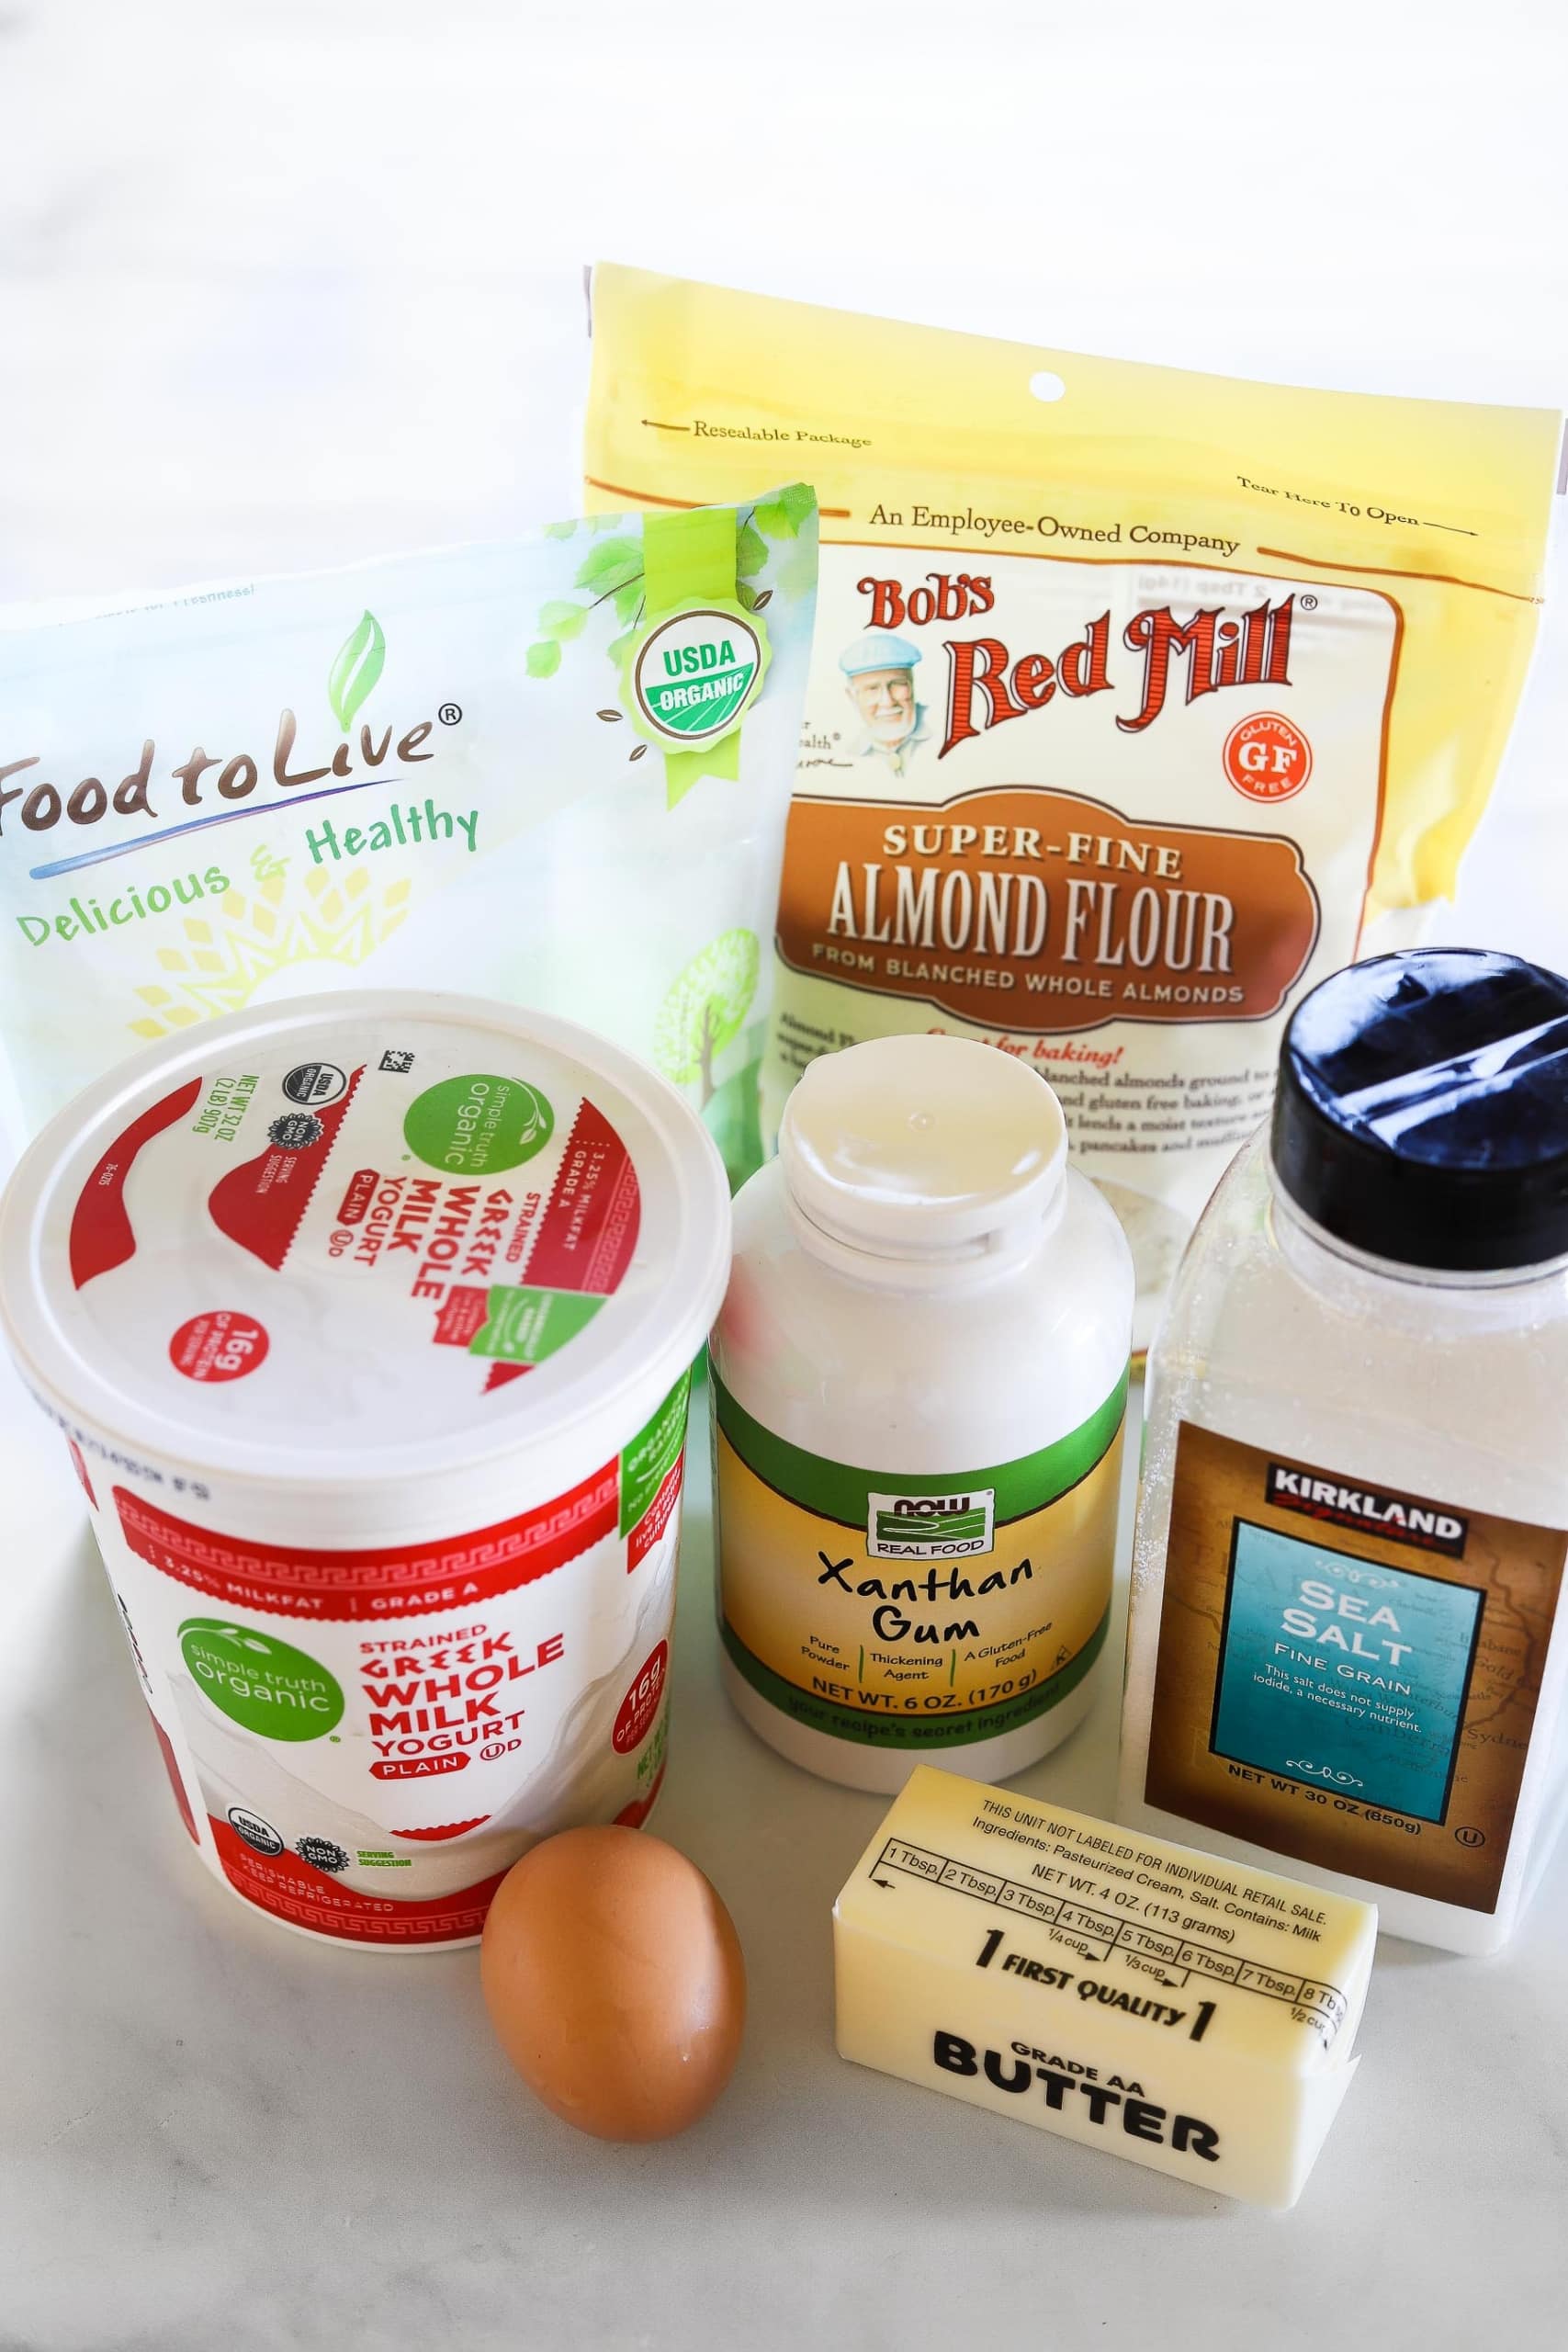
Ingredients to make this easy Gluten Free Pie Crust Recipe
- 2 cups packed (300g) Bob’s Red Mill fine almond flour
- 2 Tbsp (16g) coconut flour
- 2 tsp xanthan gum
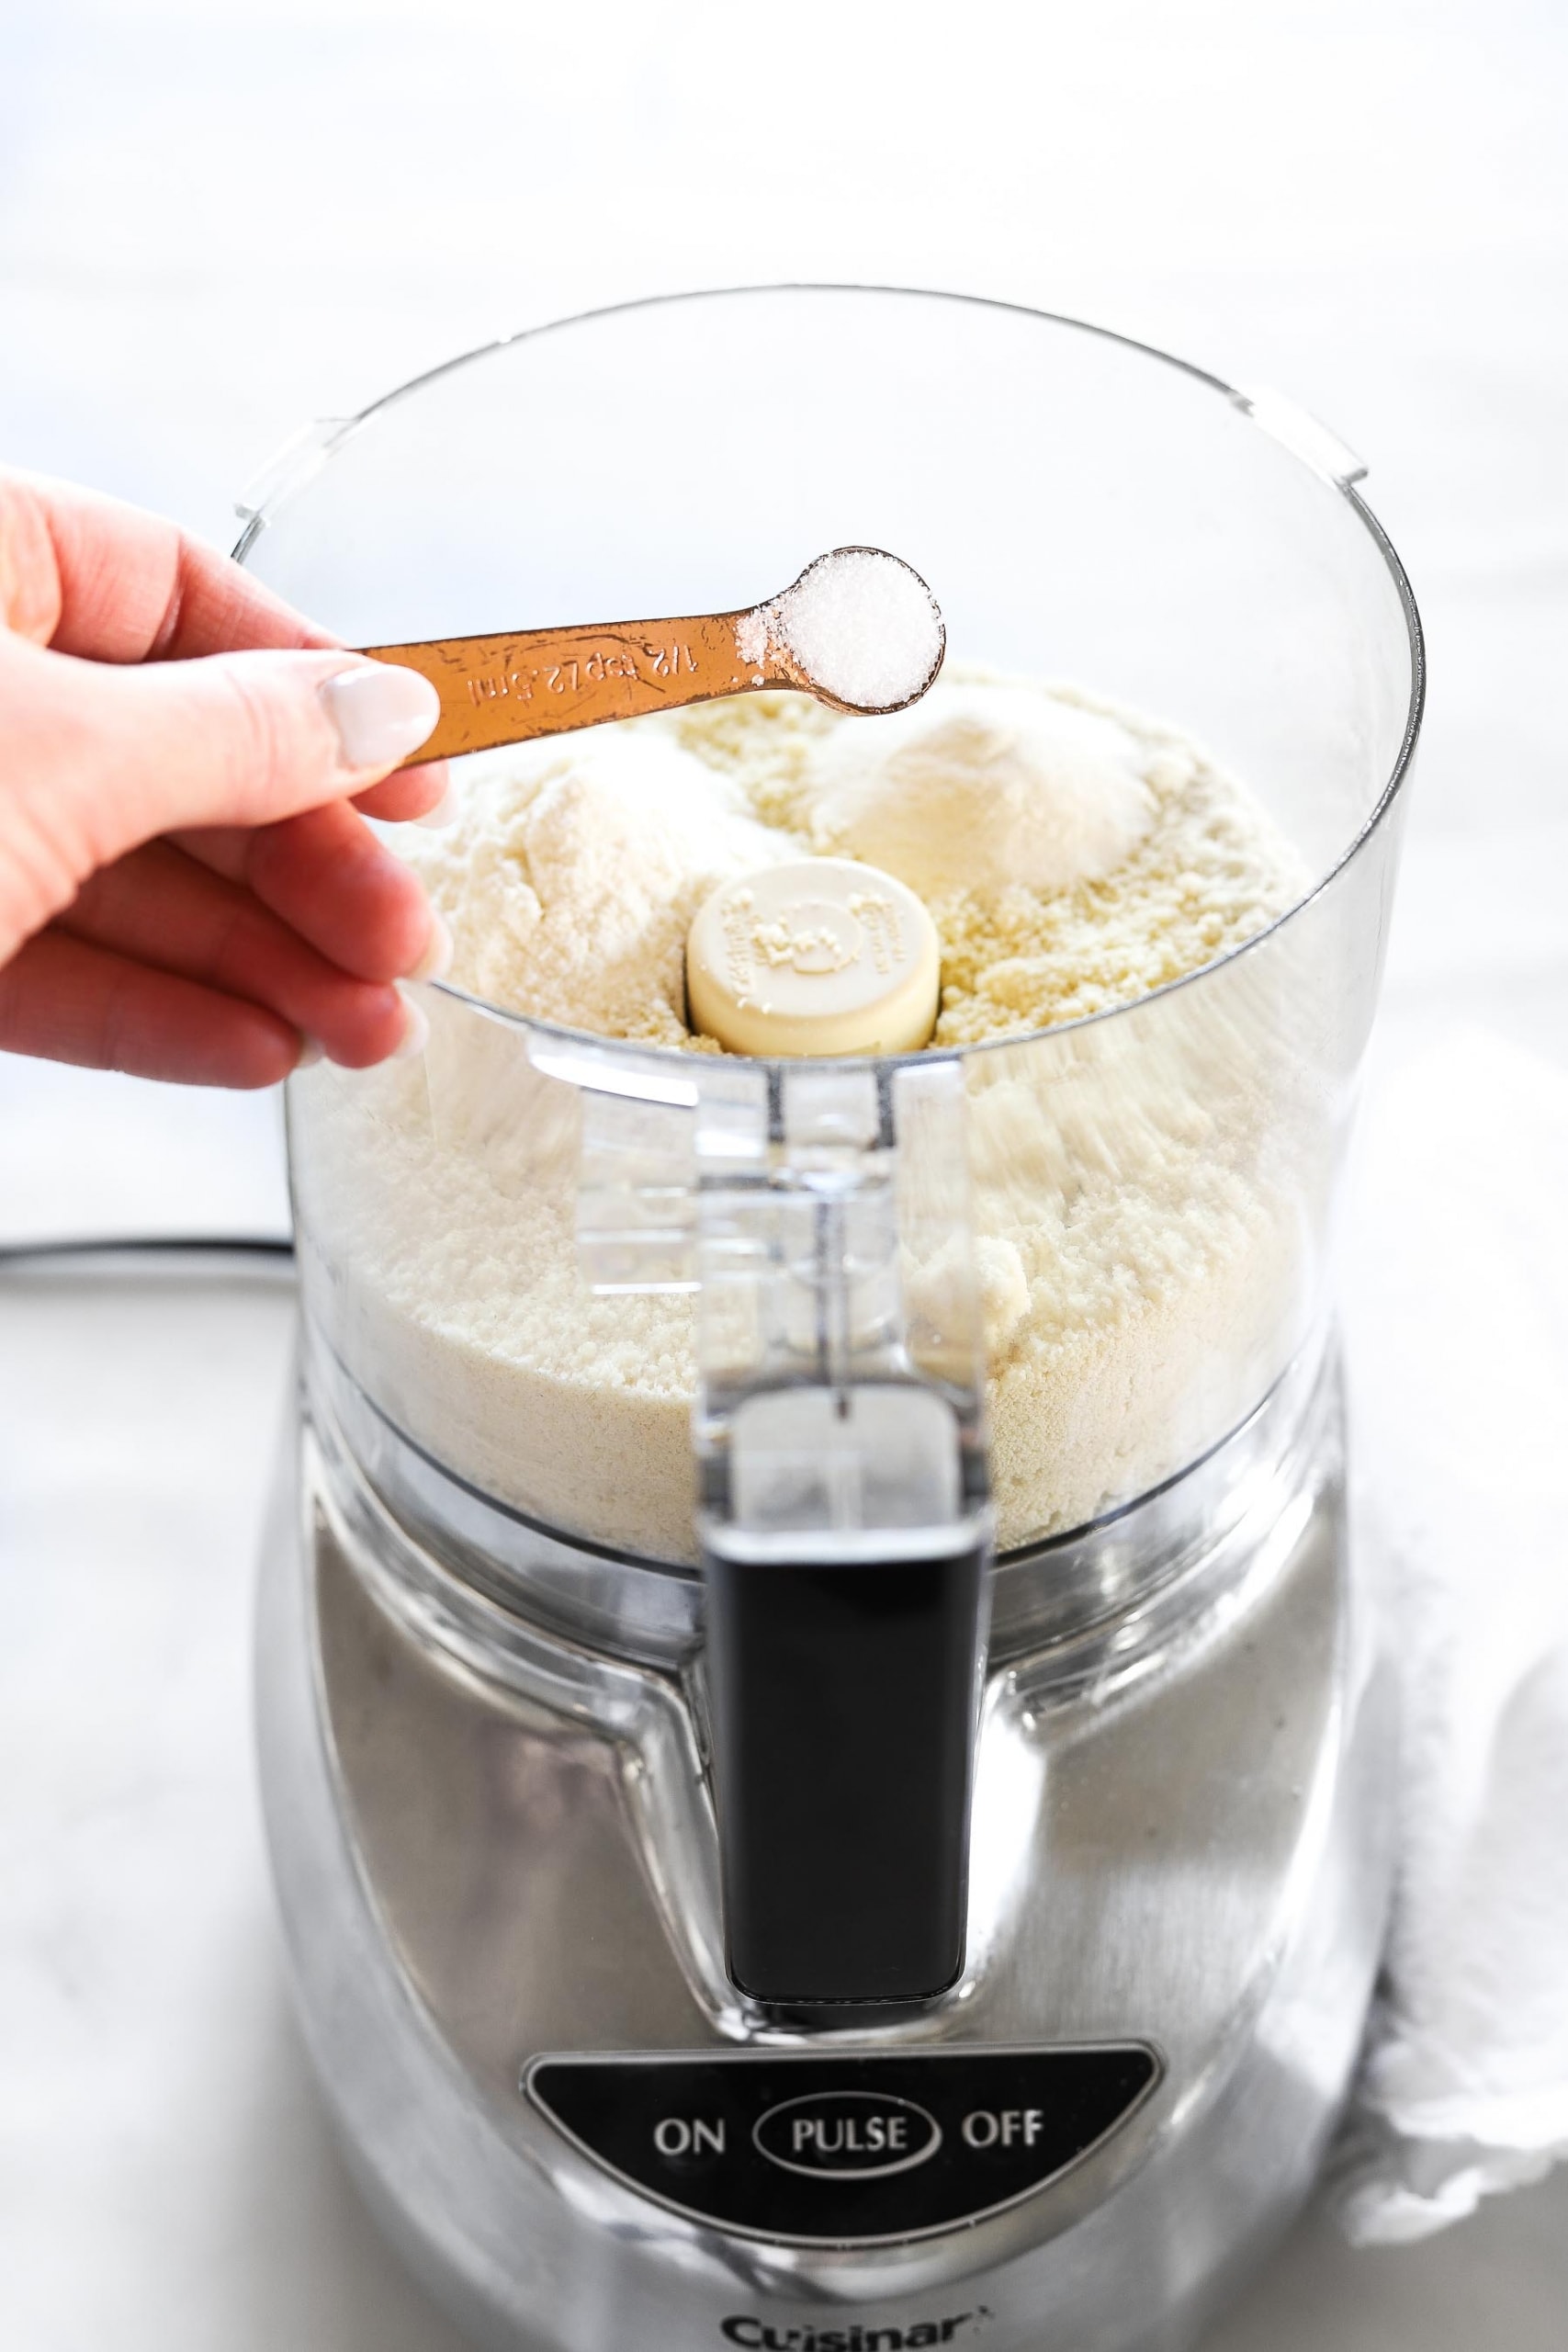
- ½ tsp fine sea salt
- ¼ cup (56g) salted butter, chilled and cubed
- ¼ cup (60g) whole milk plain Greek yogurt, cold
- 1 large egg
How to Make The Best Gluten Free Pie Crust
Printable recipe card for this flaky gluten-free pie crust is below!
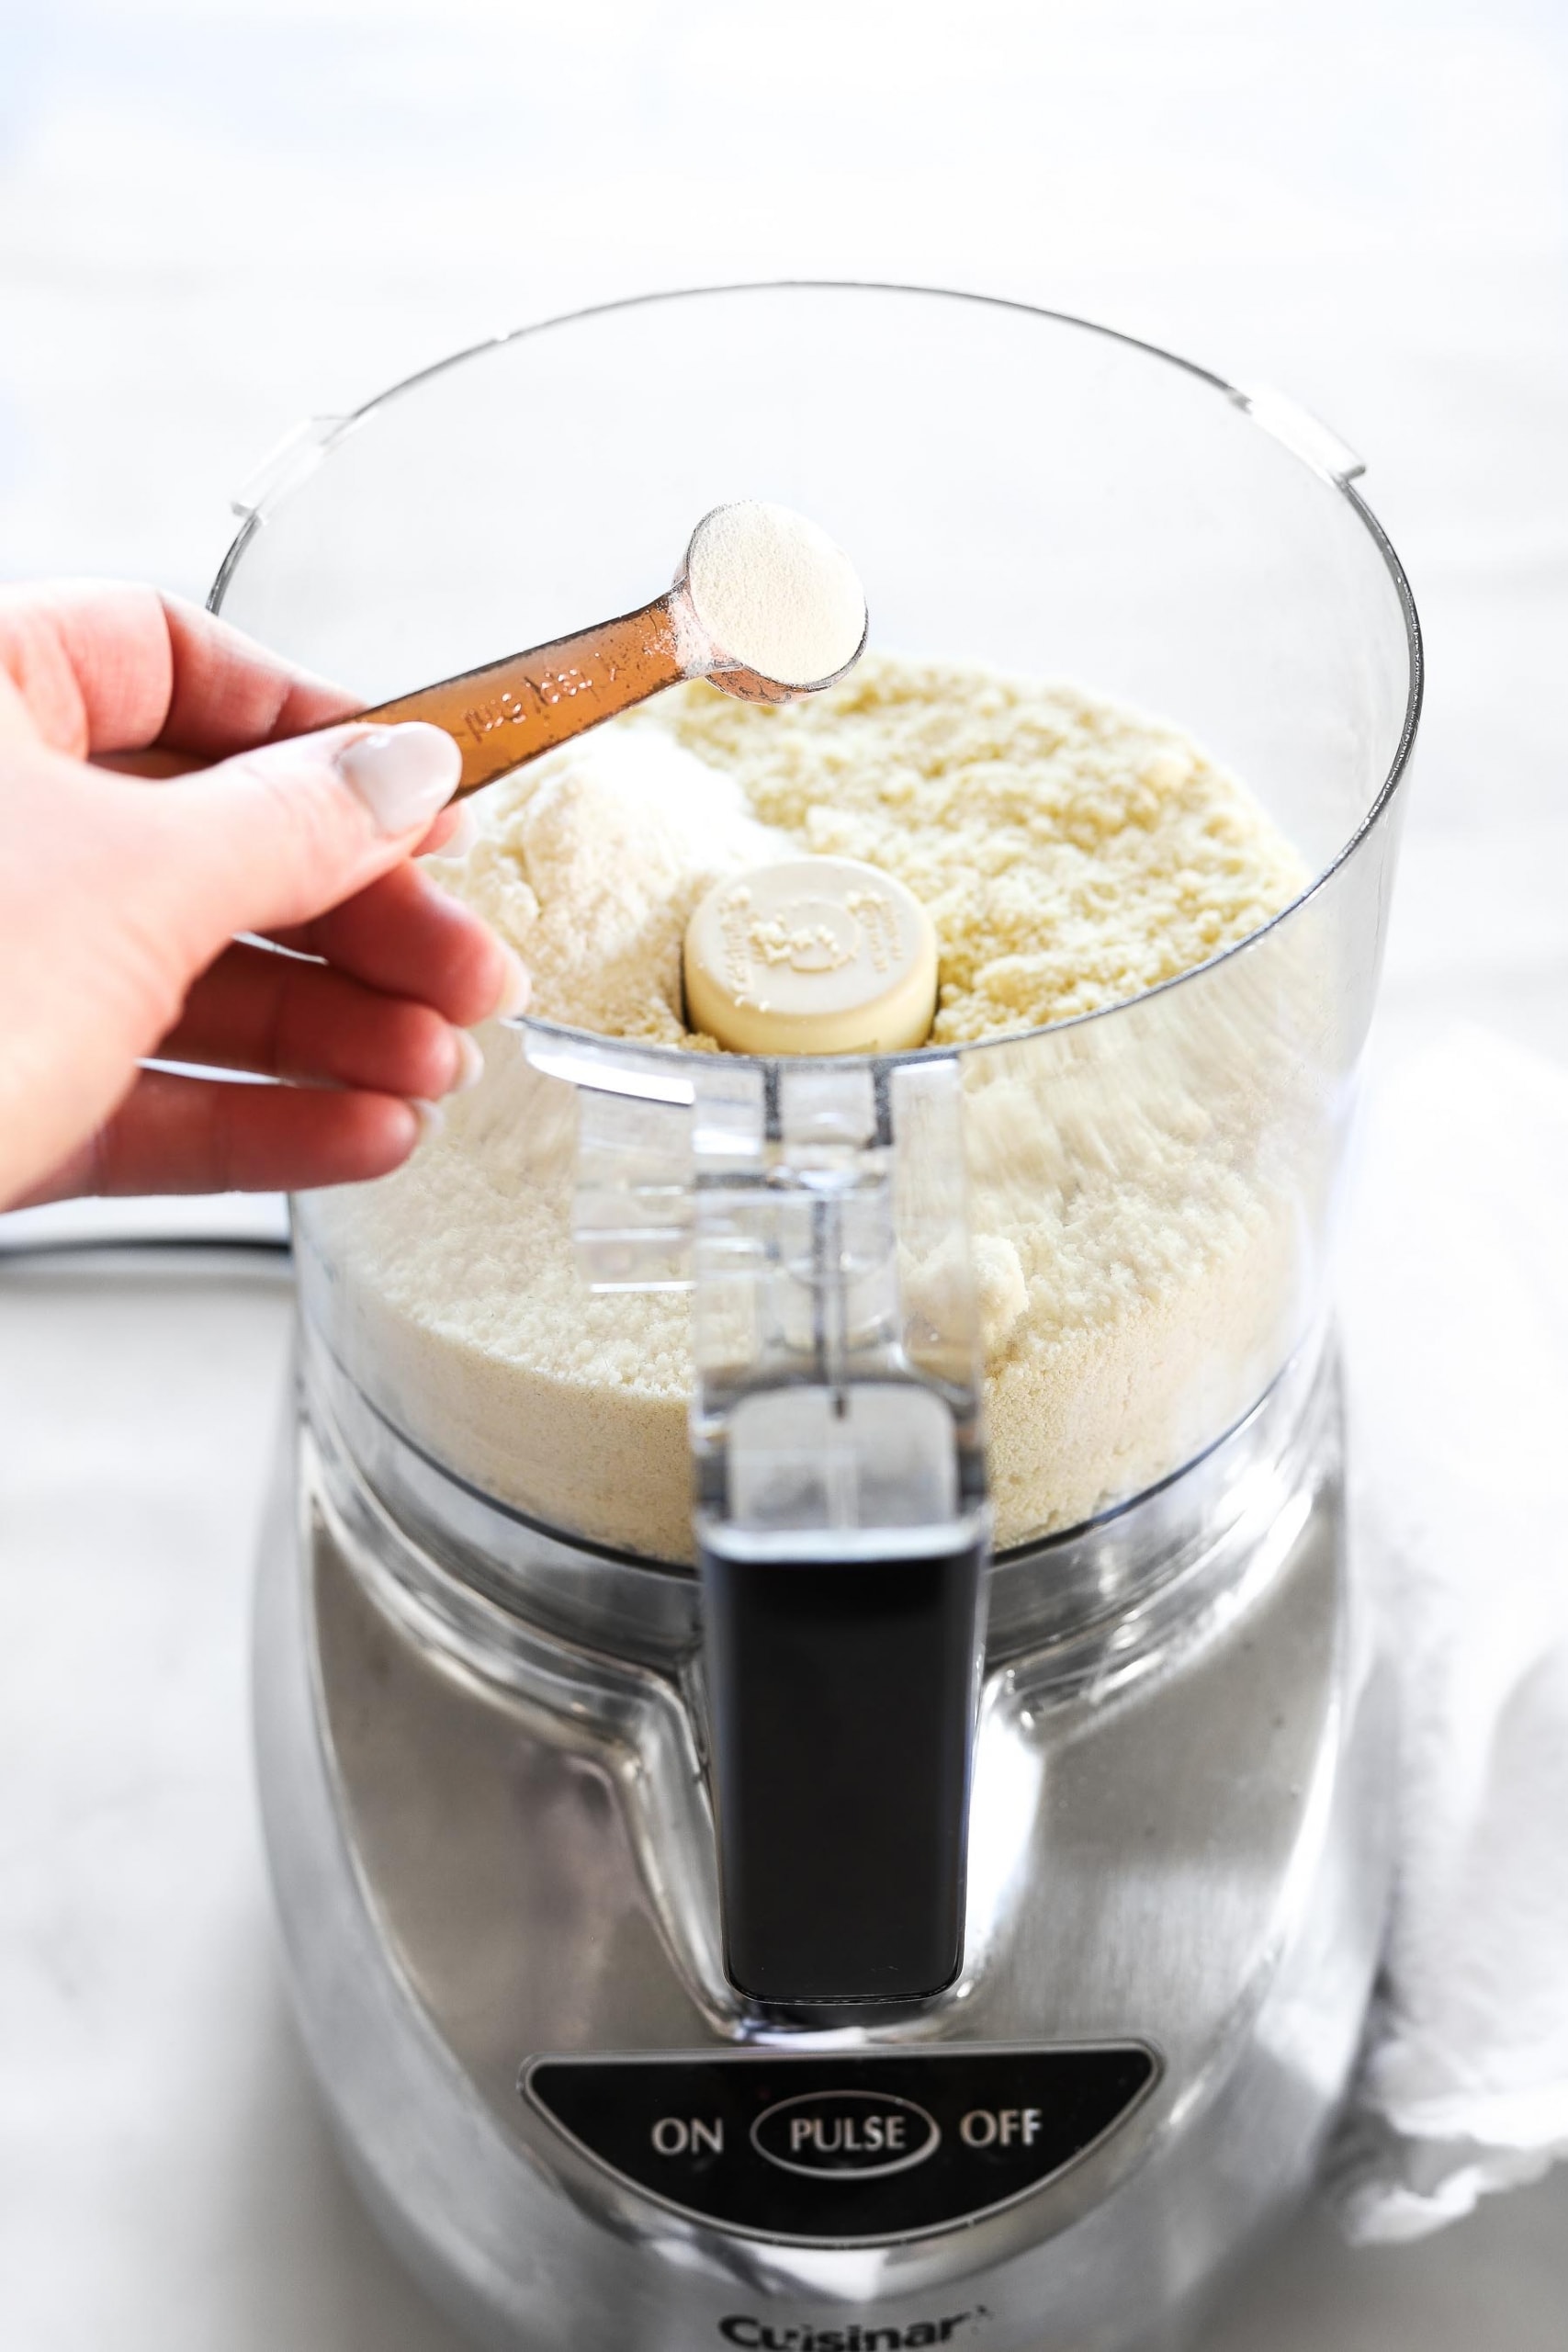
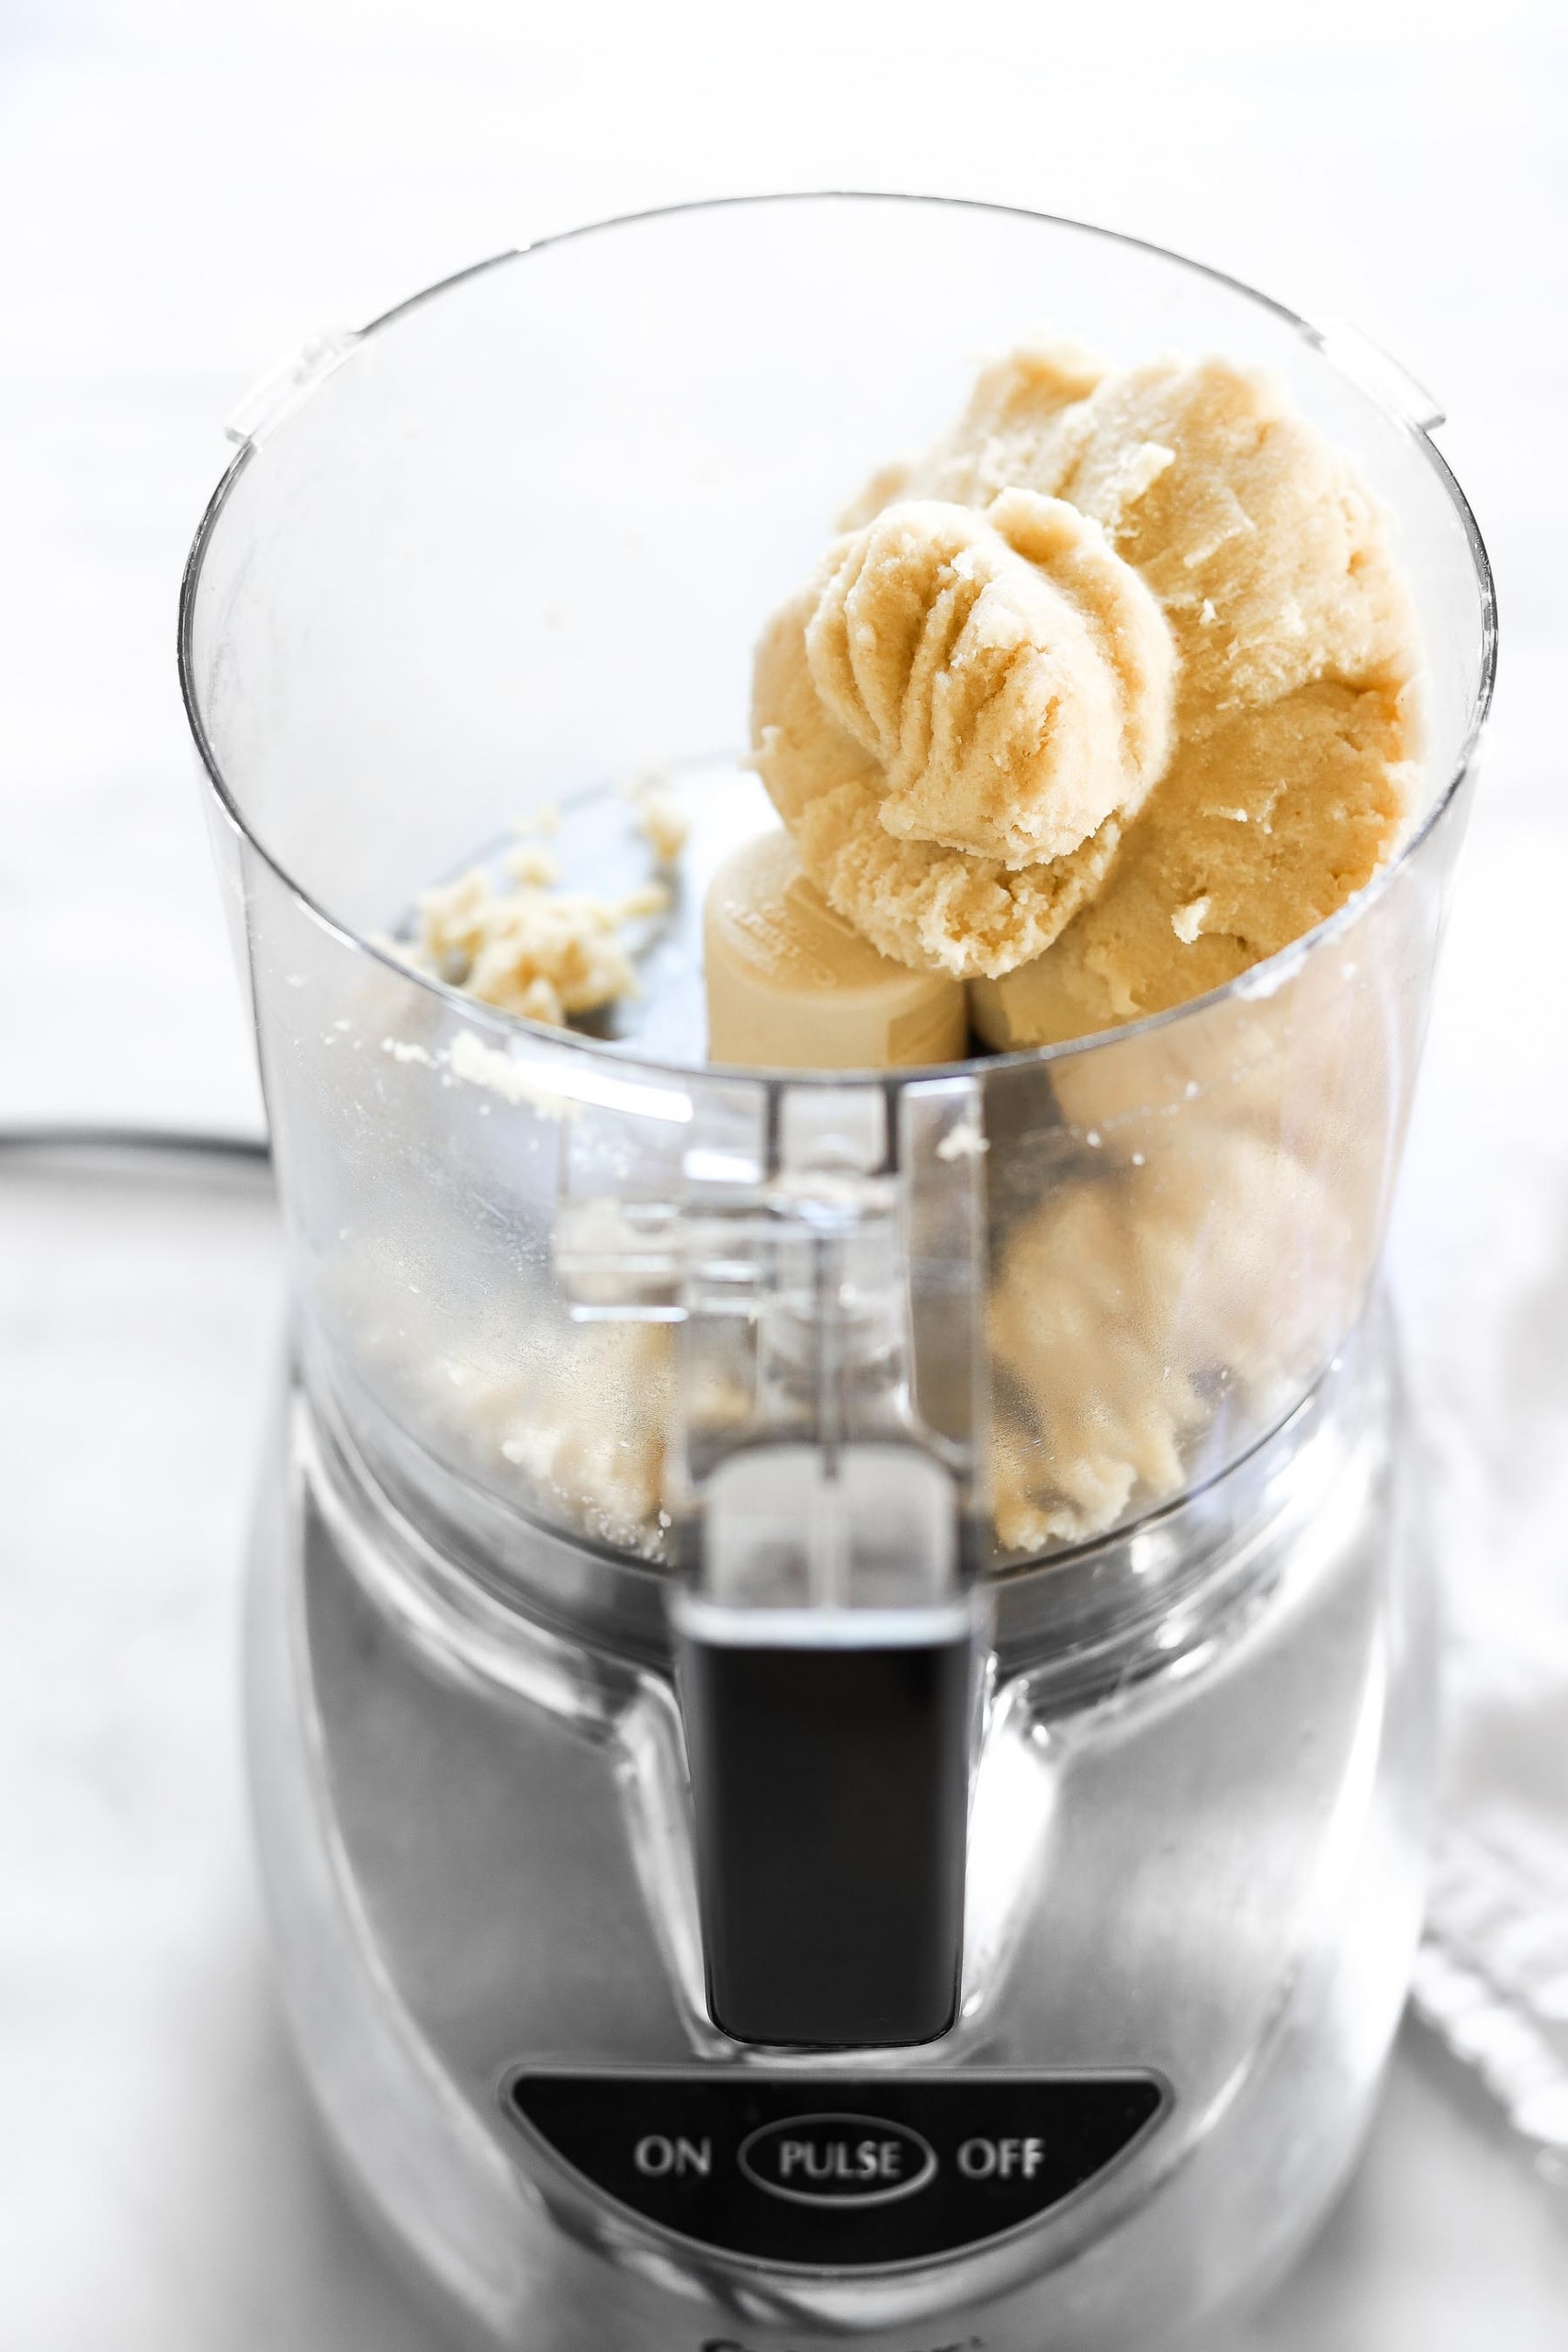
- Add dry ingredients (2 cups packed almond flour, 2 Tbsp coconut flour, and 2 tsp xanthan gum) to a food processor and blend for 10 seconds to mix.

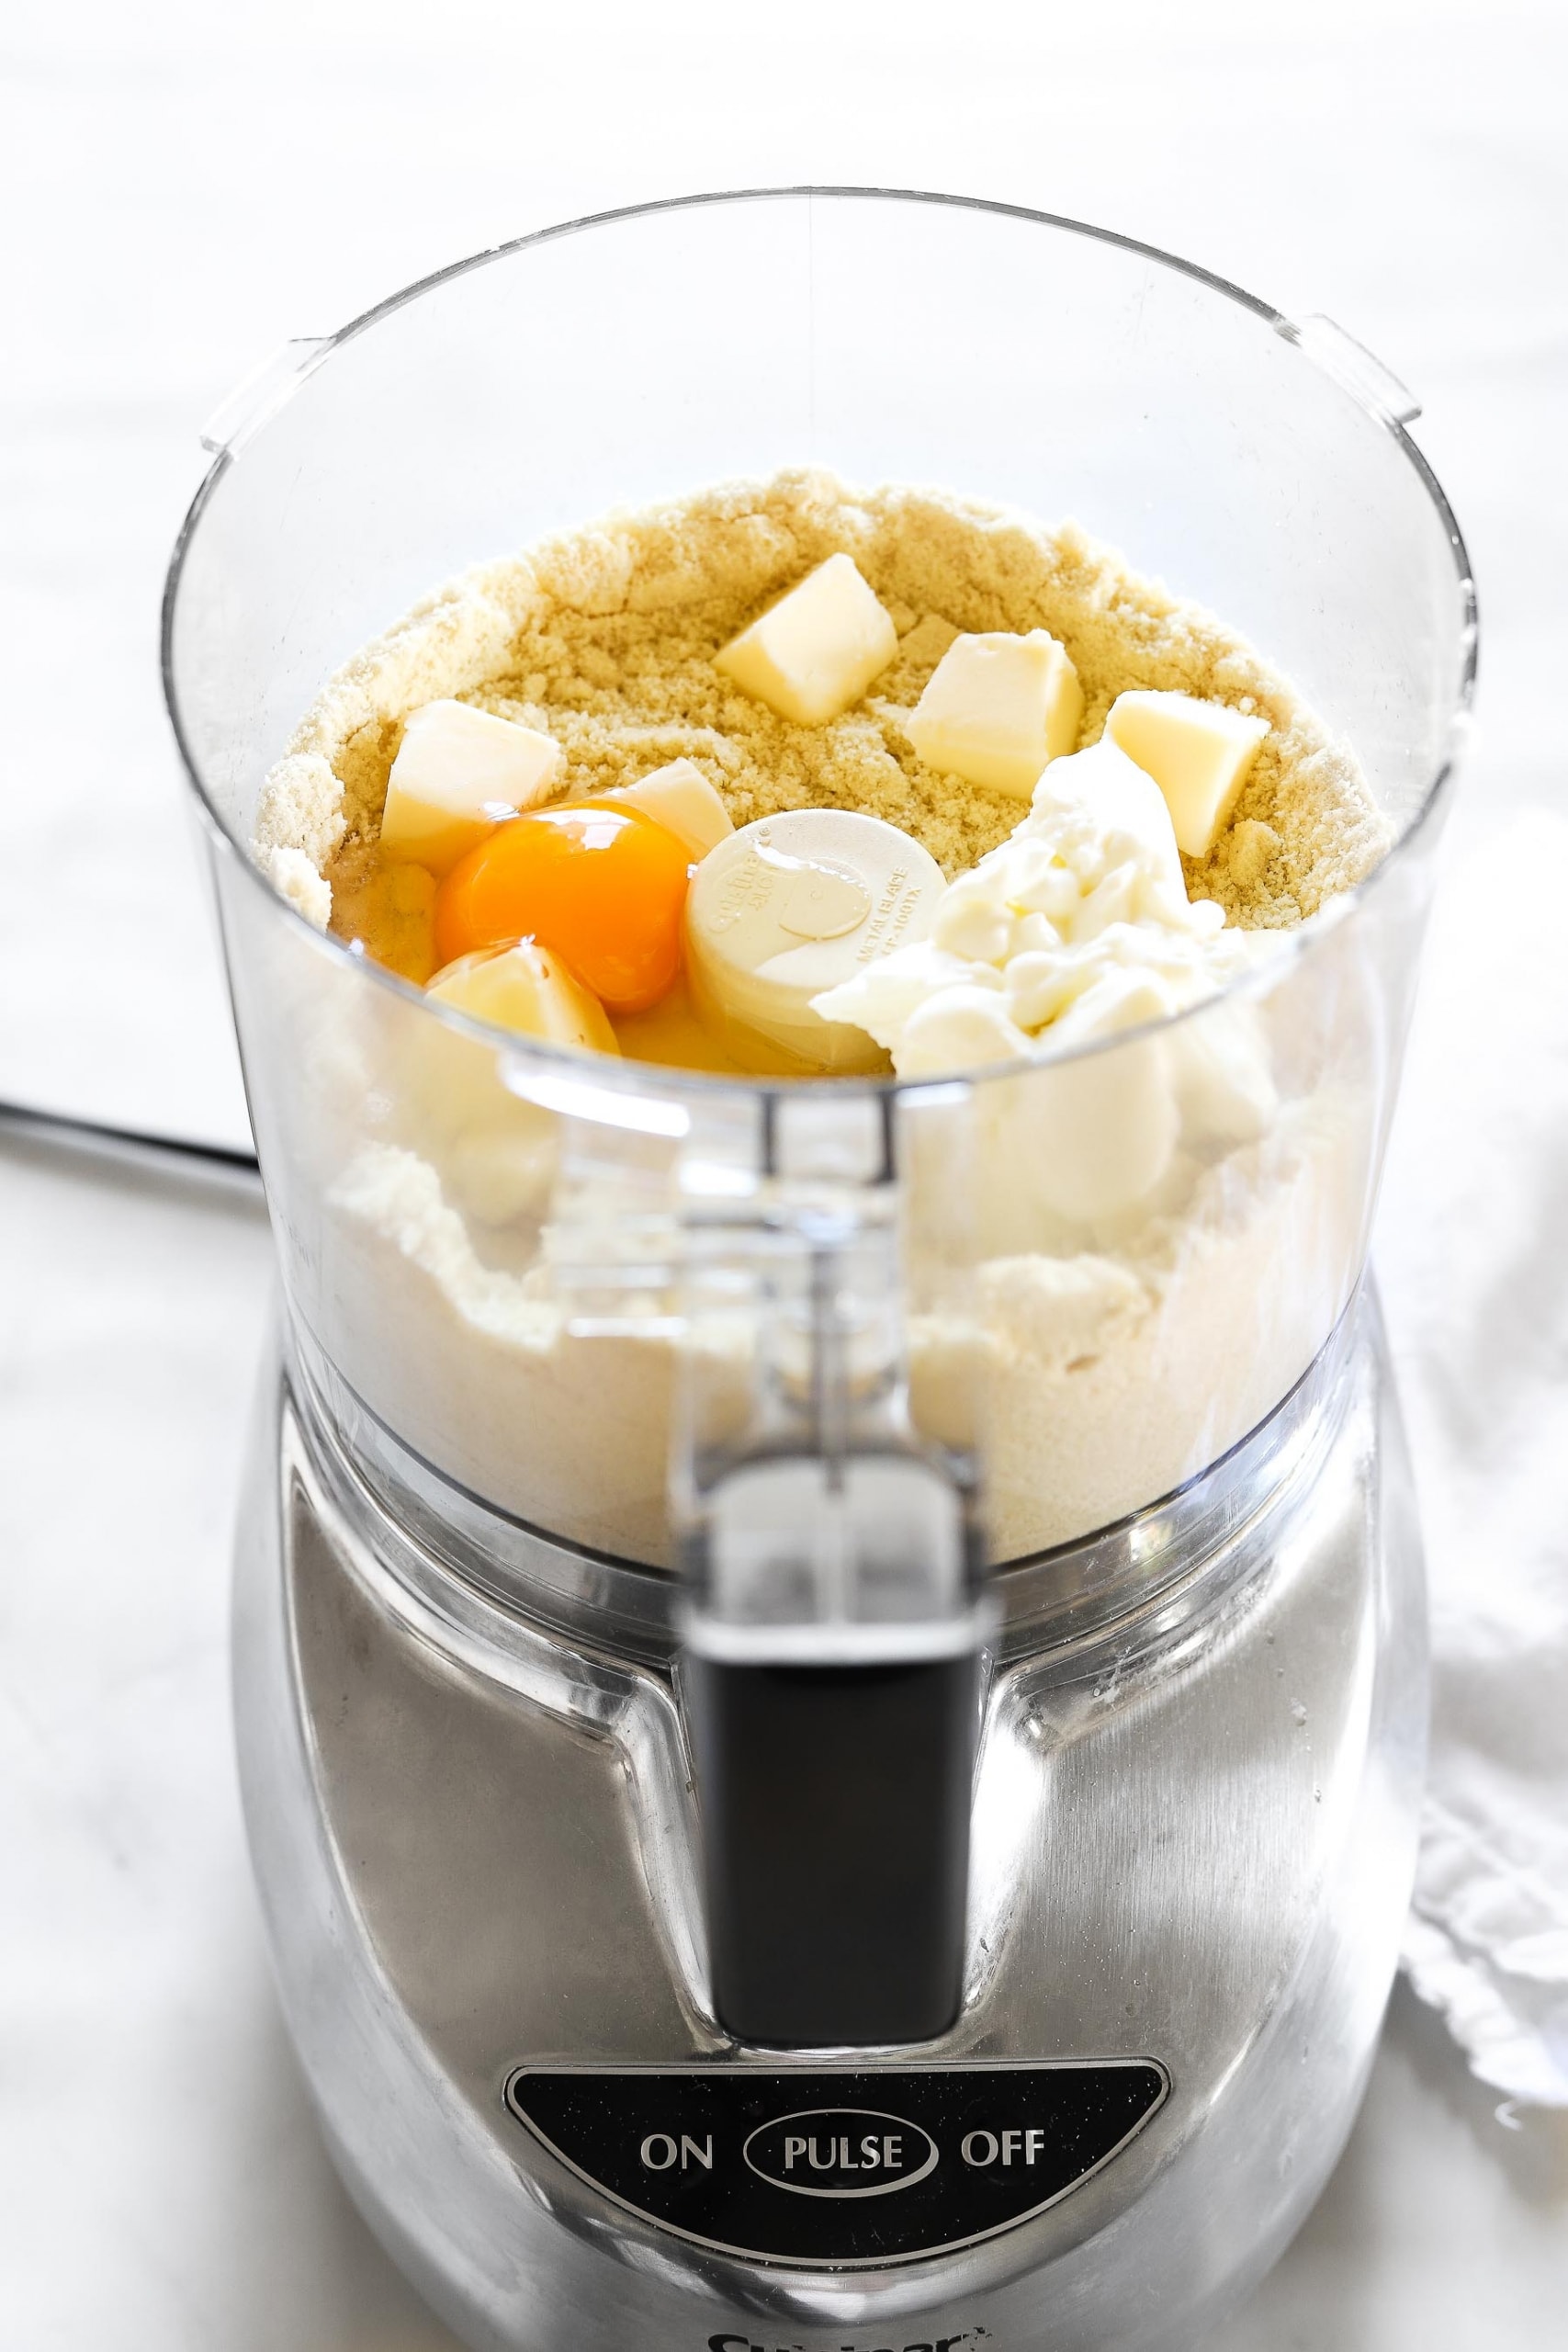
2. Add cold butter, yogurt, and egg to the flour mixture. Pulse to mix until a dough forms (about 1 minute of short pulses). If you don’t have a food processor, this dough can also be made using a large bowl and a pastry cutter (pastry blender). You could also try using a stand mixer with a dough hook, but you’ll need to cut up the butter with a pastry cutter before adding it.
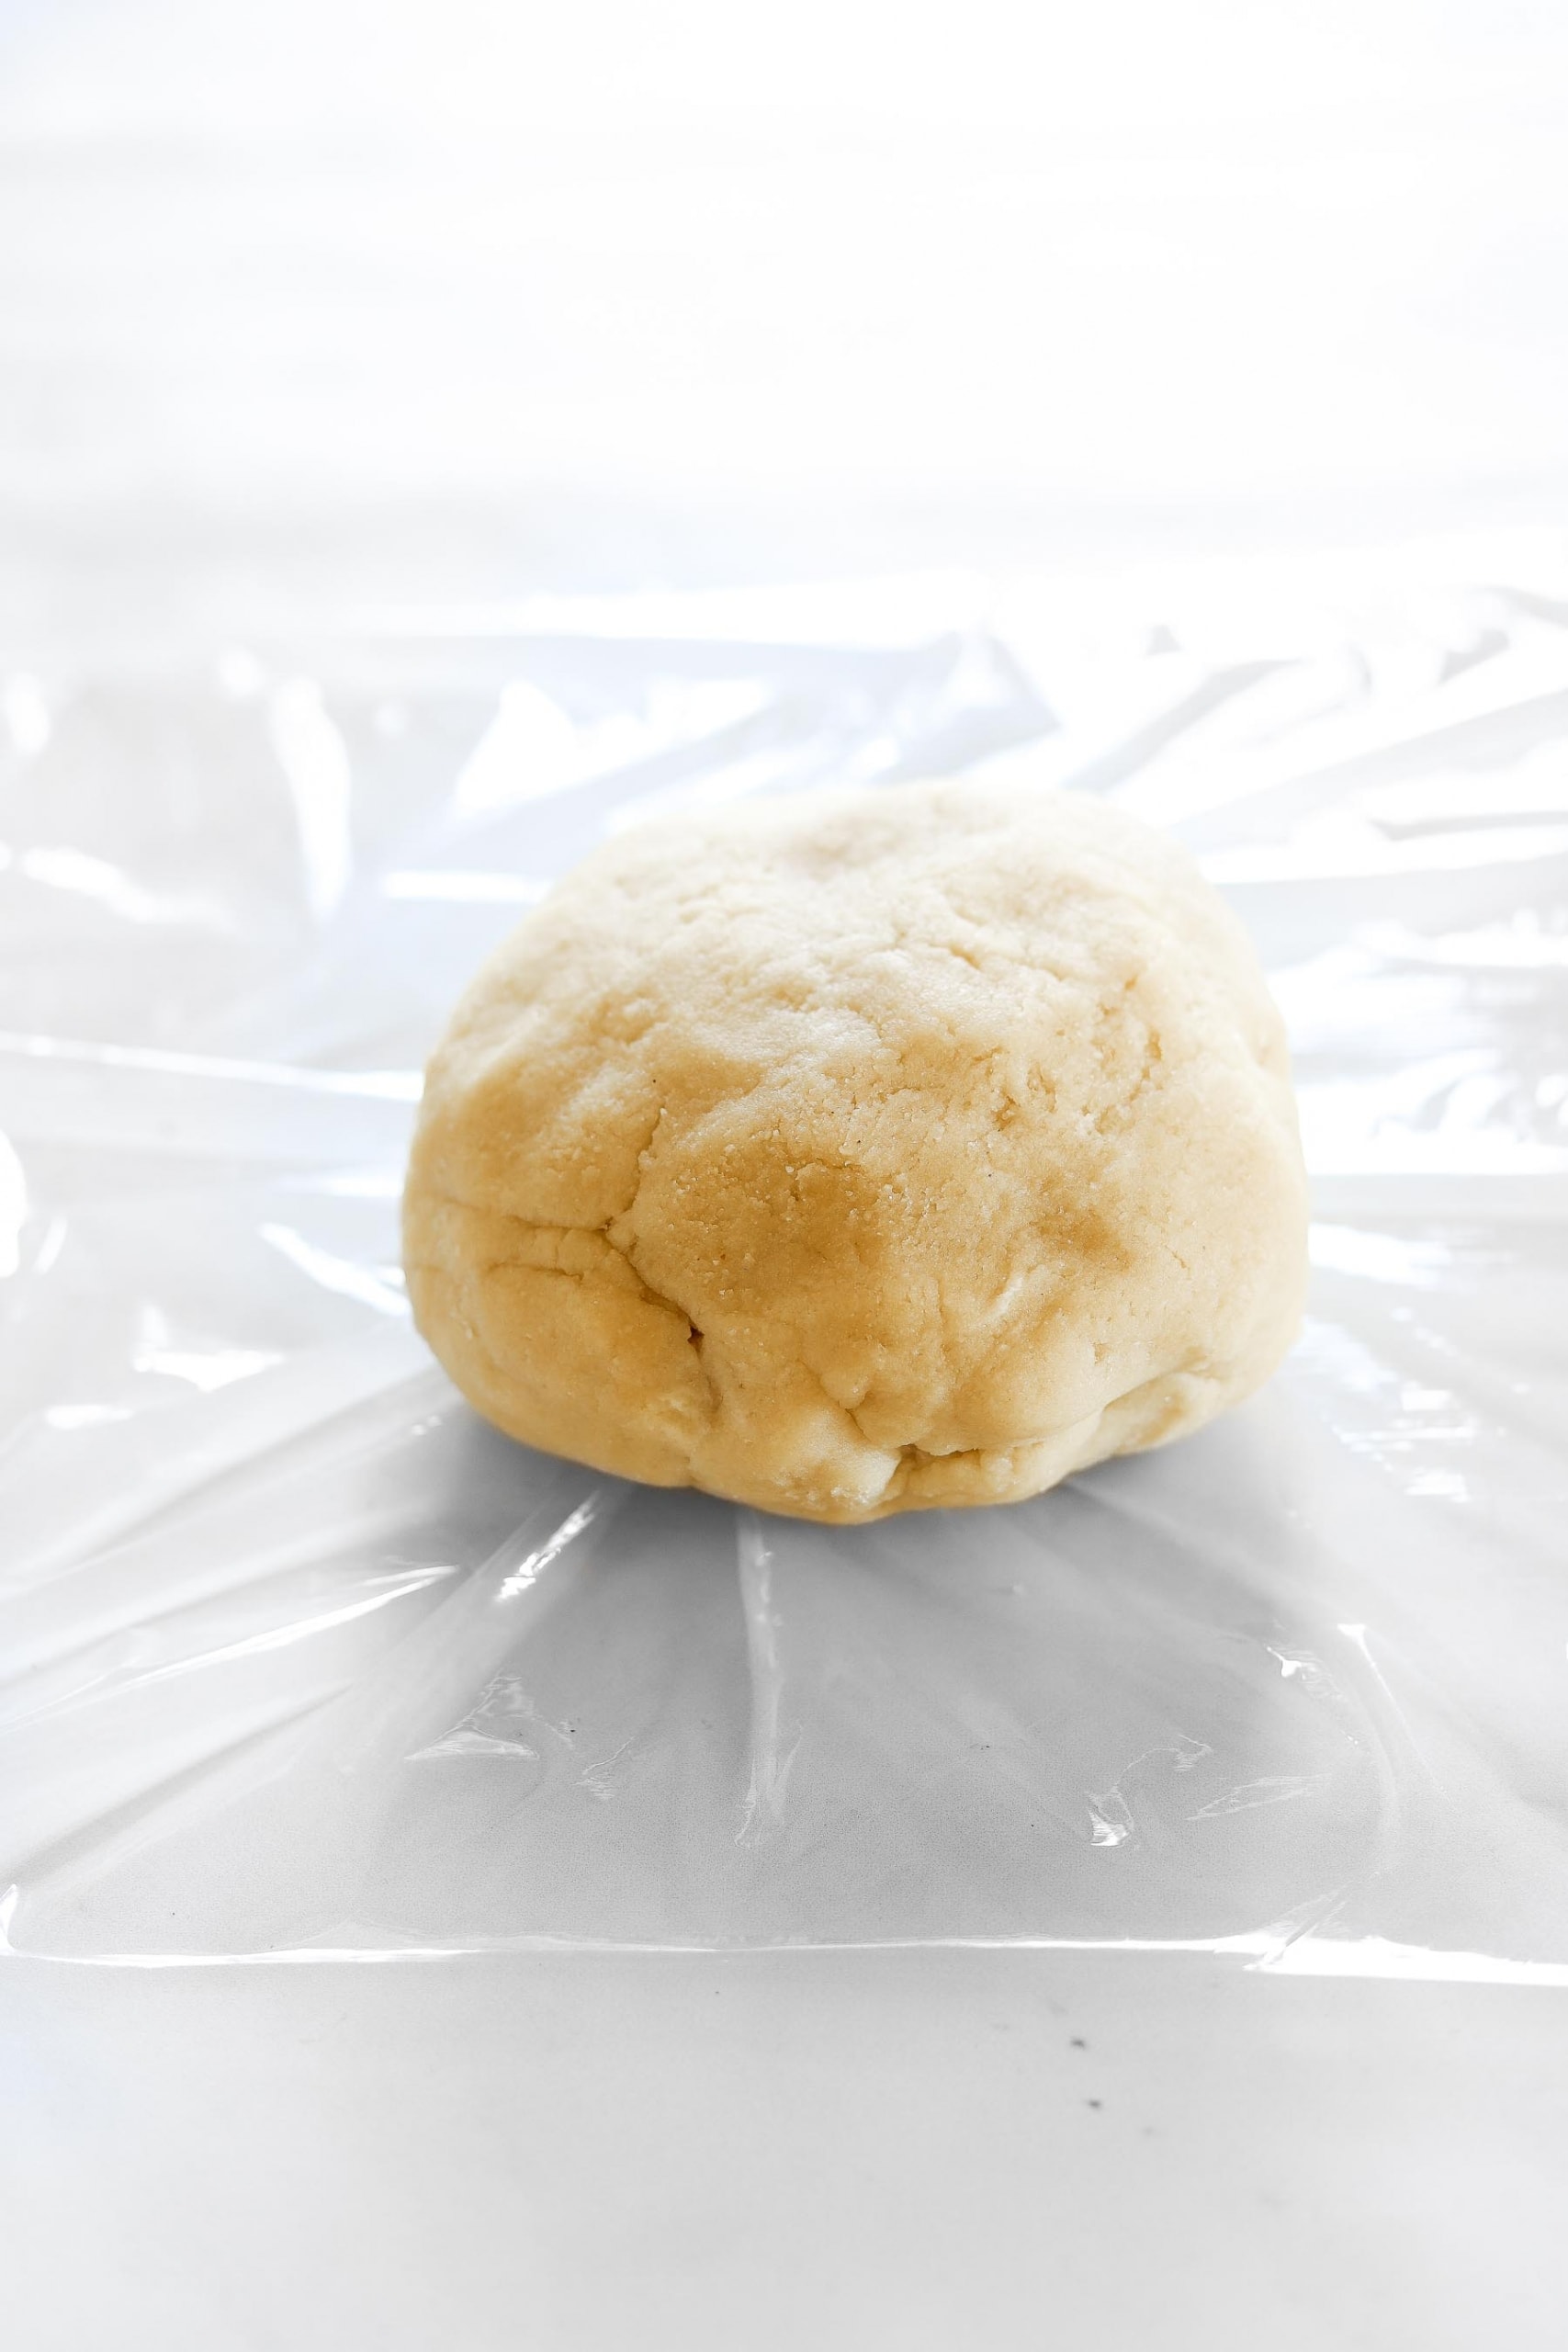
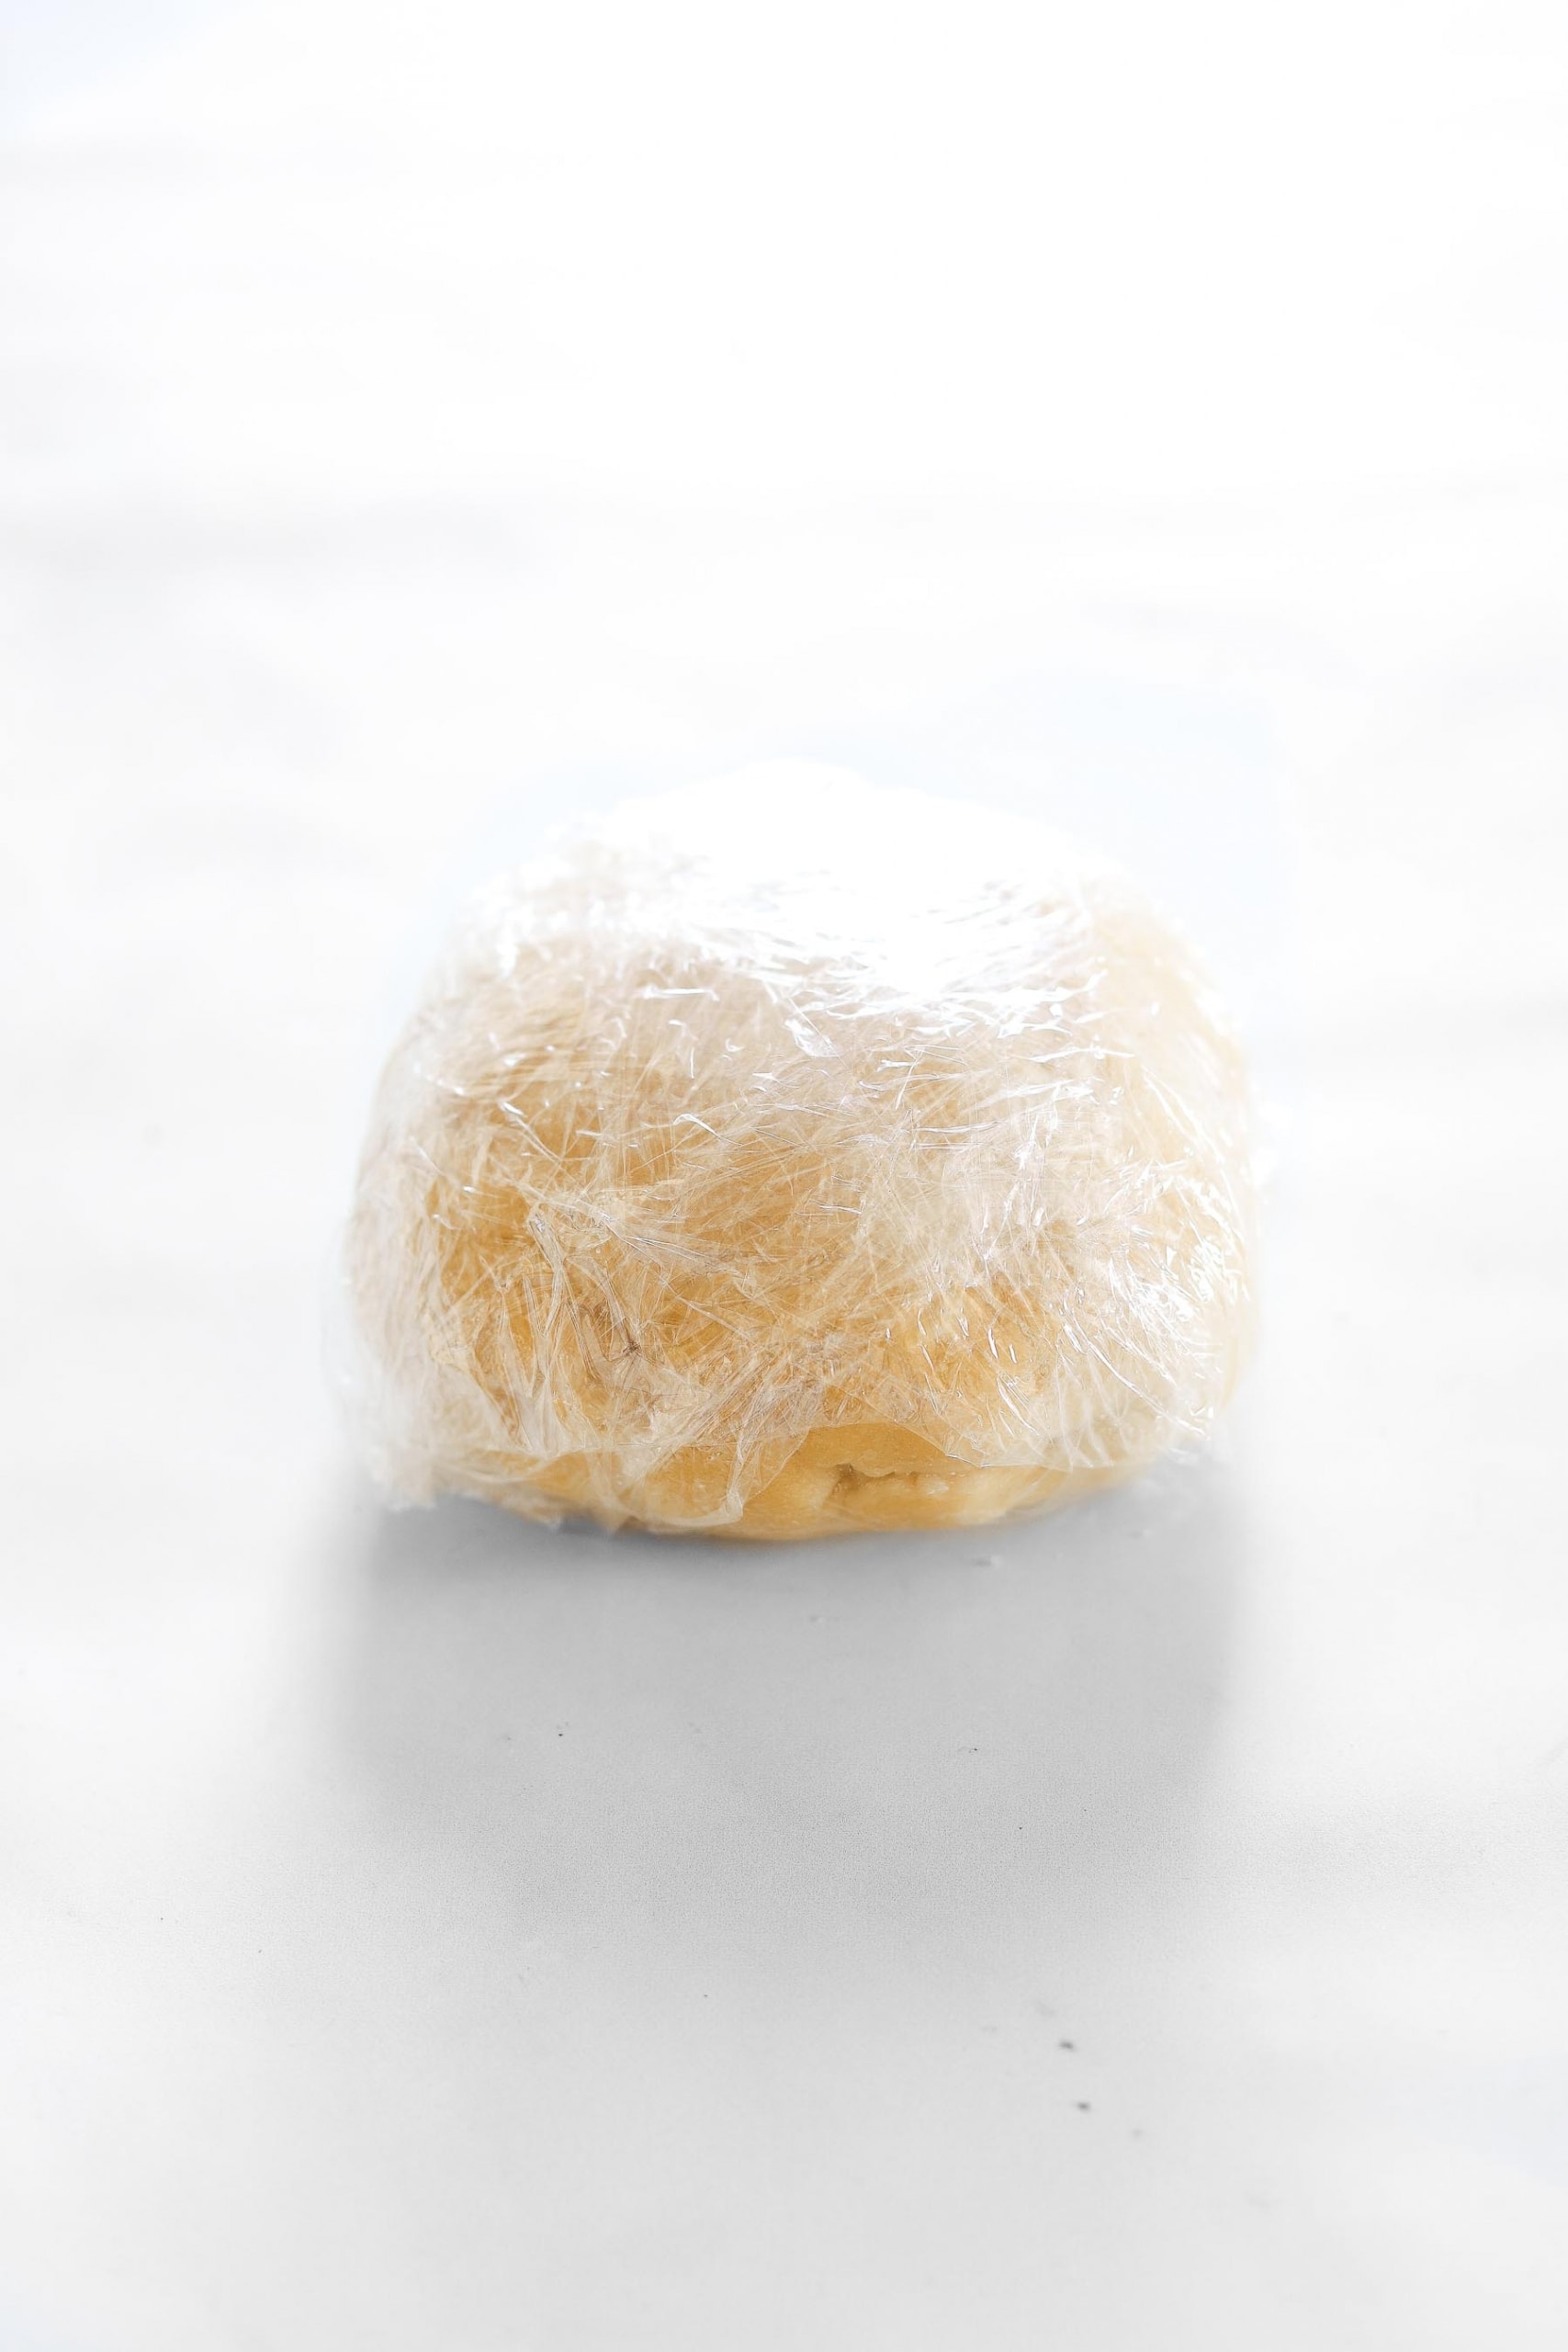
3. Gather your dough, press into a disc/slightly flattened ball and wrap tightly with a sheet of plastic wrap / cling wrap. This gluten-free pie dough needs to be refrigerated for at least 1 hour (preferably 2+ hours or even overnight). If you’re looking for a more eco-friendly cling wrap, check out this compostable cling wrap!
4. Preheat oven to 350ºF. Grease a pie pan lightly with butter or oil. I’m obsessed with this pie pan! It’s the one in the photos!
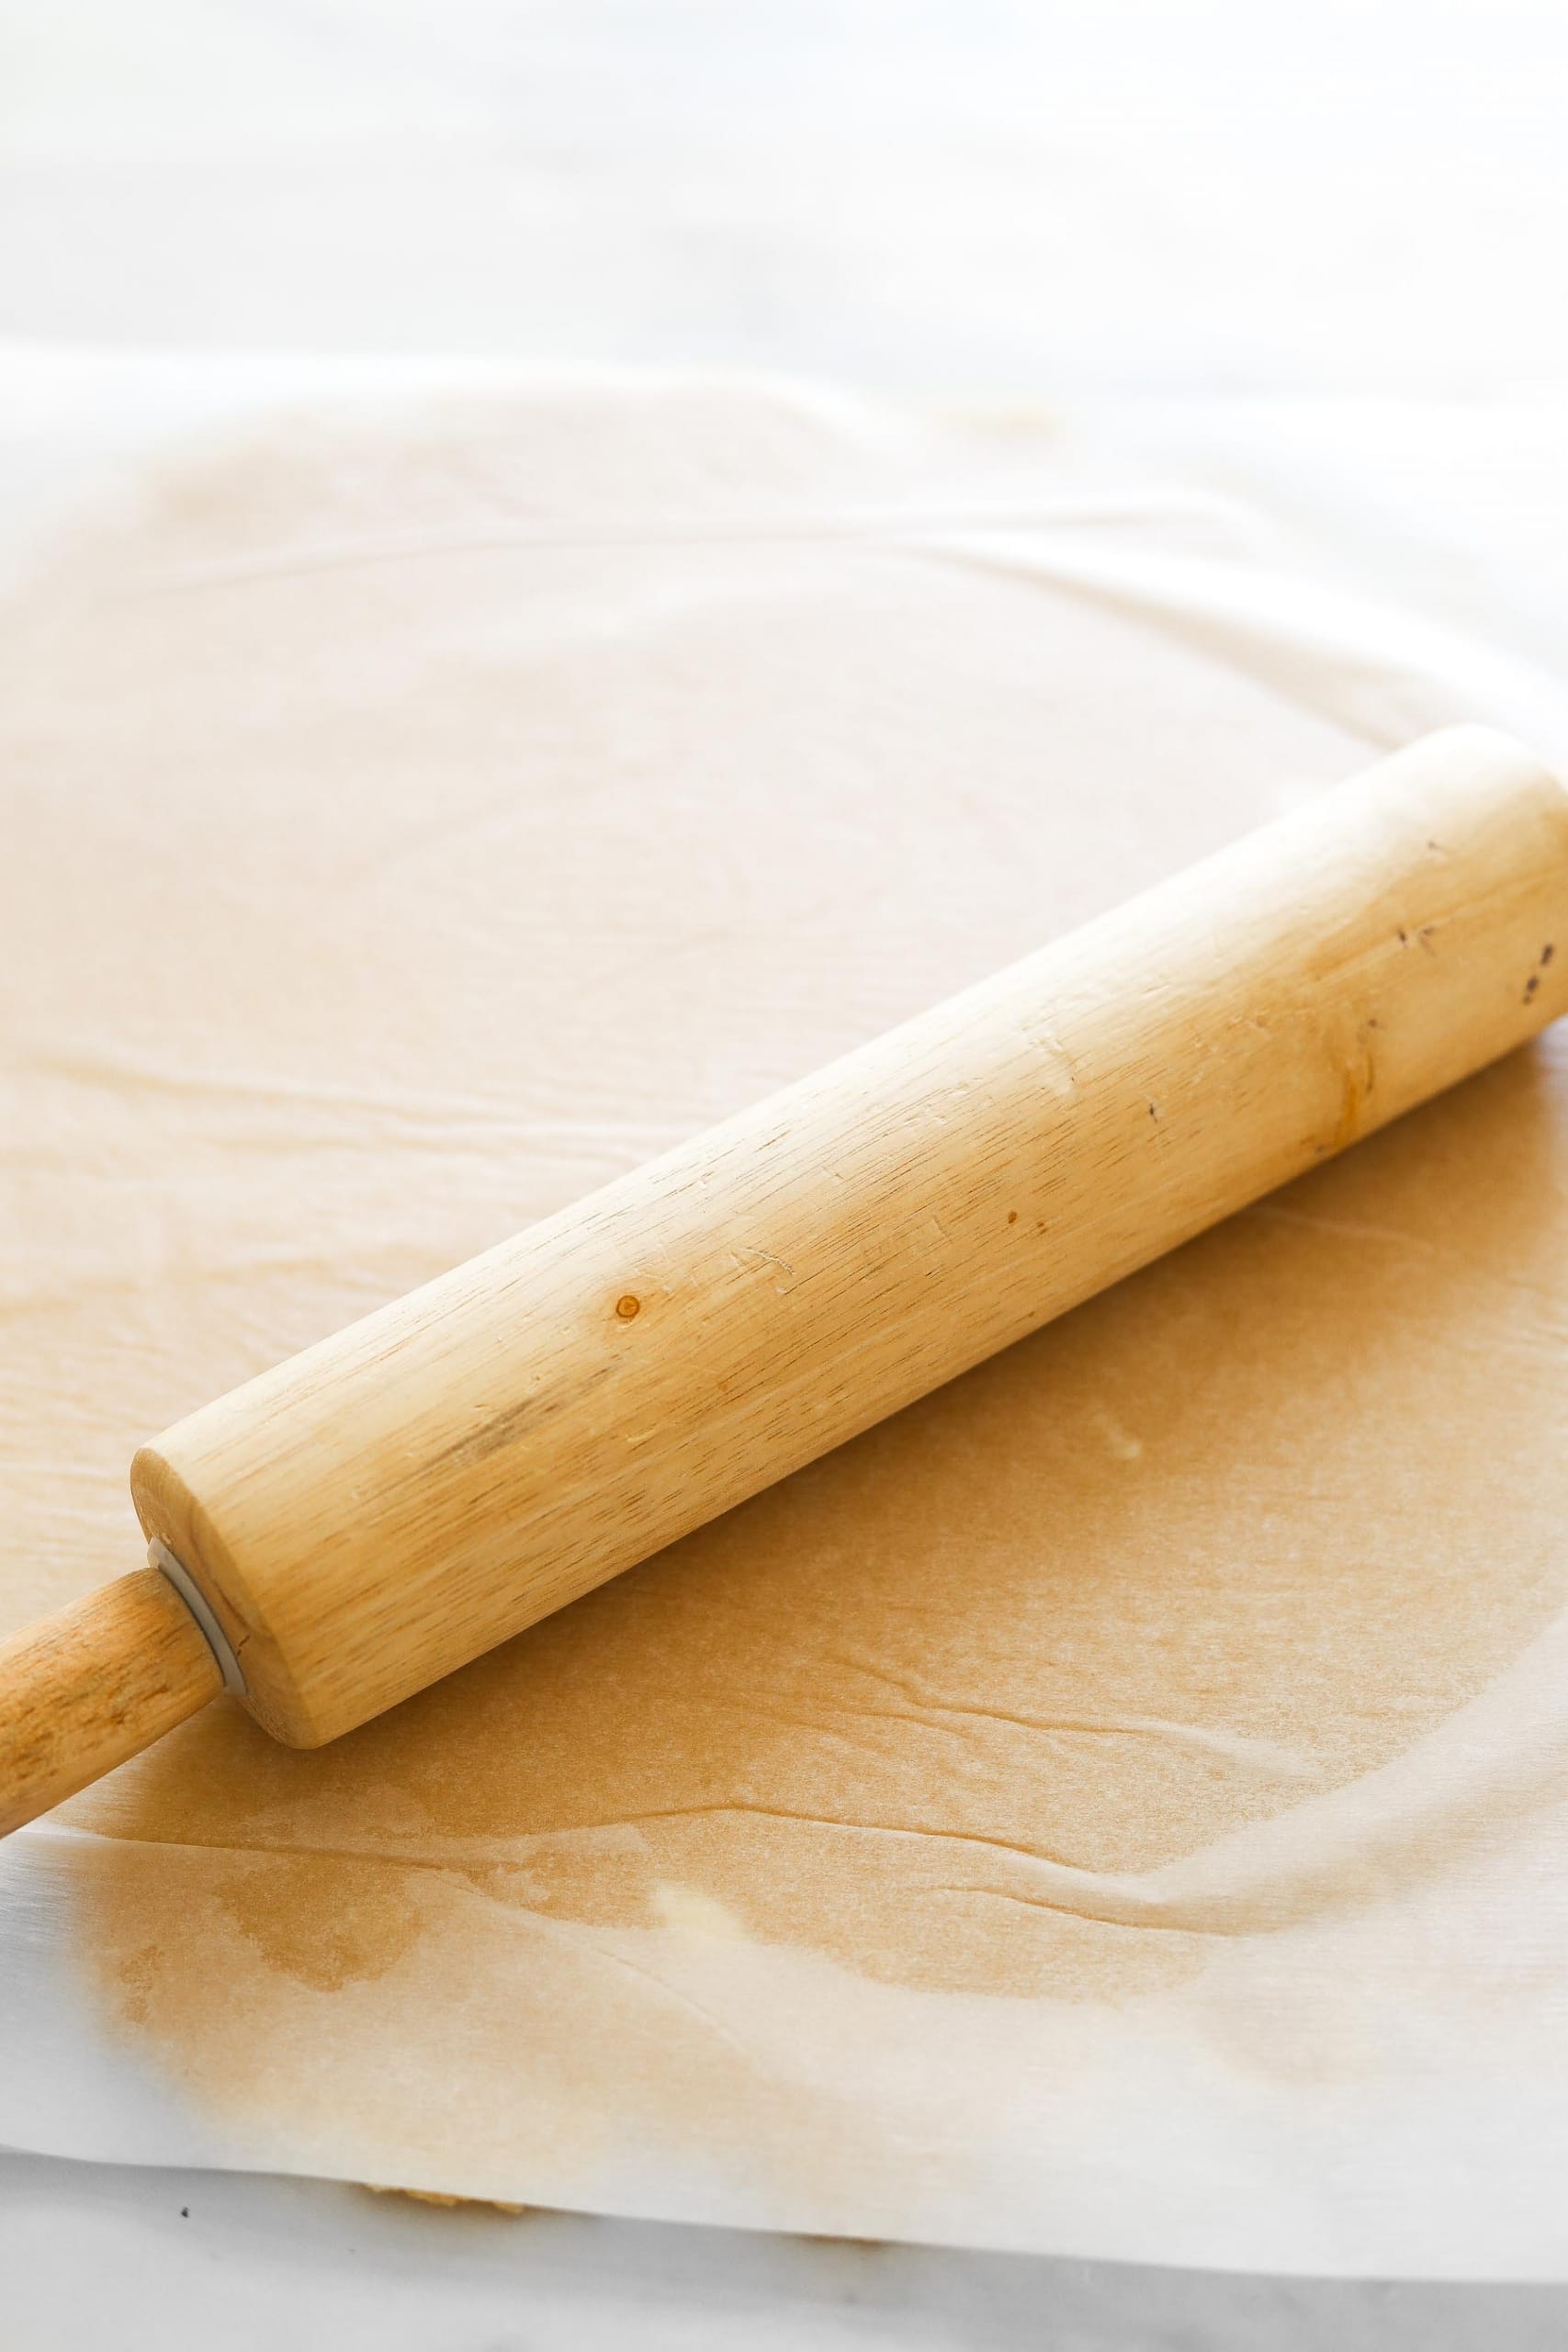
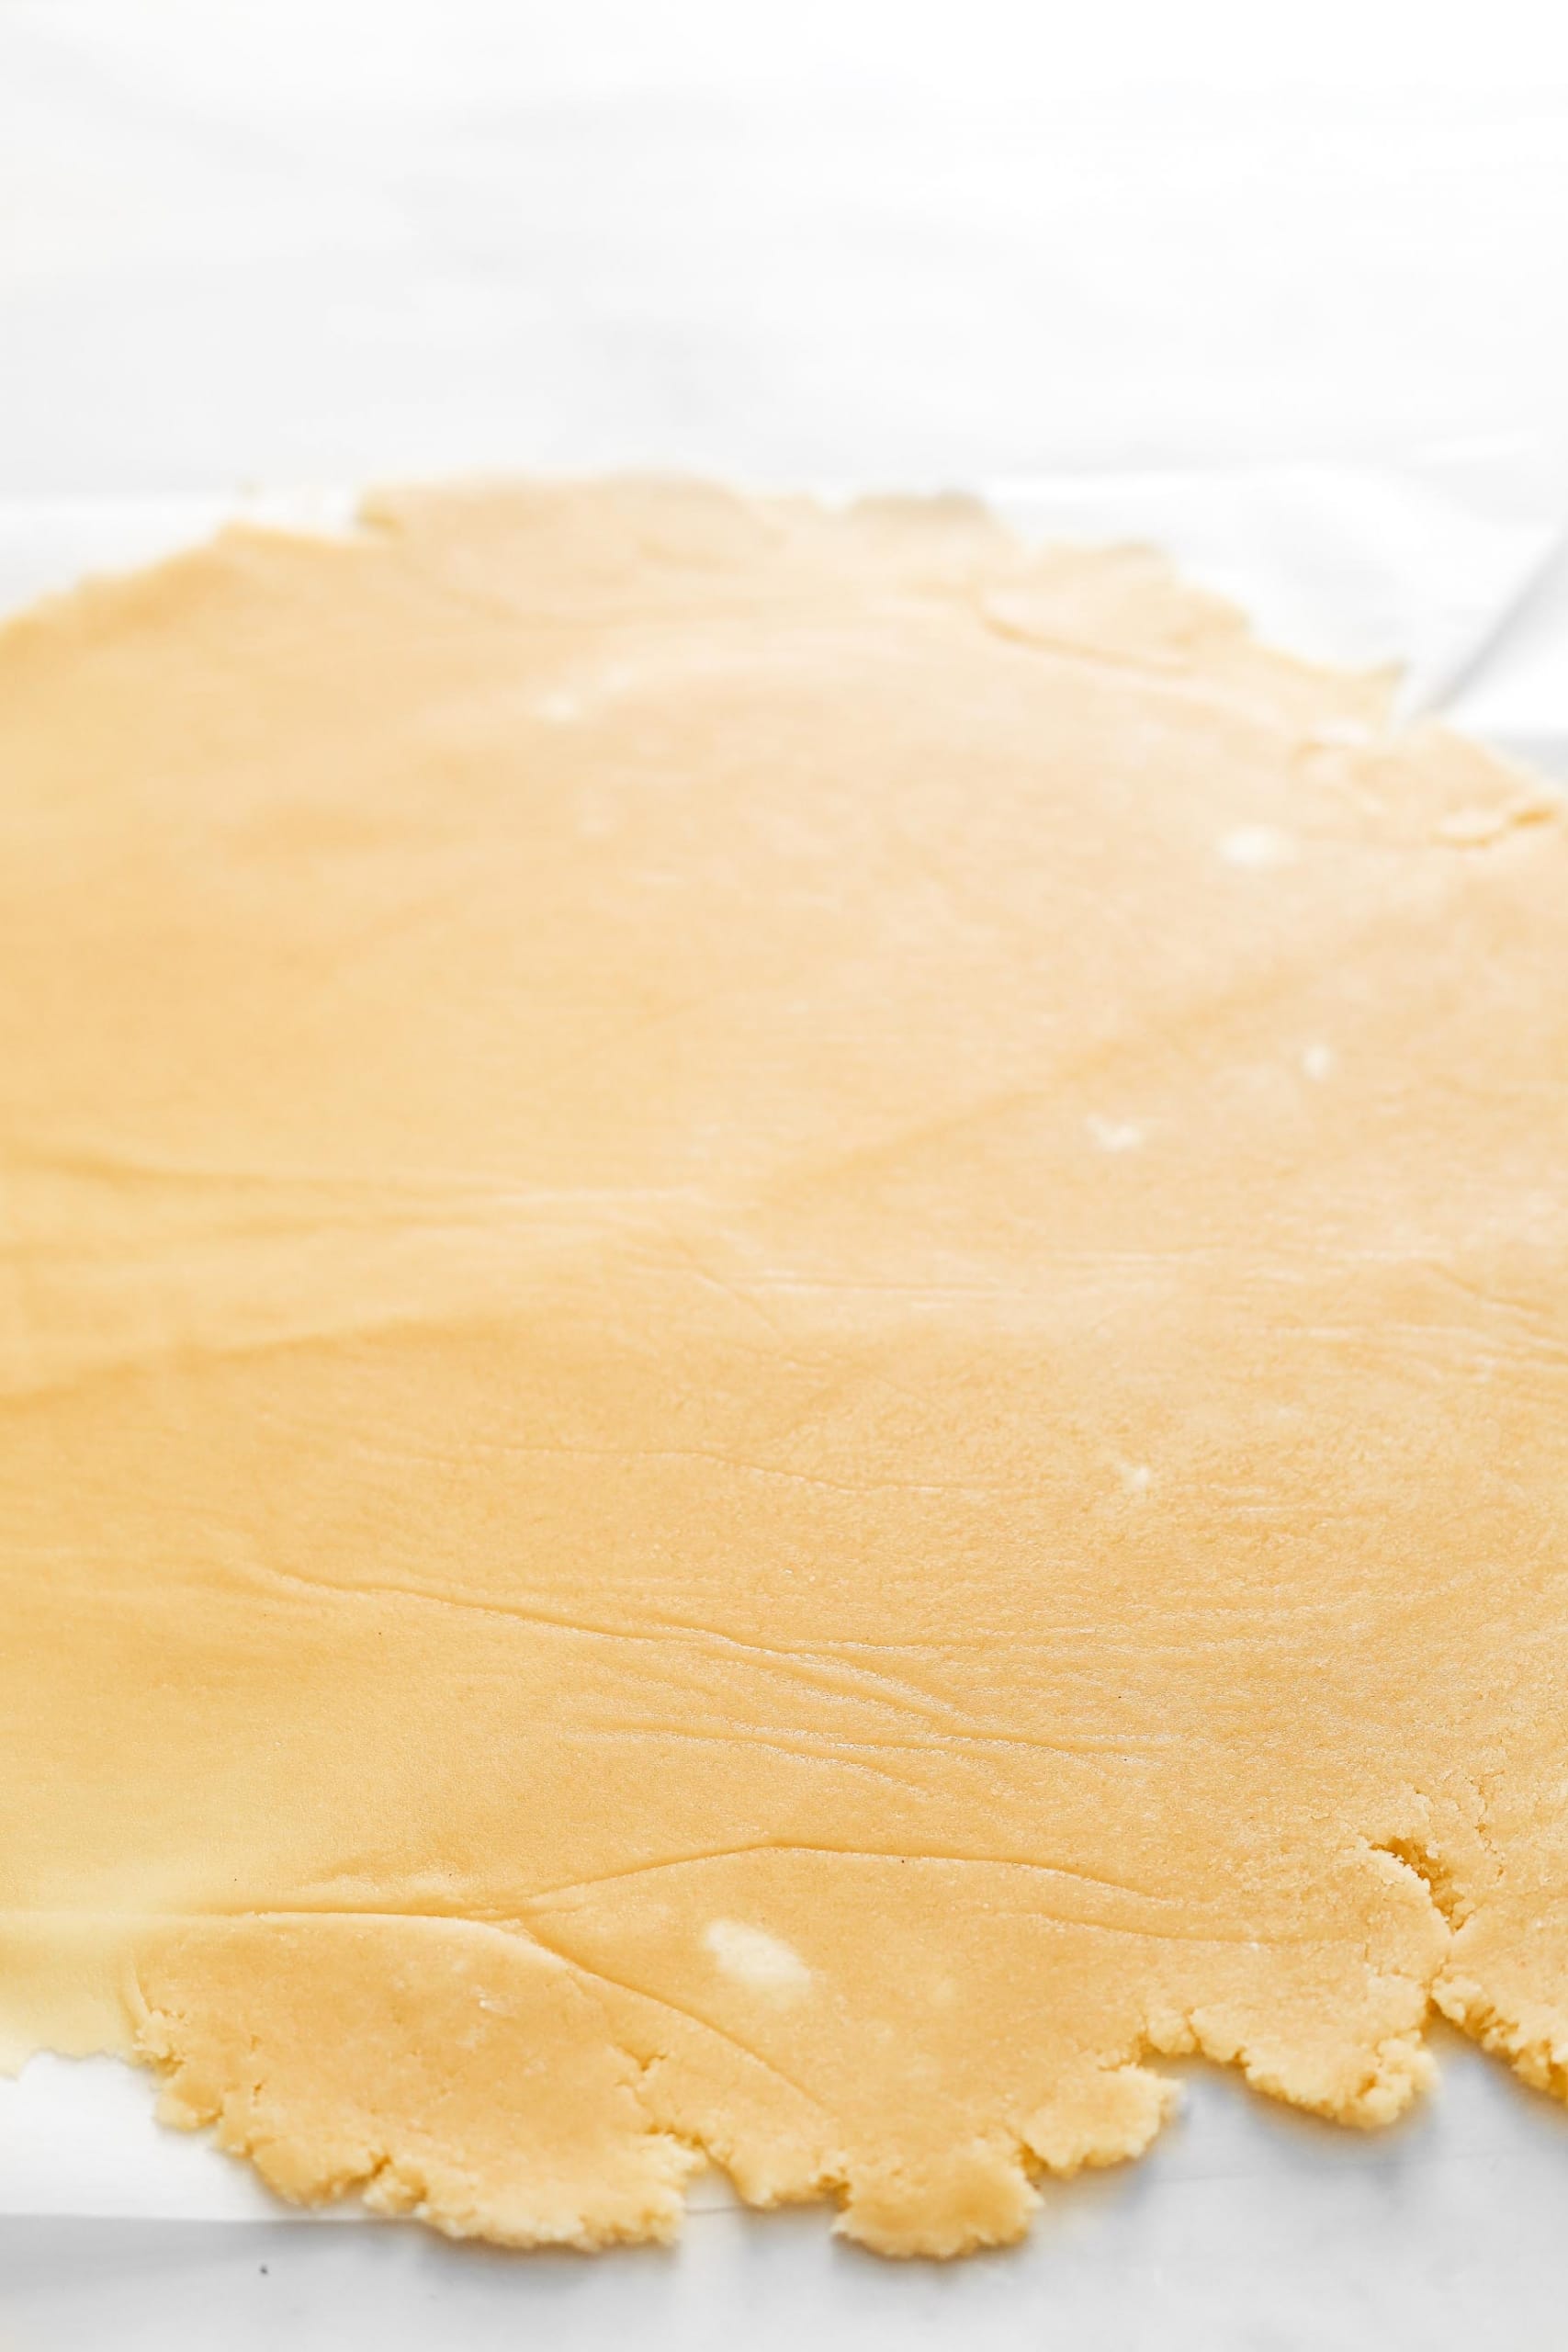
5. Place chilled pastry dough between two large sheets of parchment paper and use a rolling pin to roll to ⅛” thickness and at least 1” larger in diameter than the pie pan. Work quickly because this dough needs to be really cold to work with. If it starts to get sticky and difficult to work with, just place it in the freezer for a few minutes then try again. You can also try using a pie crust bag here to roll it out (although I haven’t tried it myself, so no guarantees that it will work!)
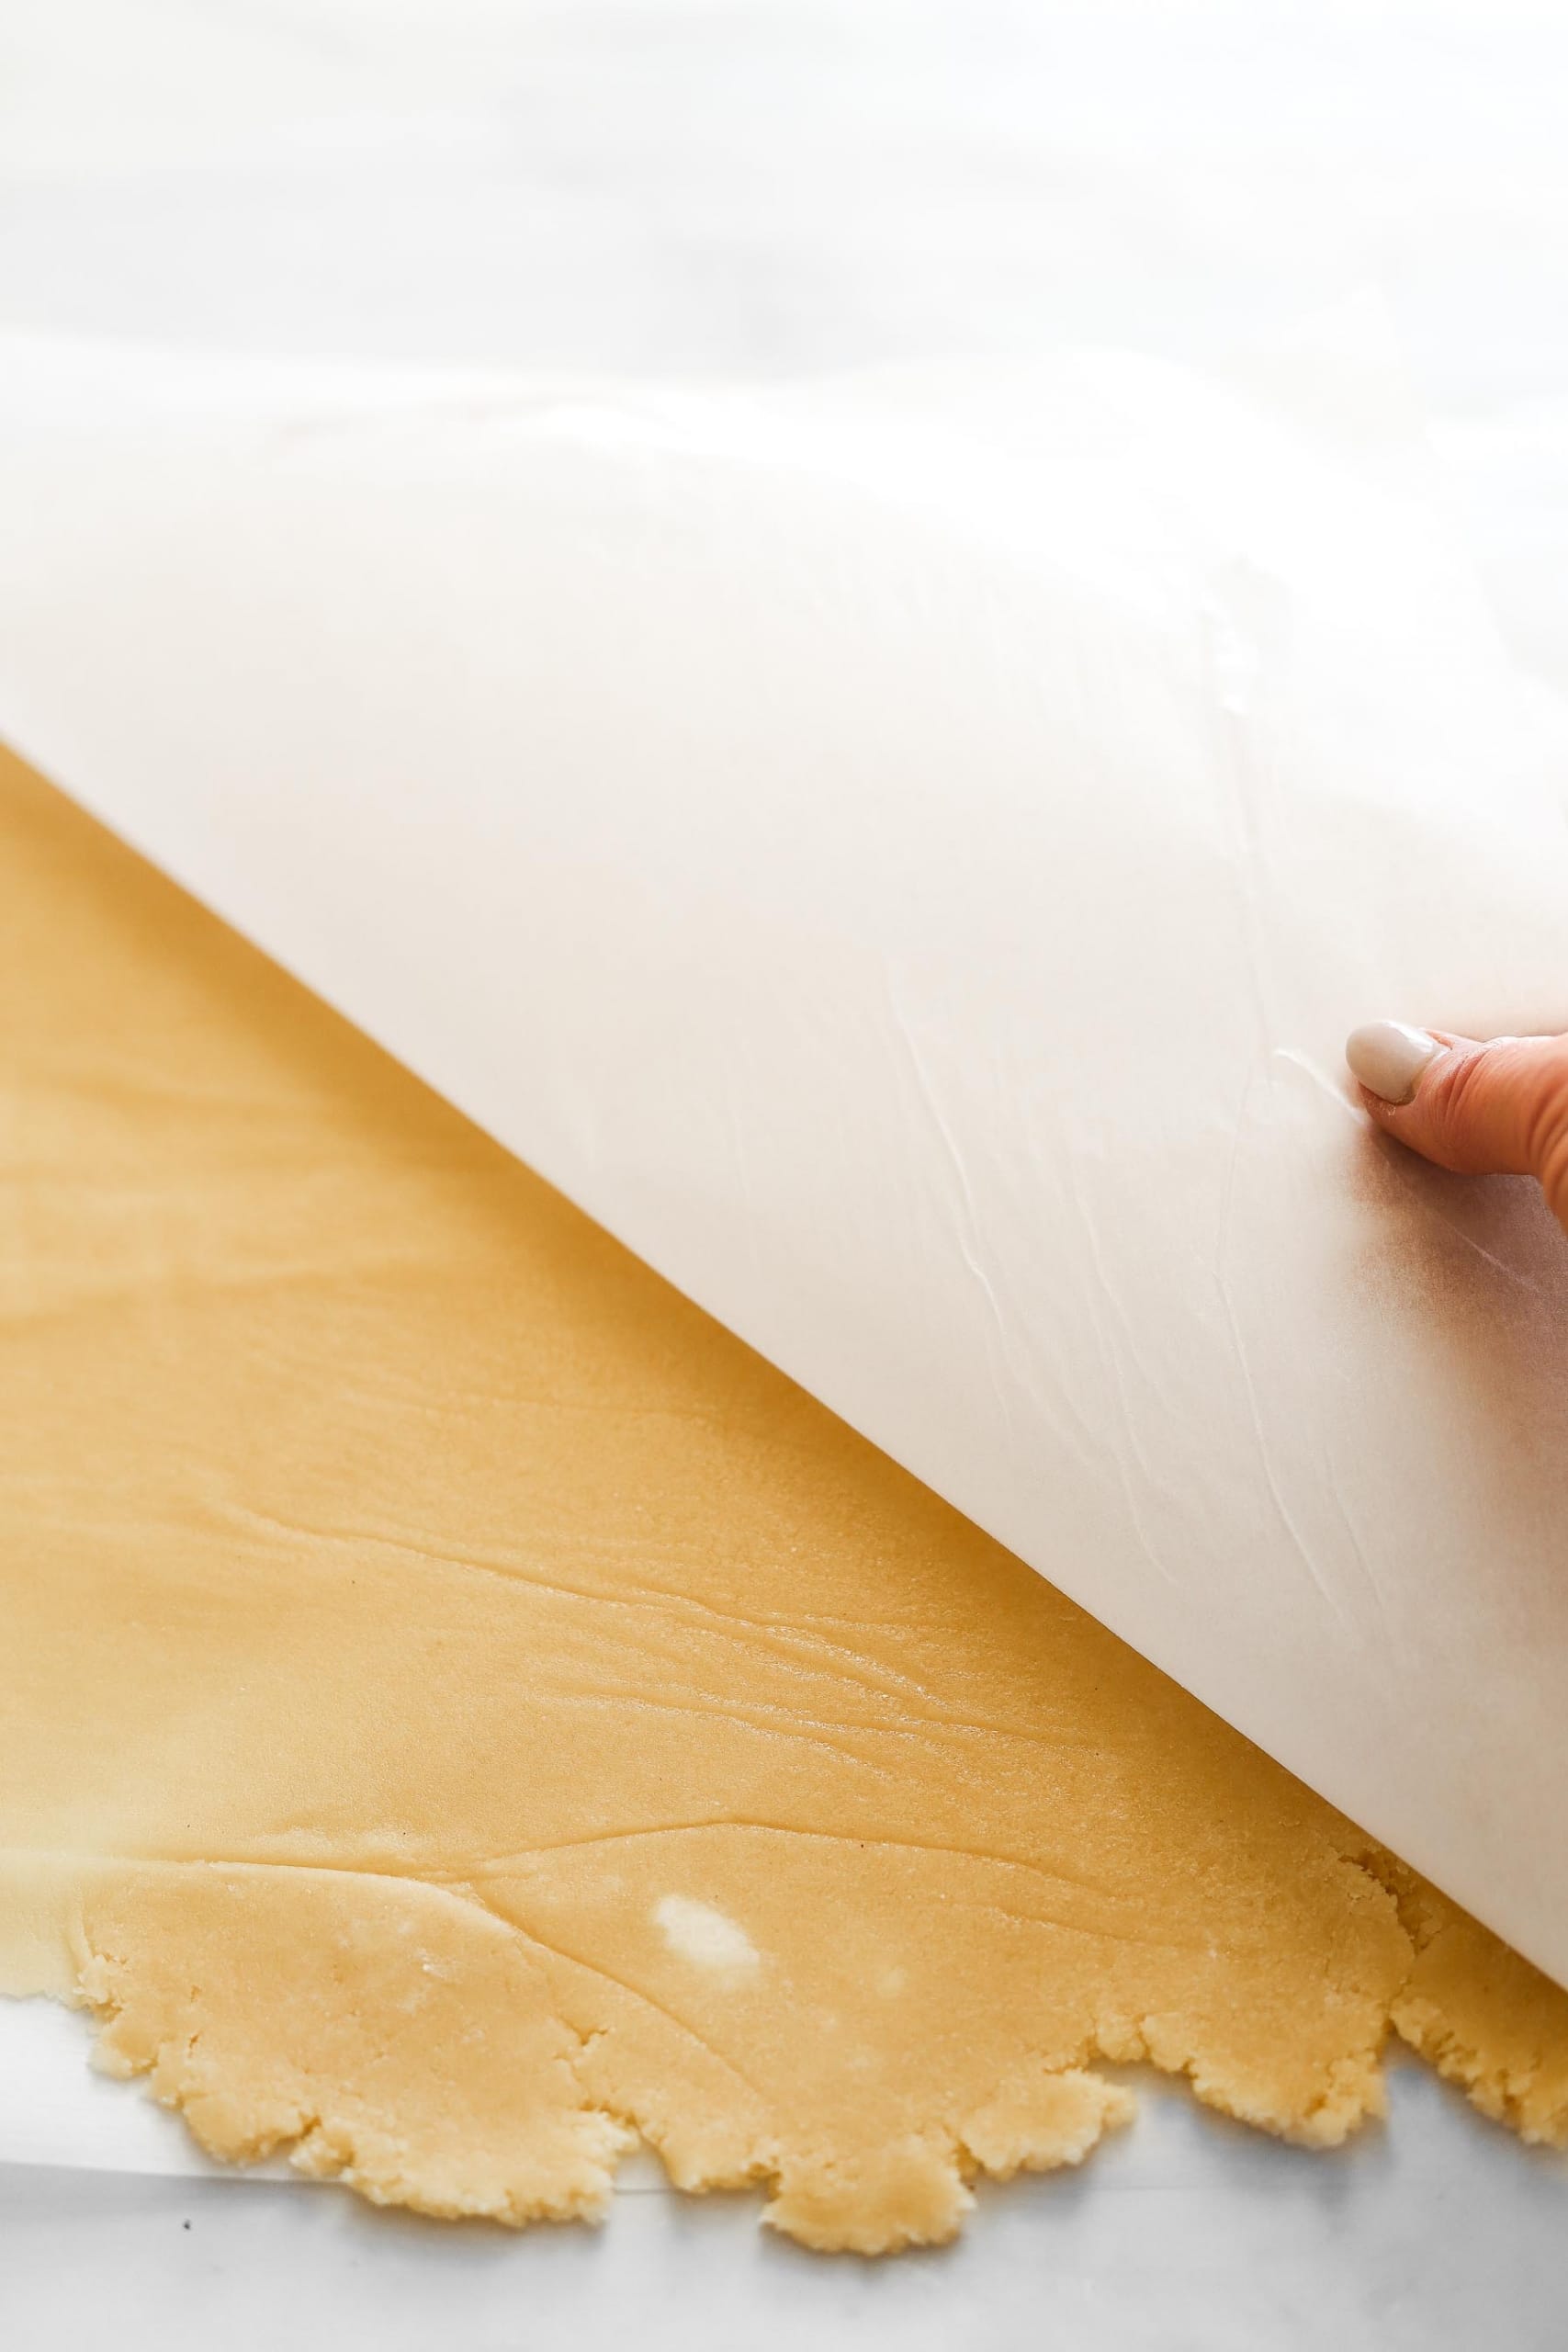
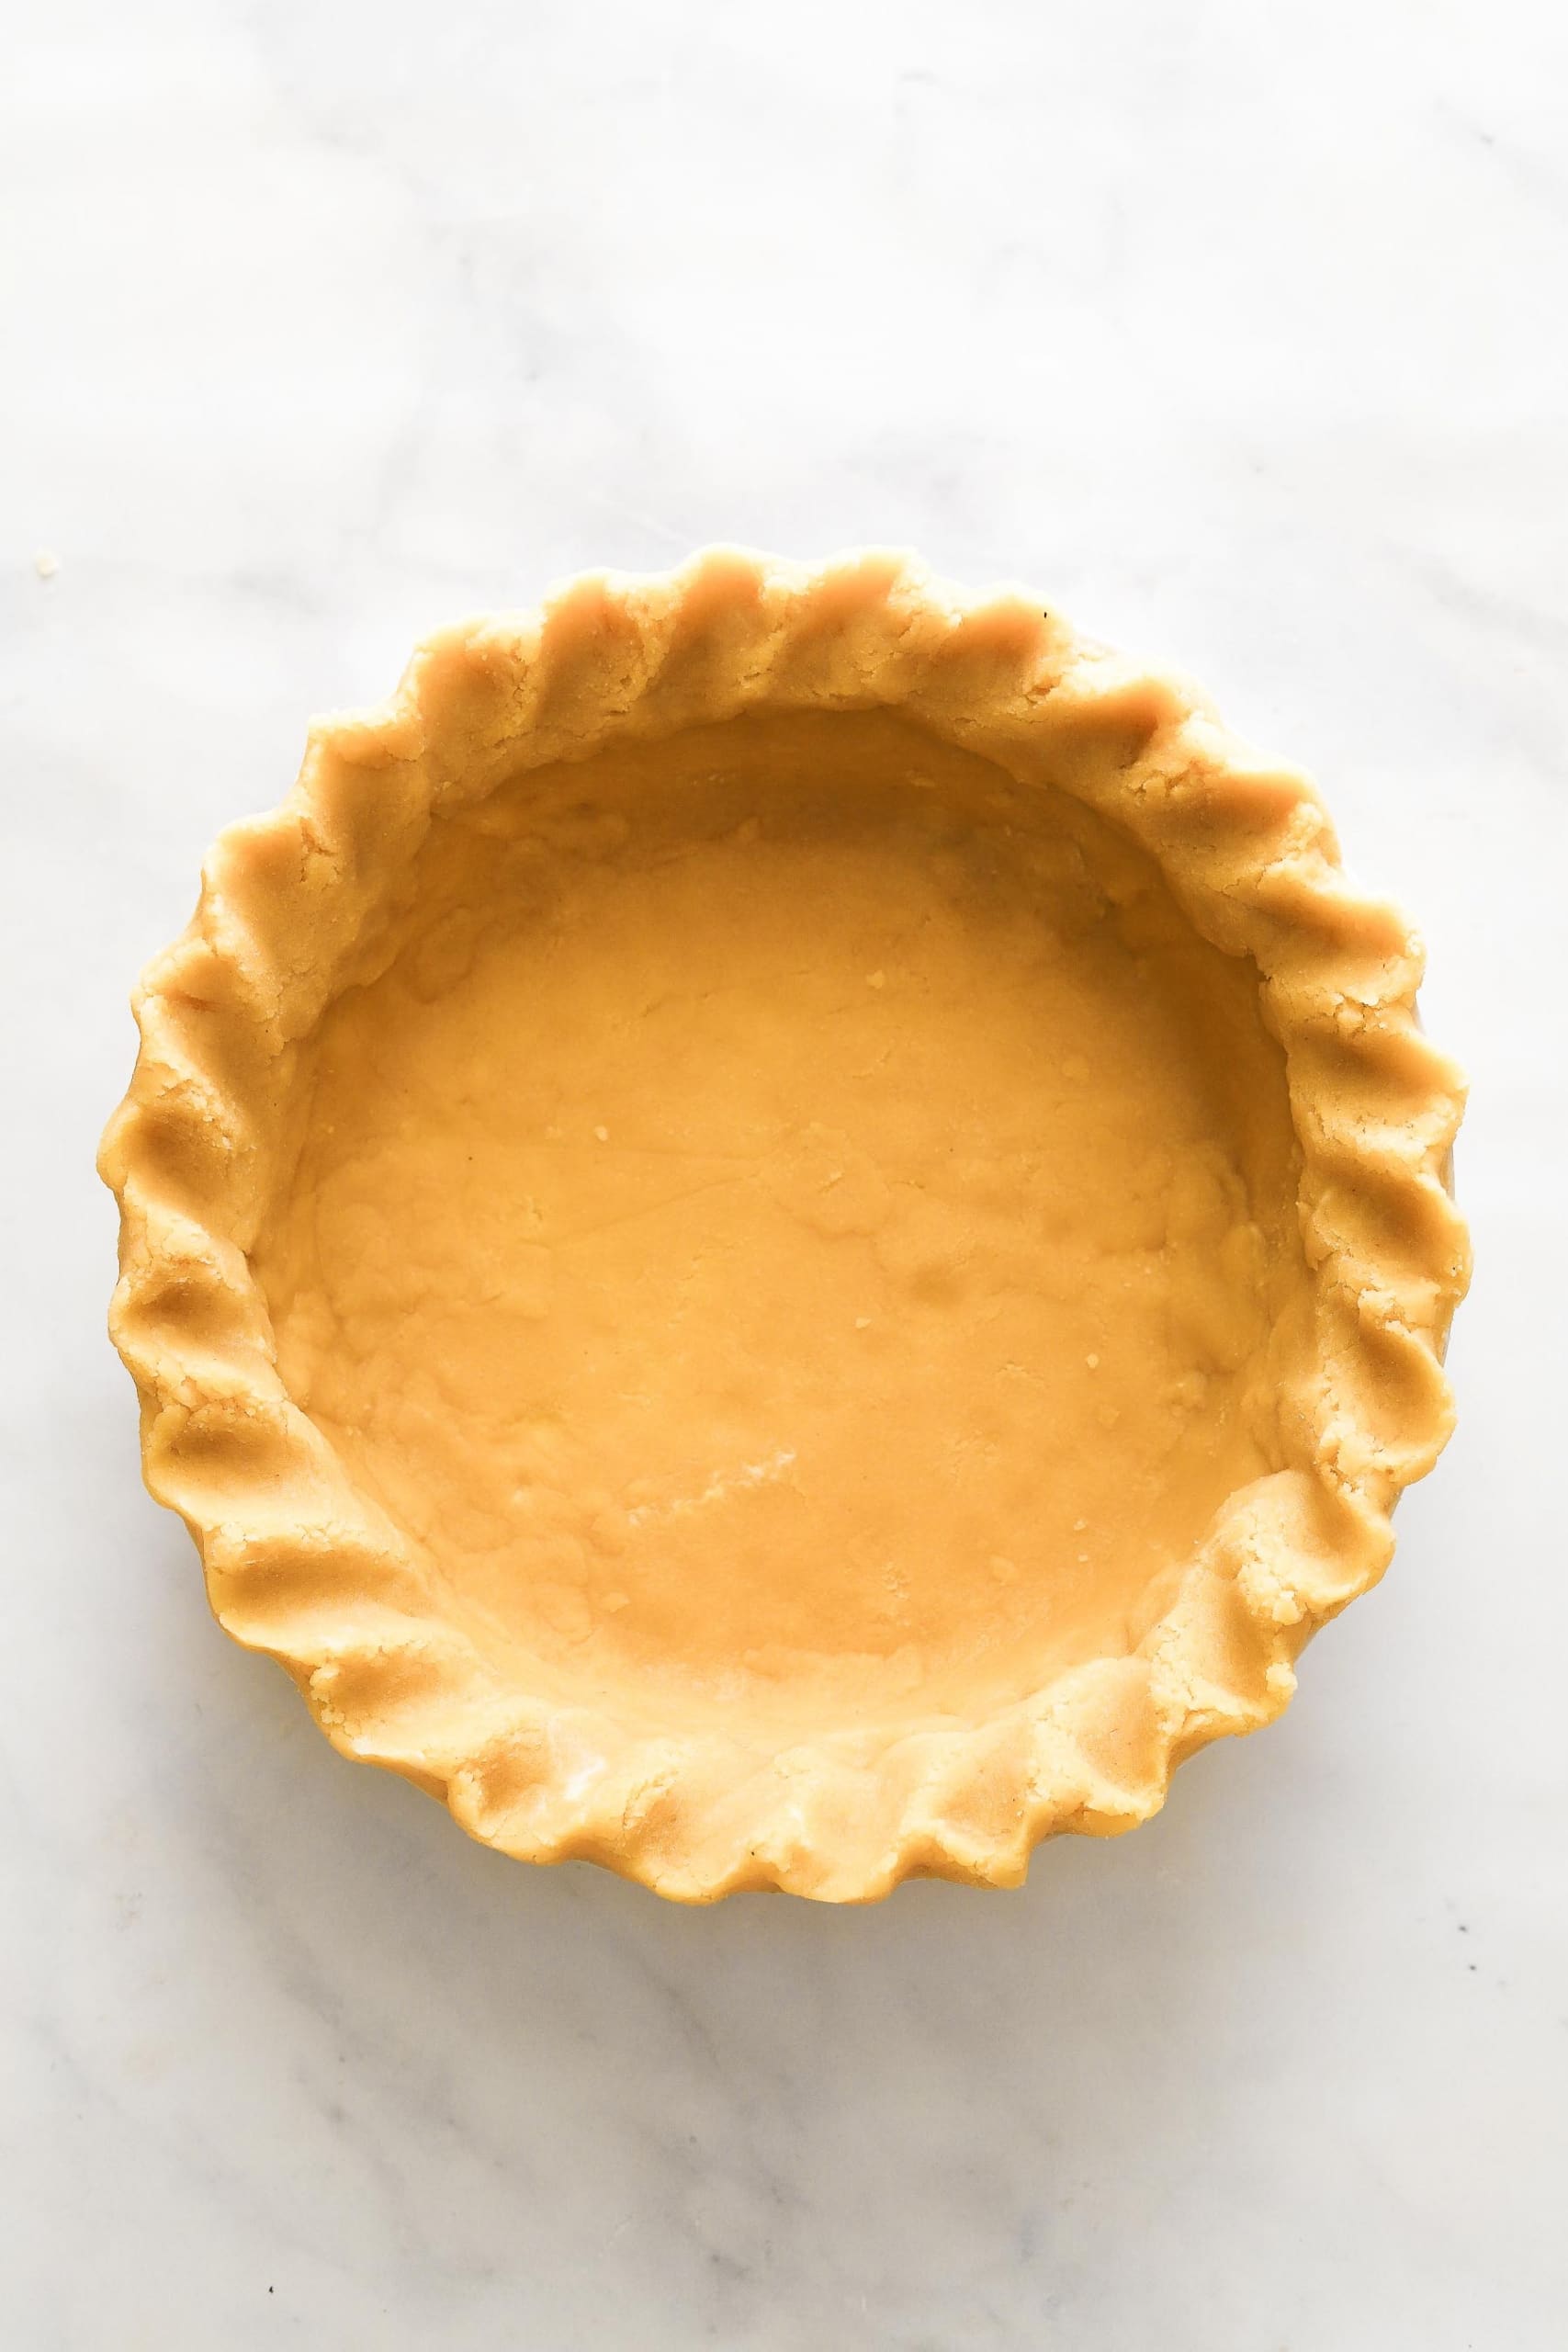
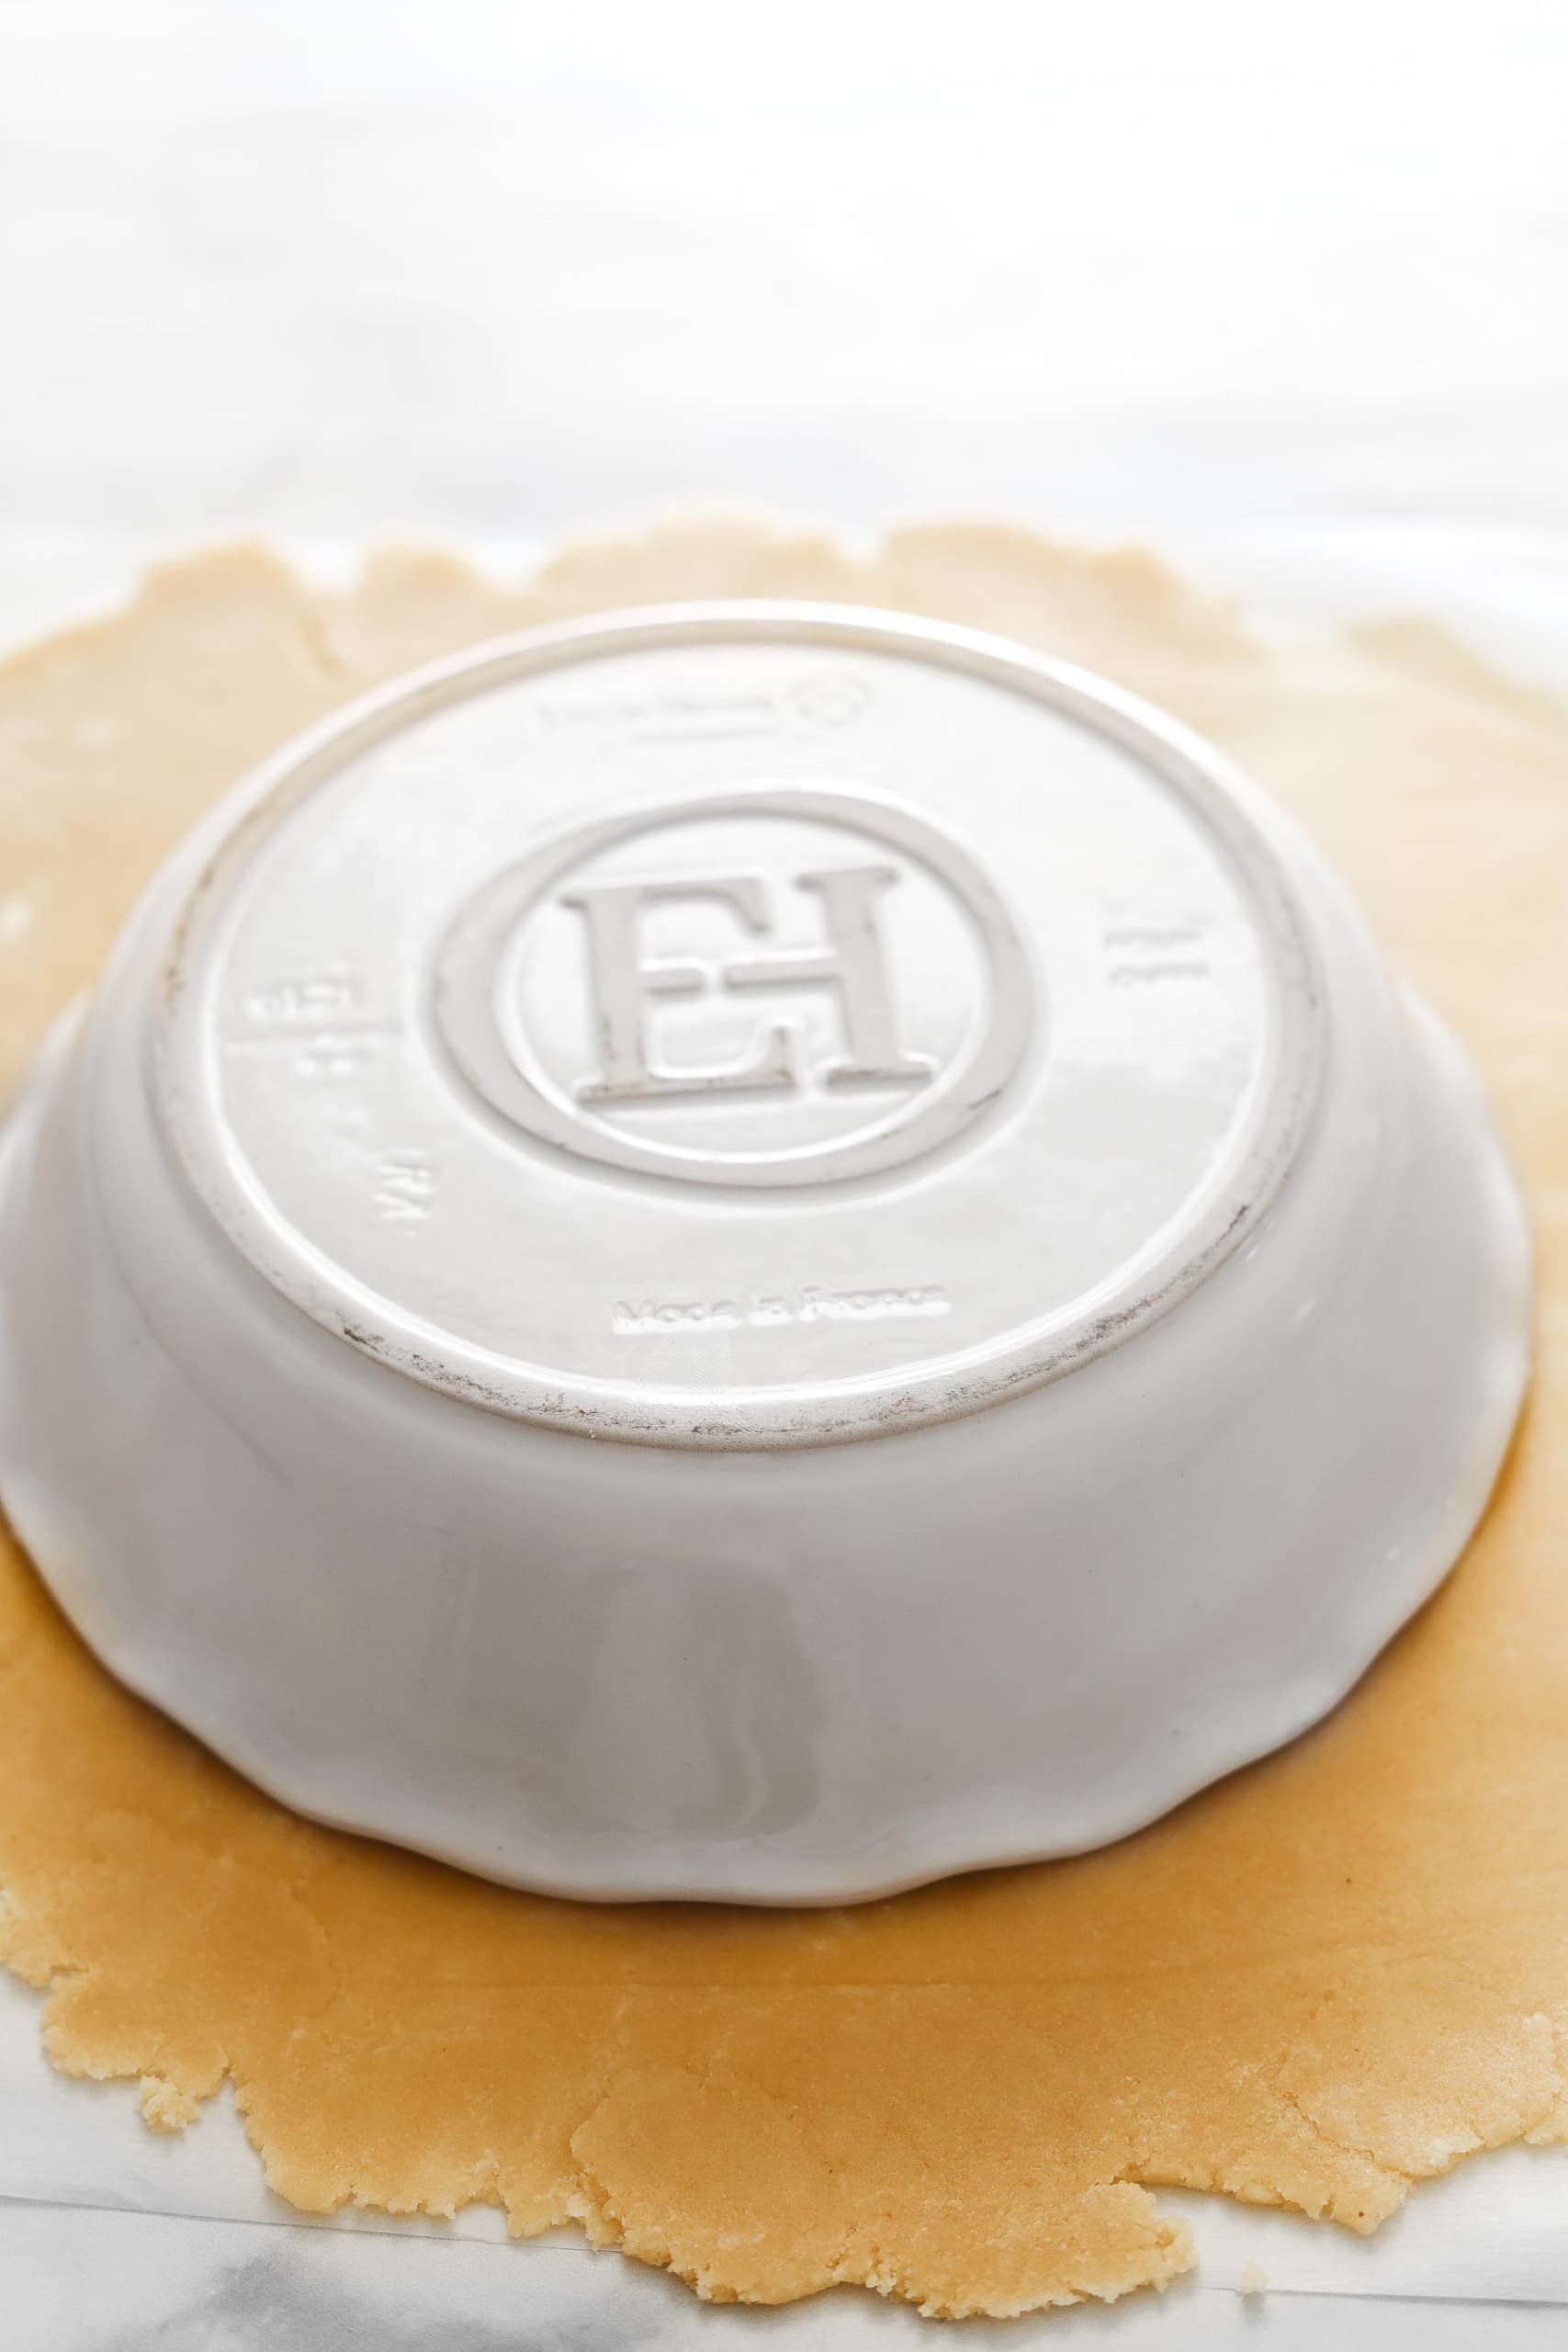
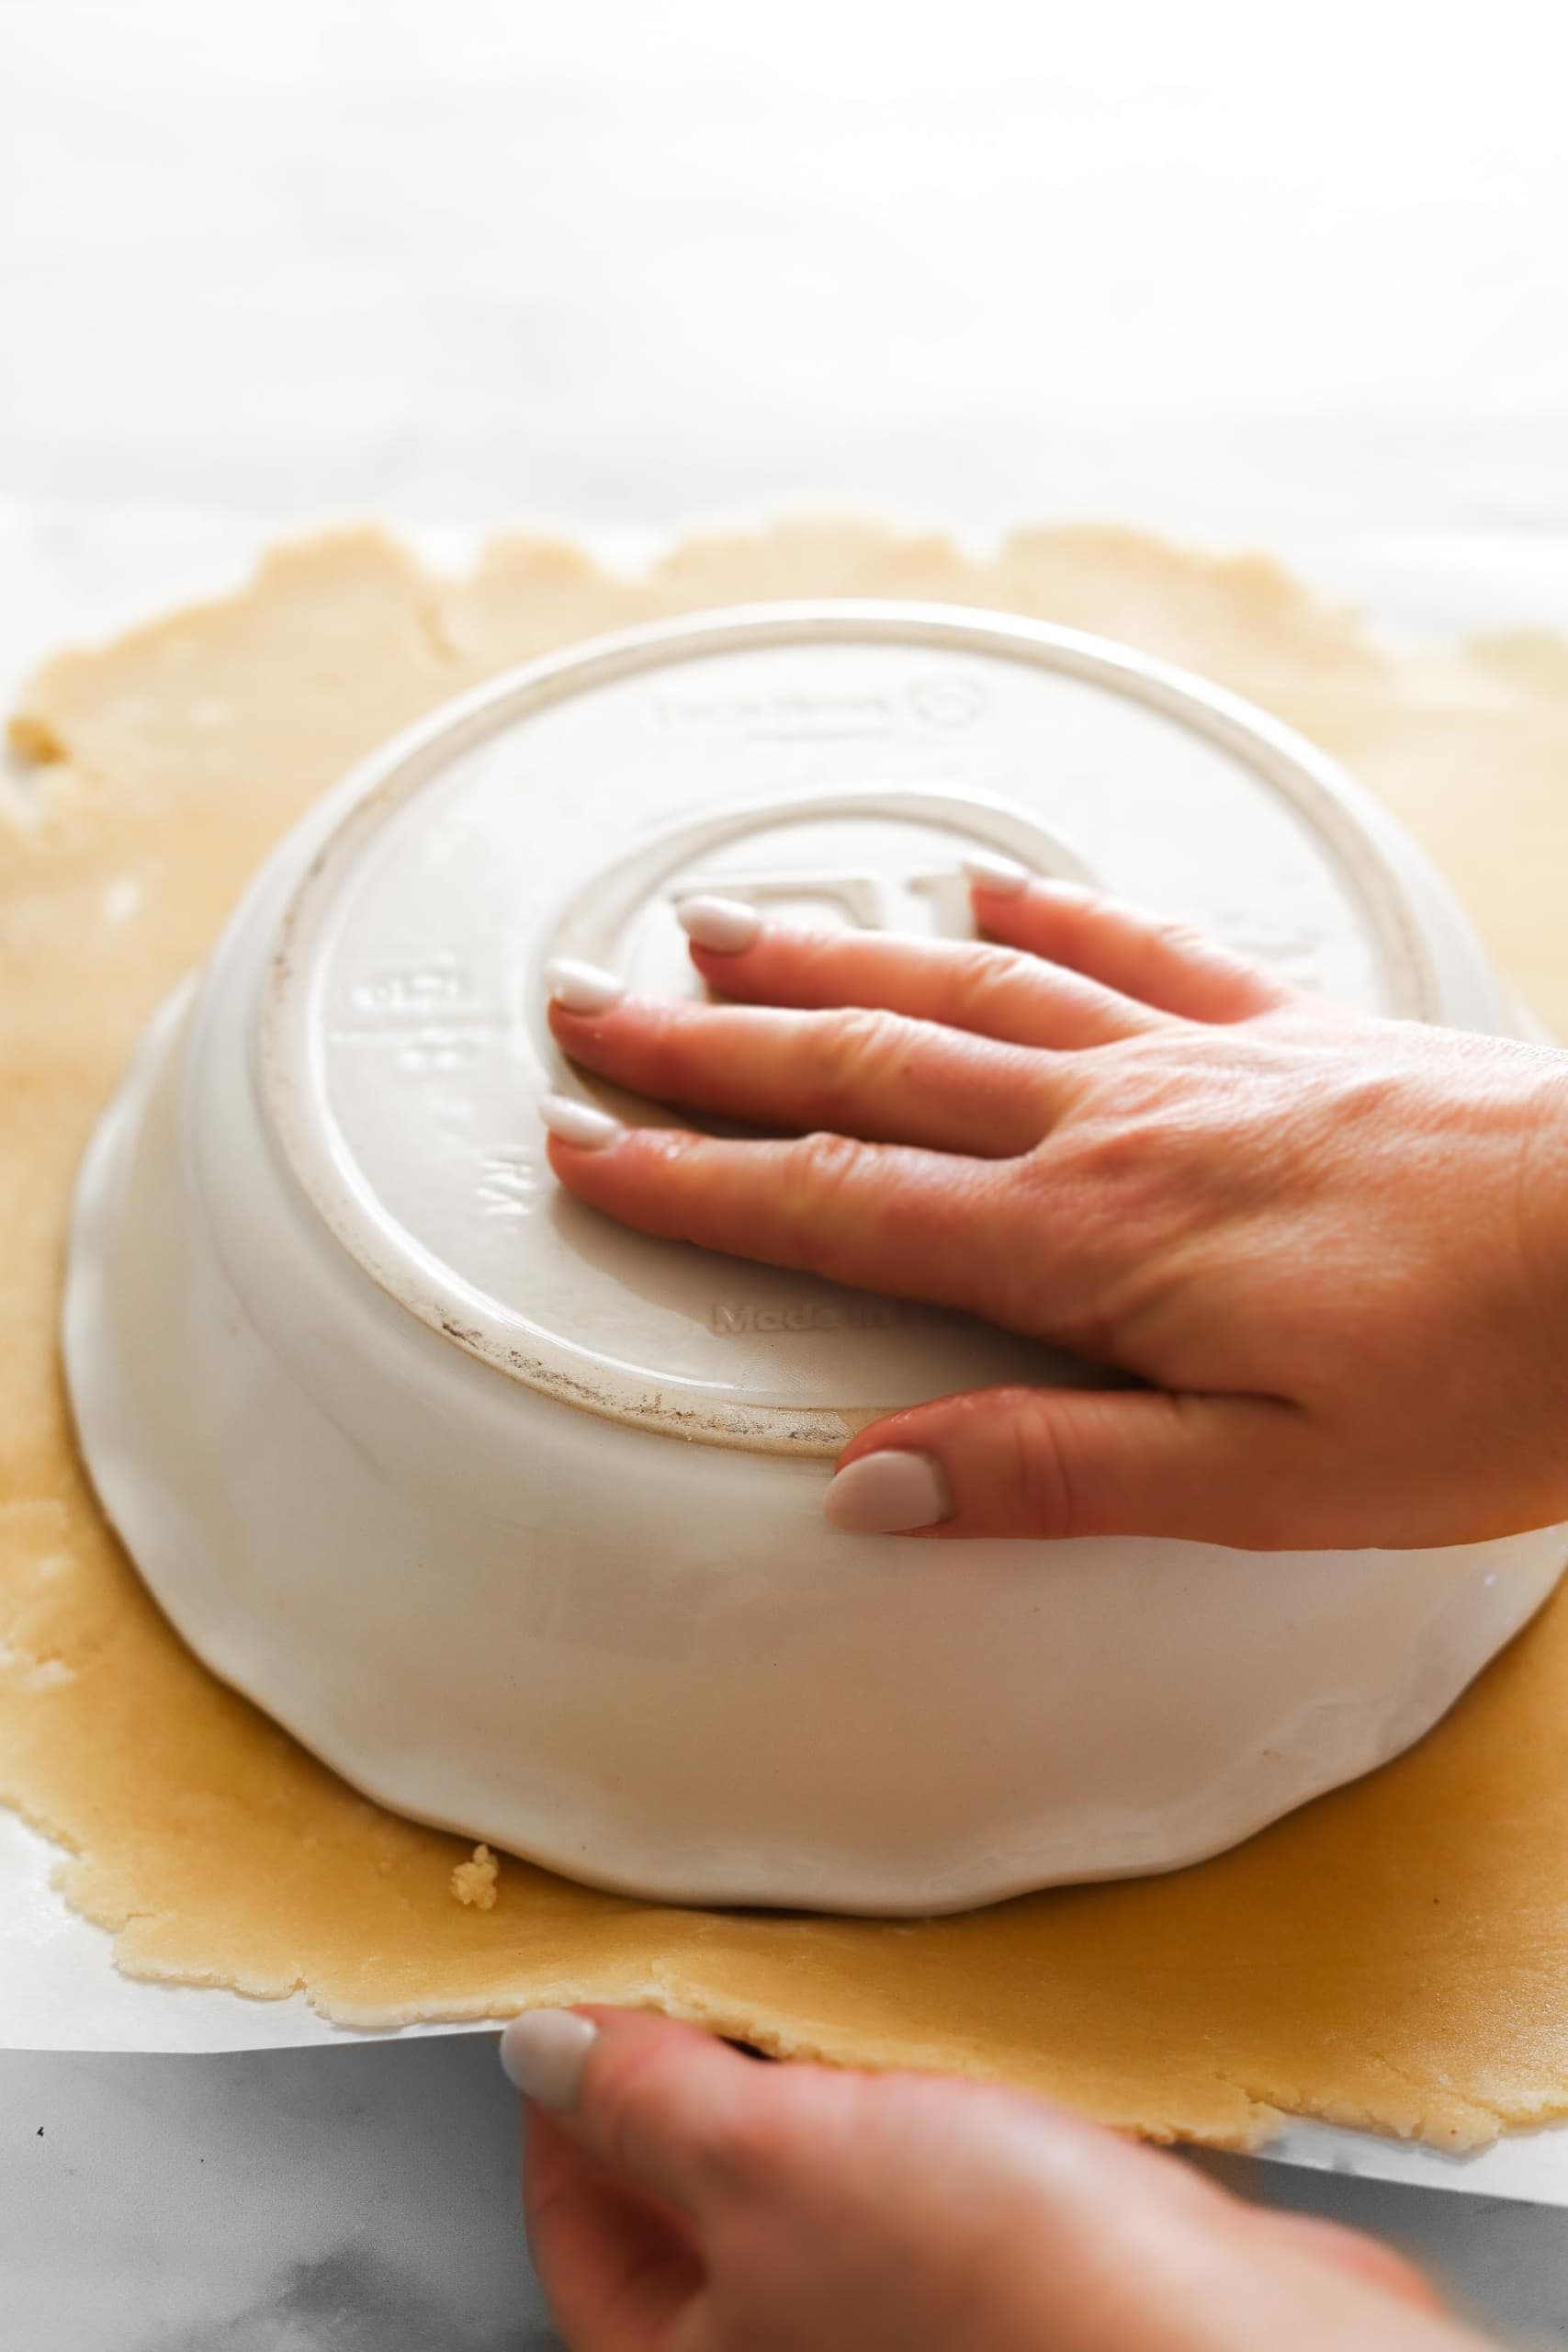
6. Carefully remove the top sheet of parchment paper, place the pie pan upside down on top, slide your hand underneath the parchment, and then carefully flip it over. Carefully remove the parchment and guide the dough down to the bottom and along the inner edges.
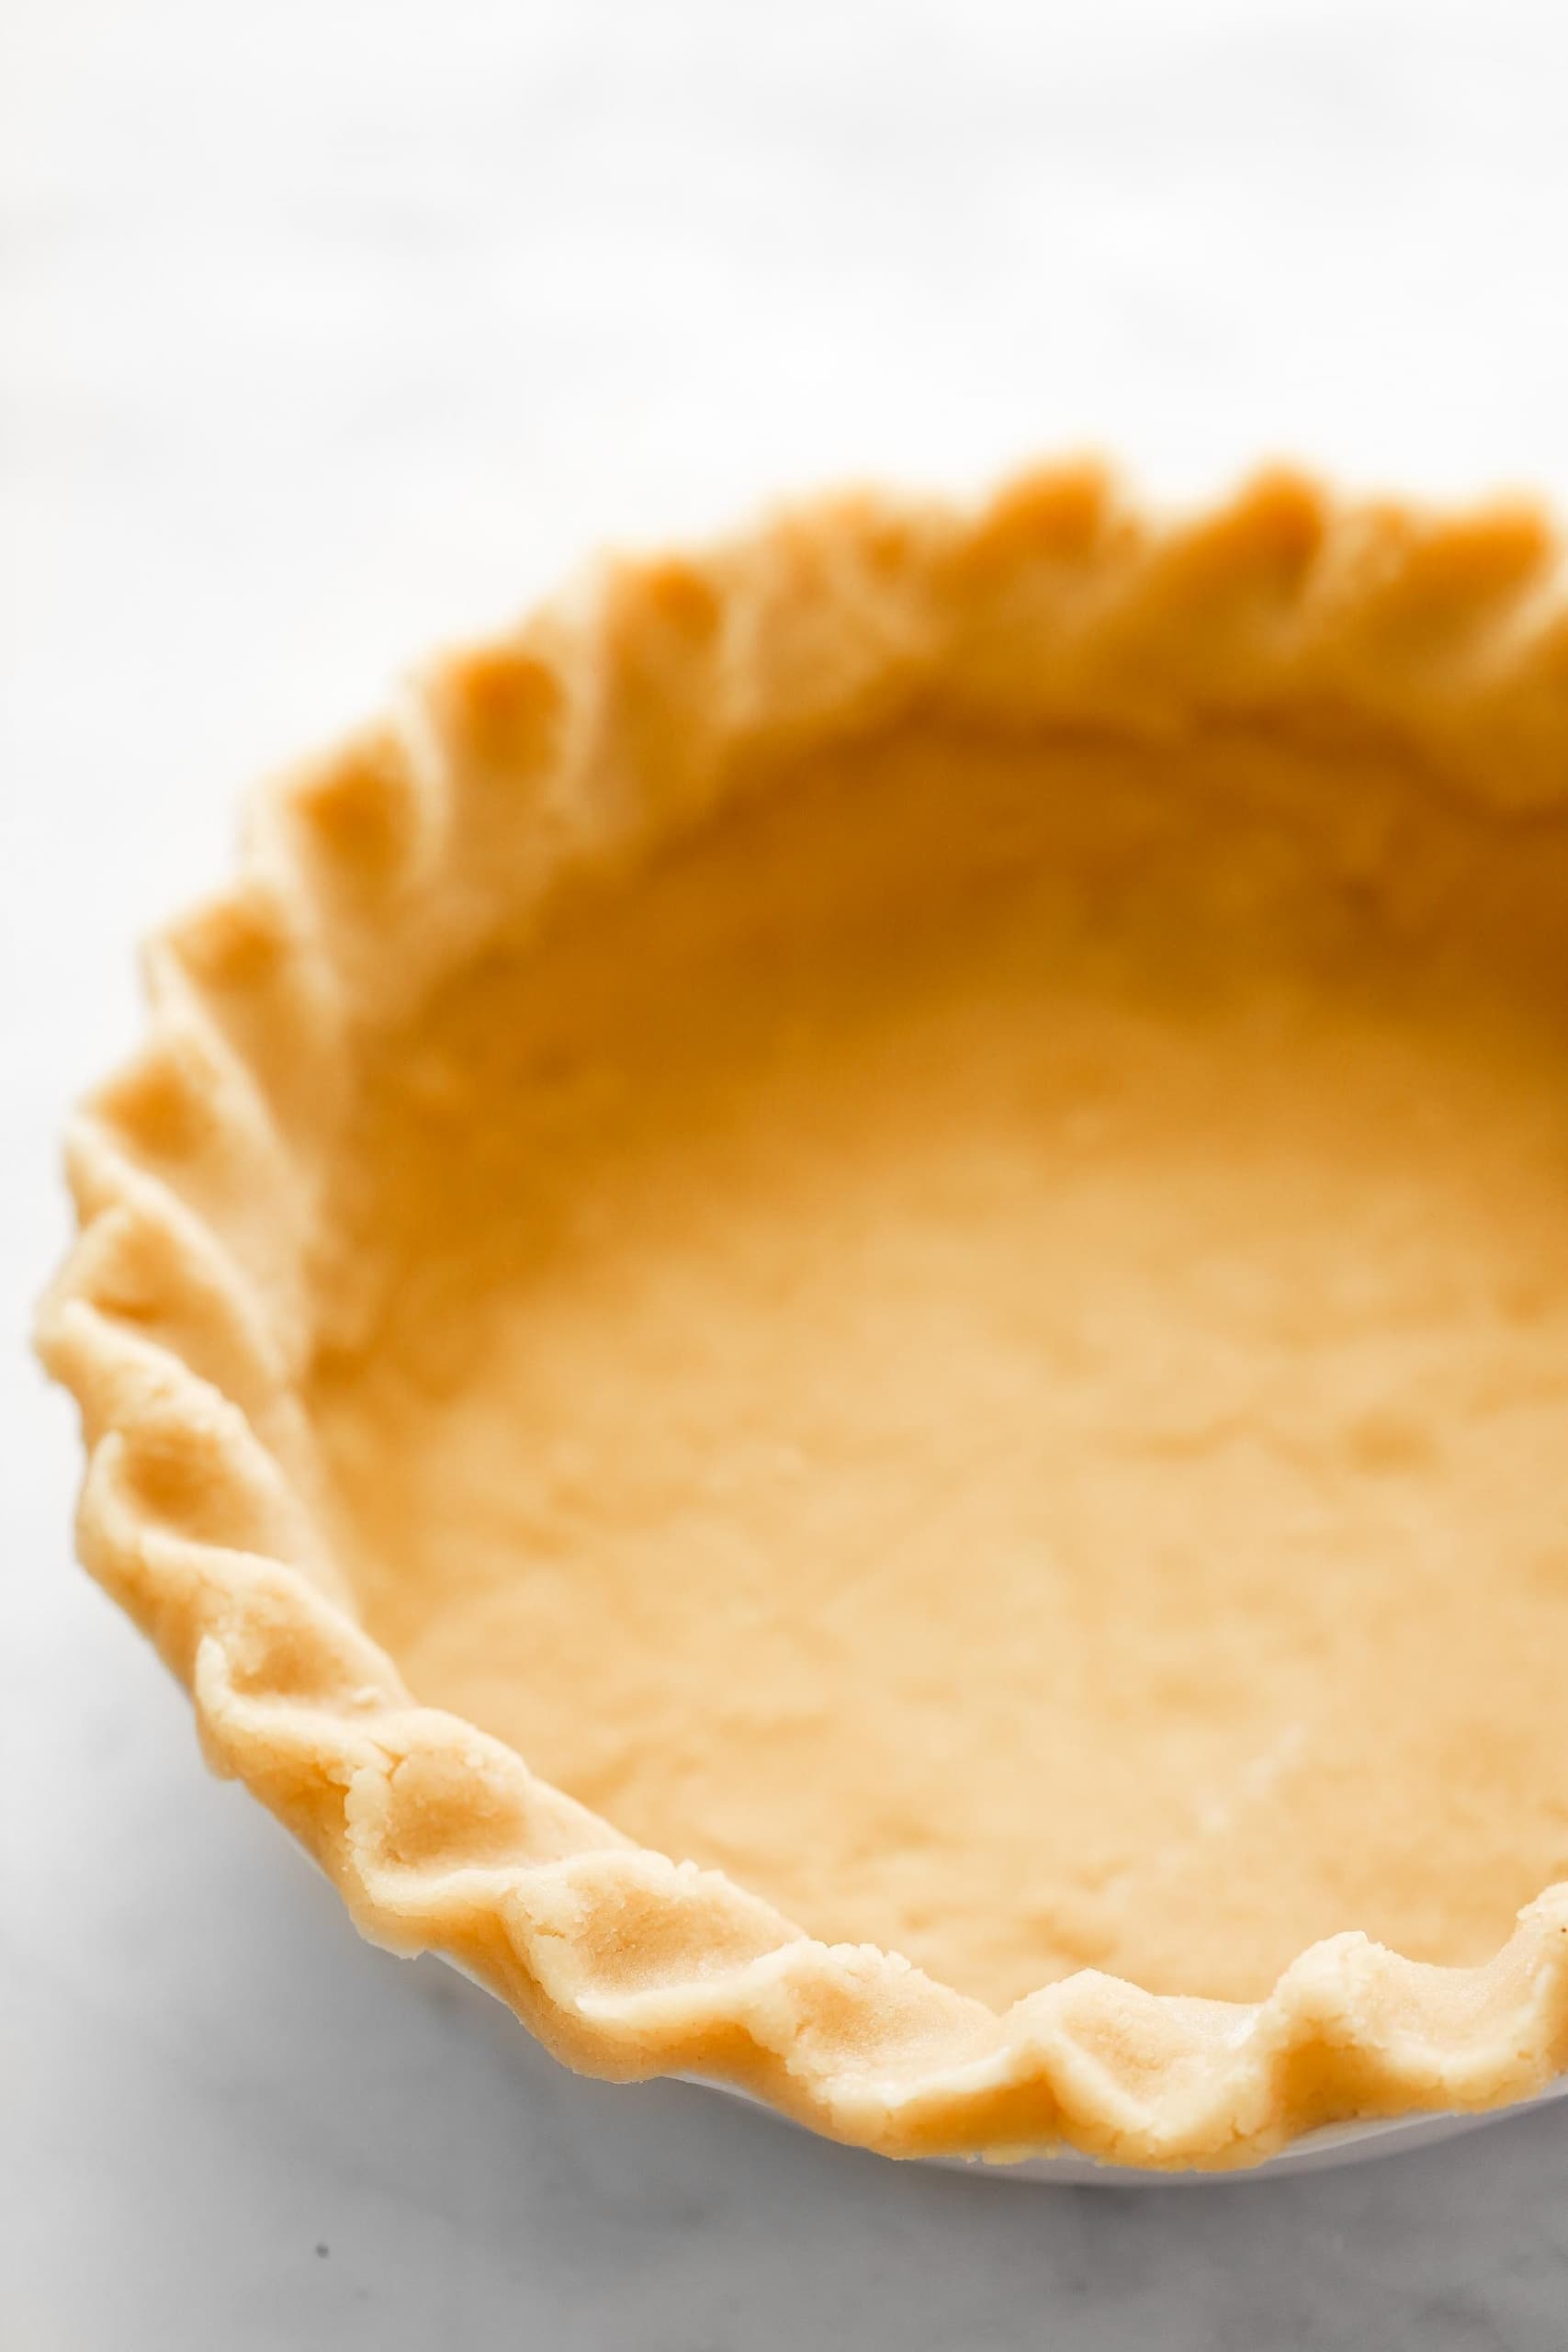
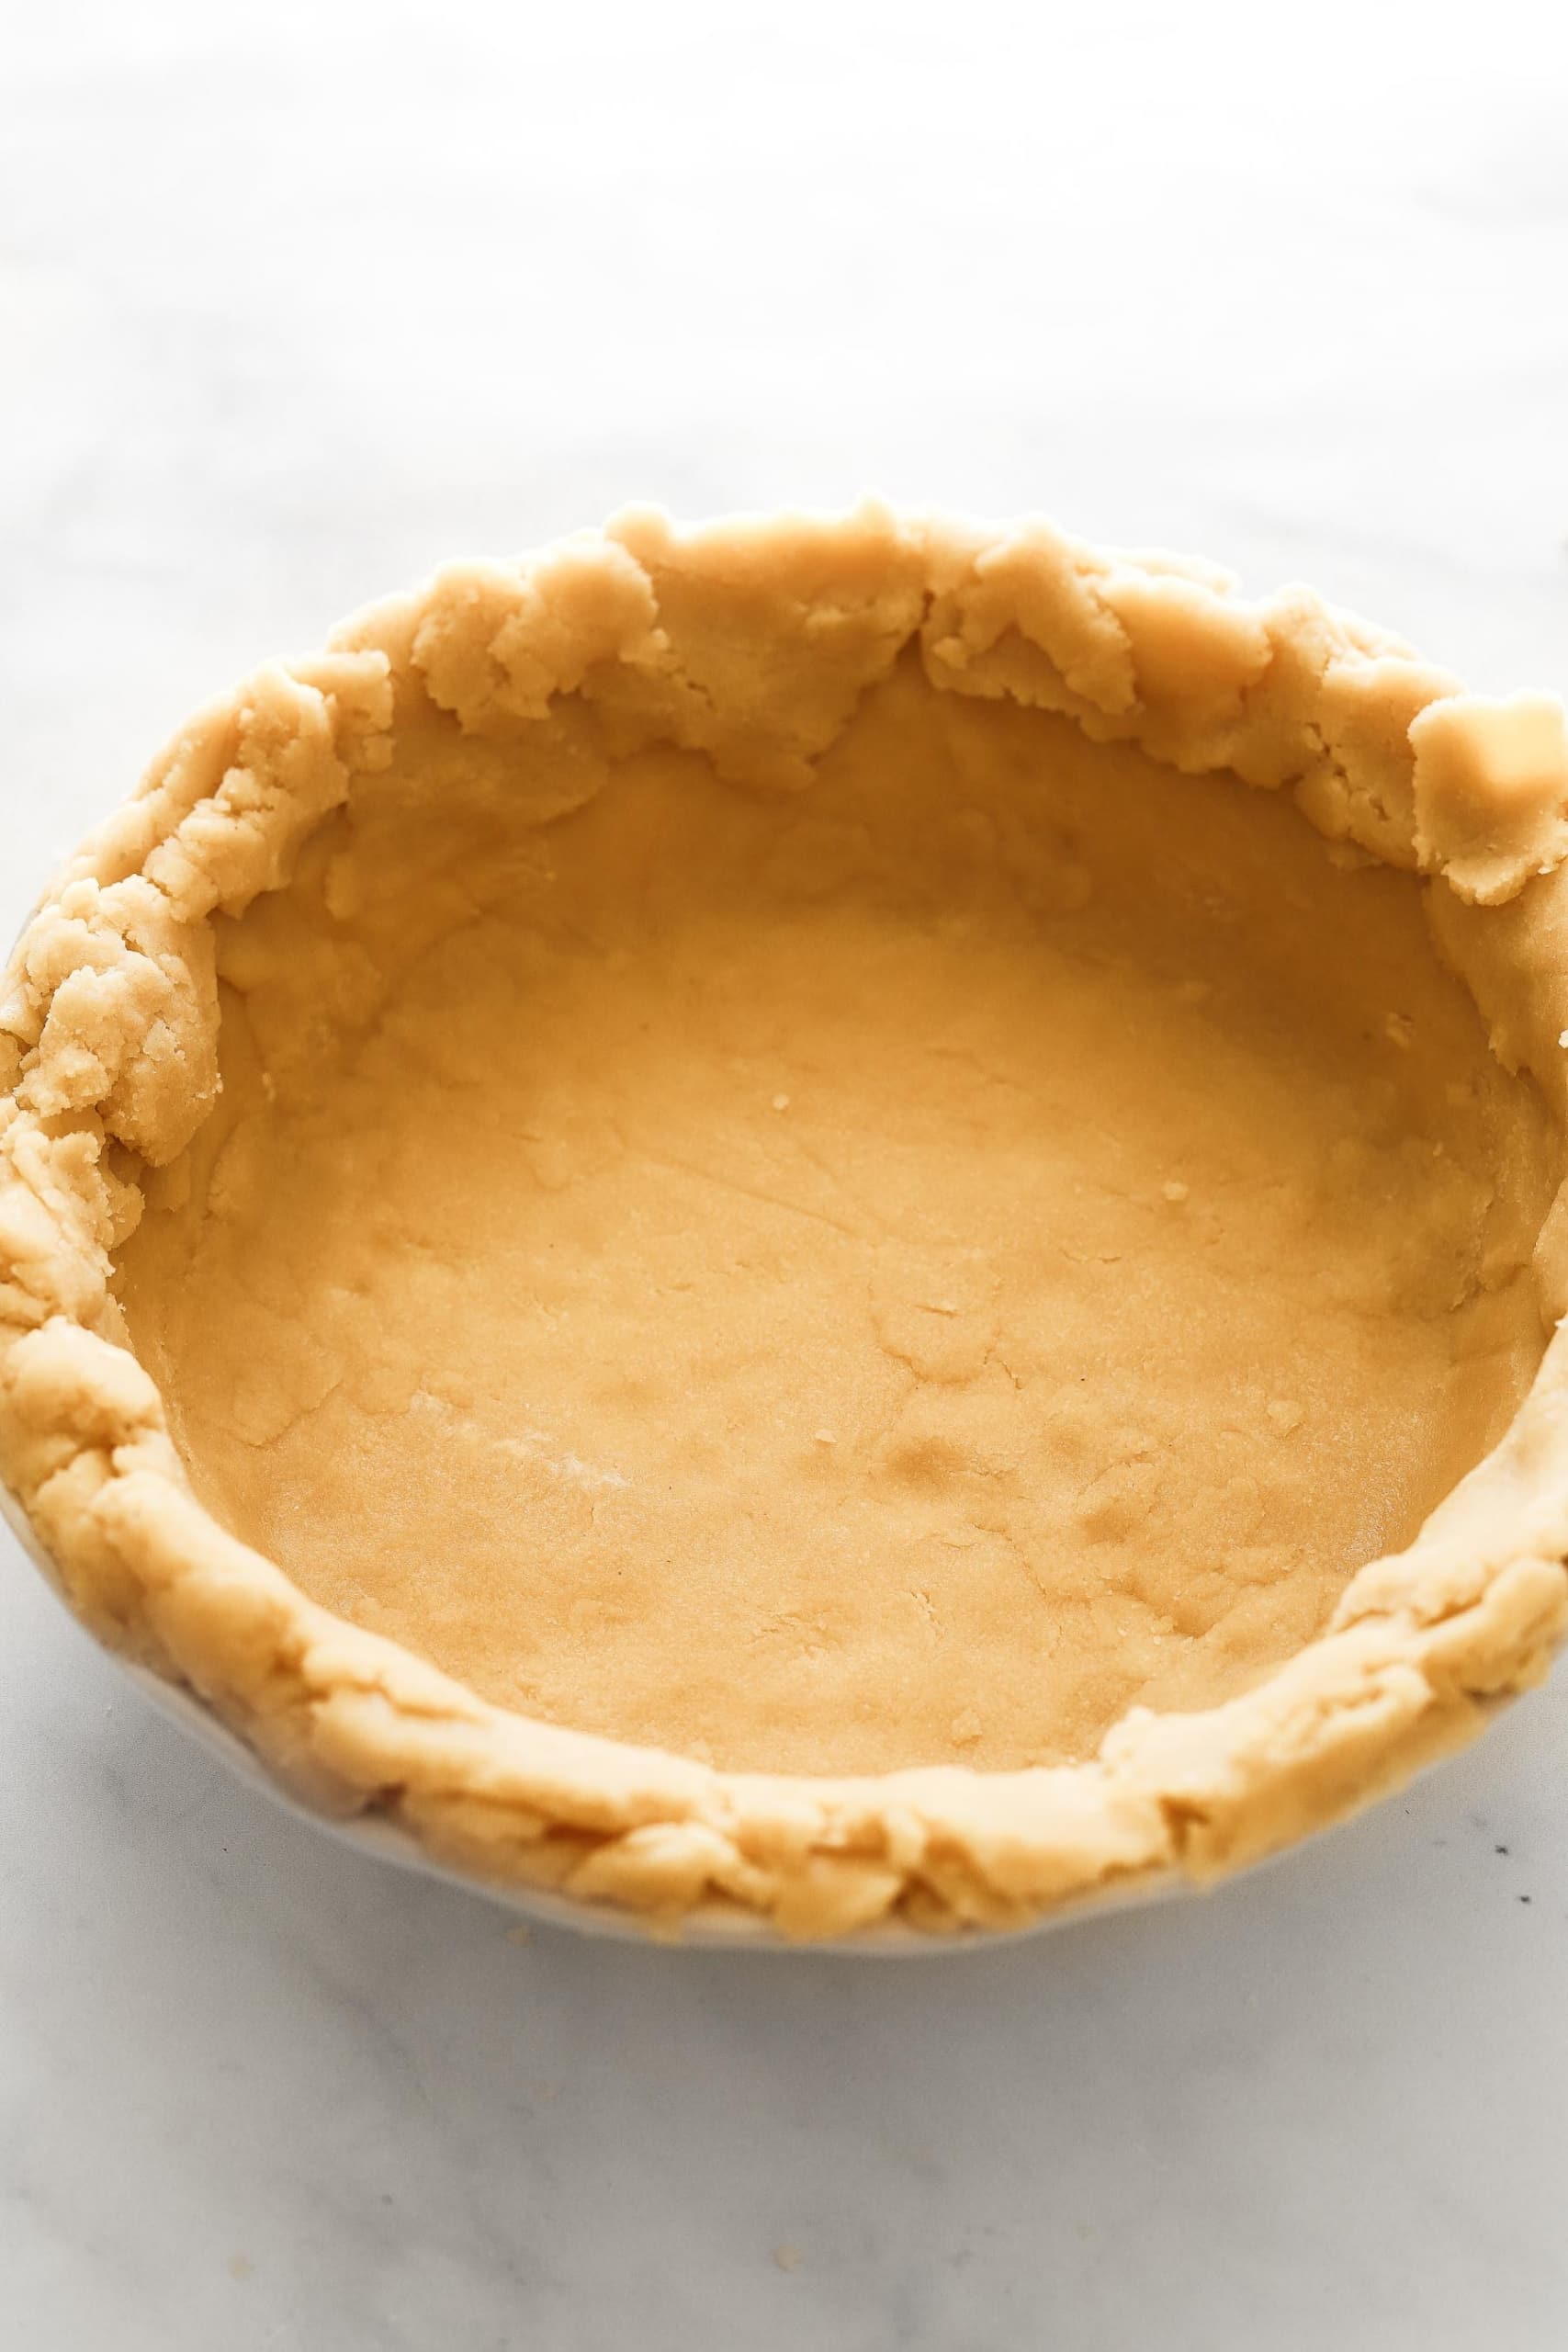
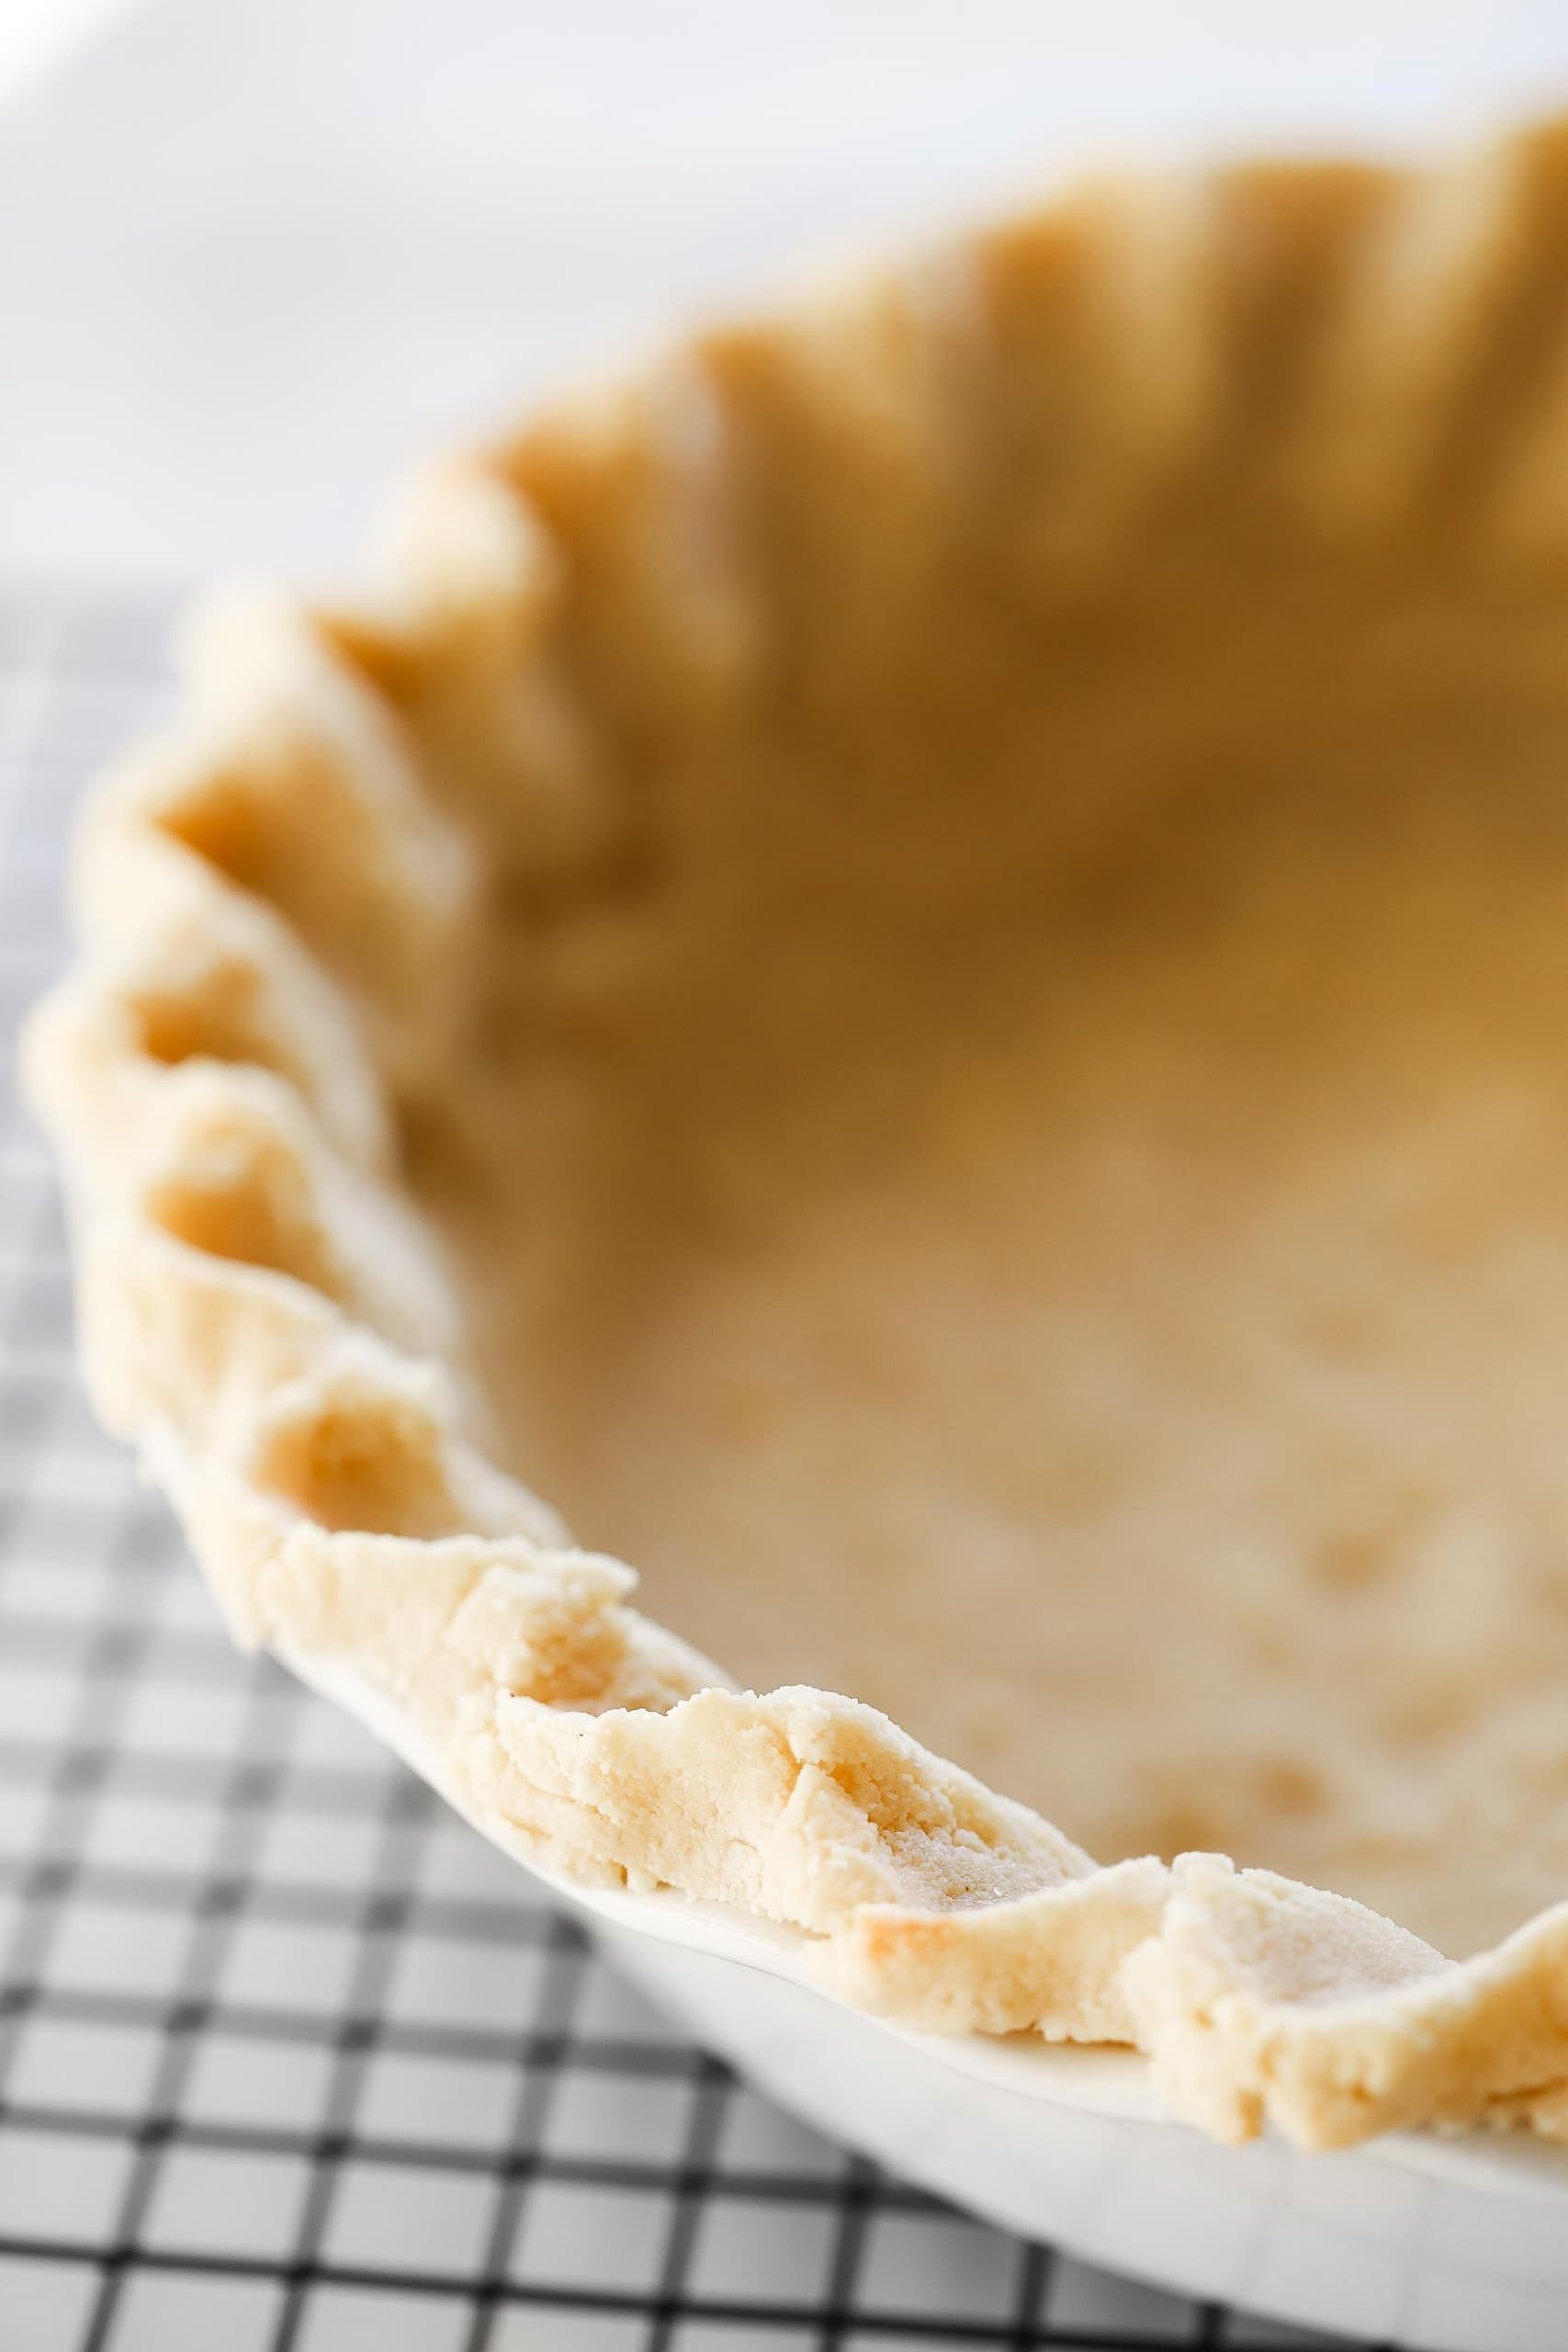
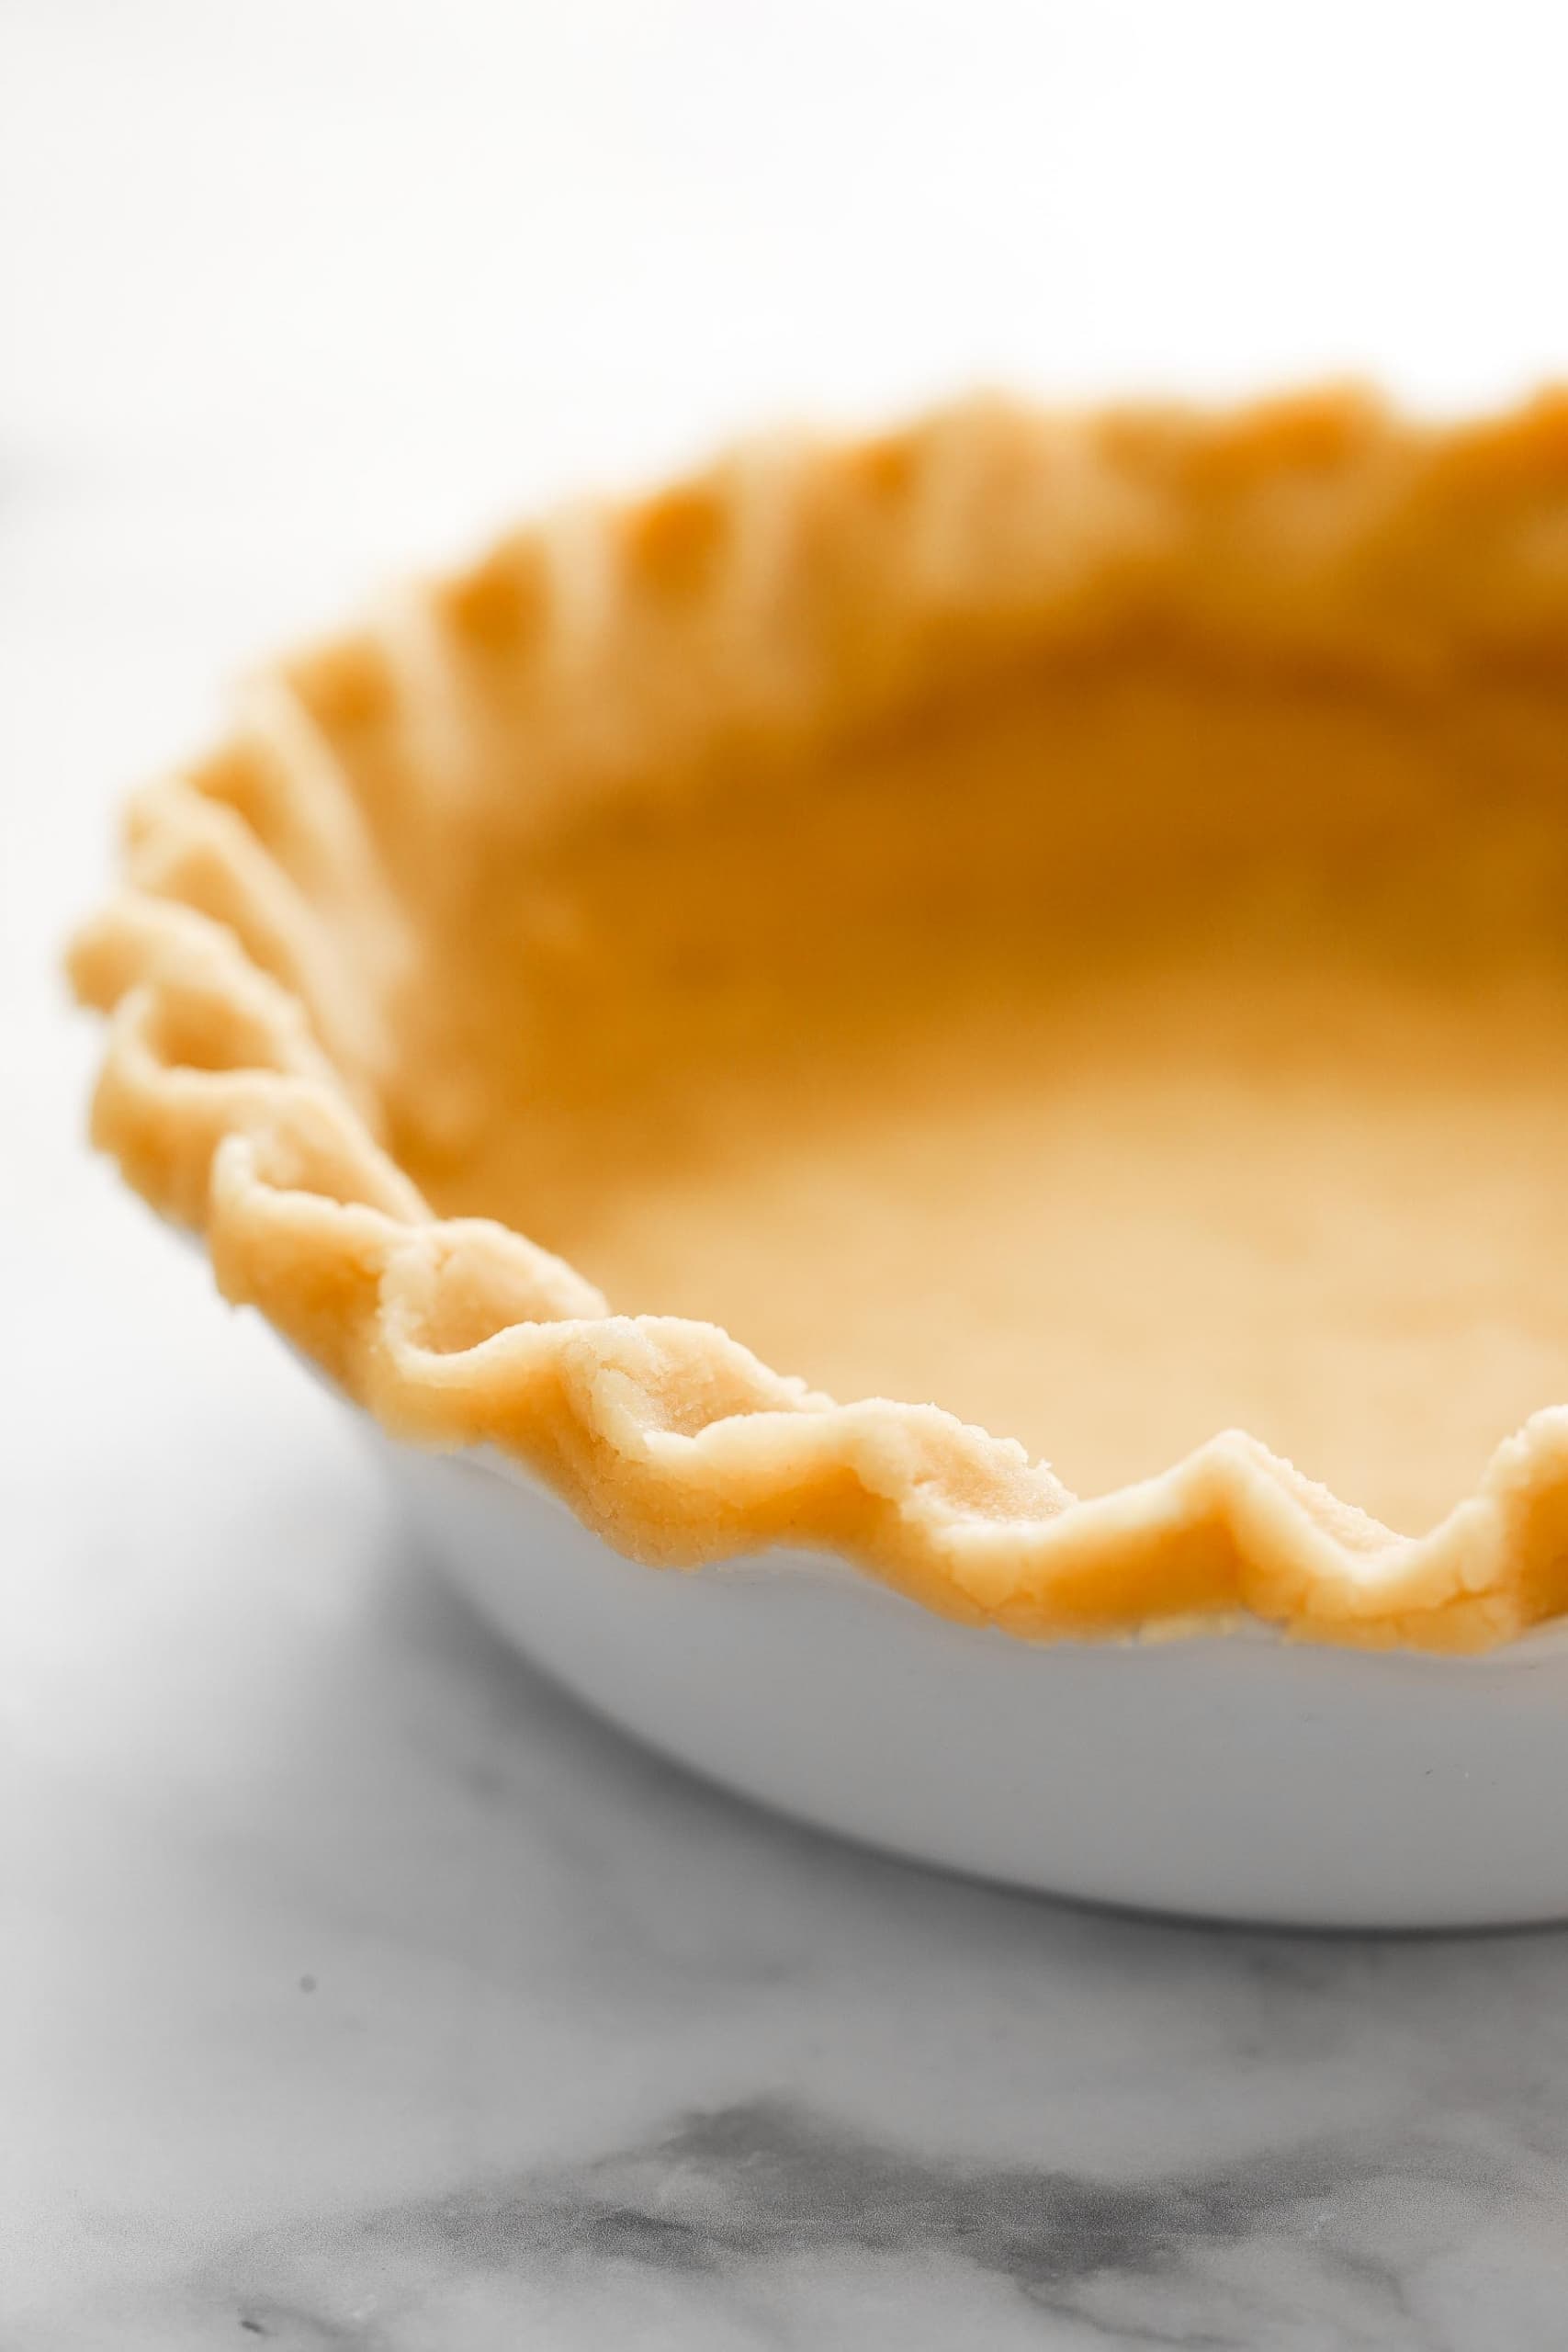
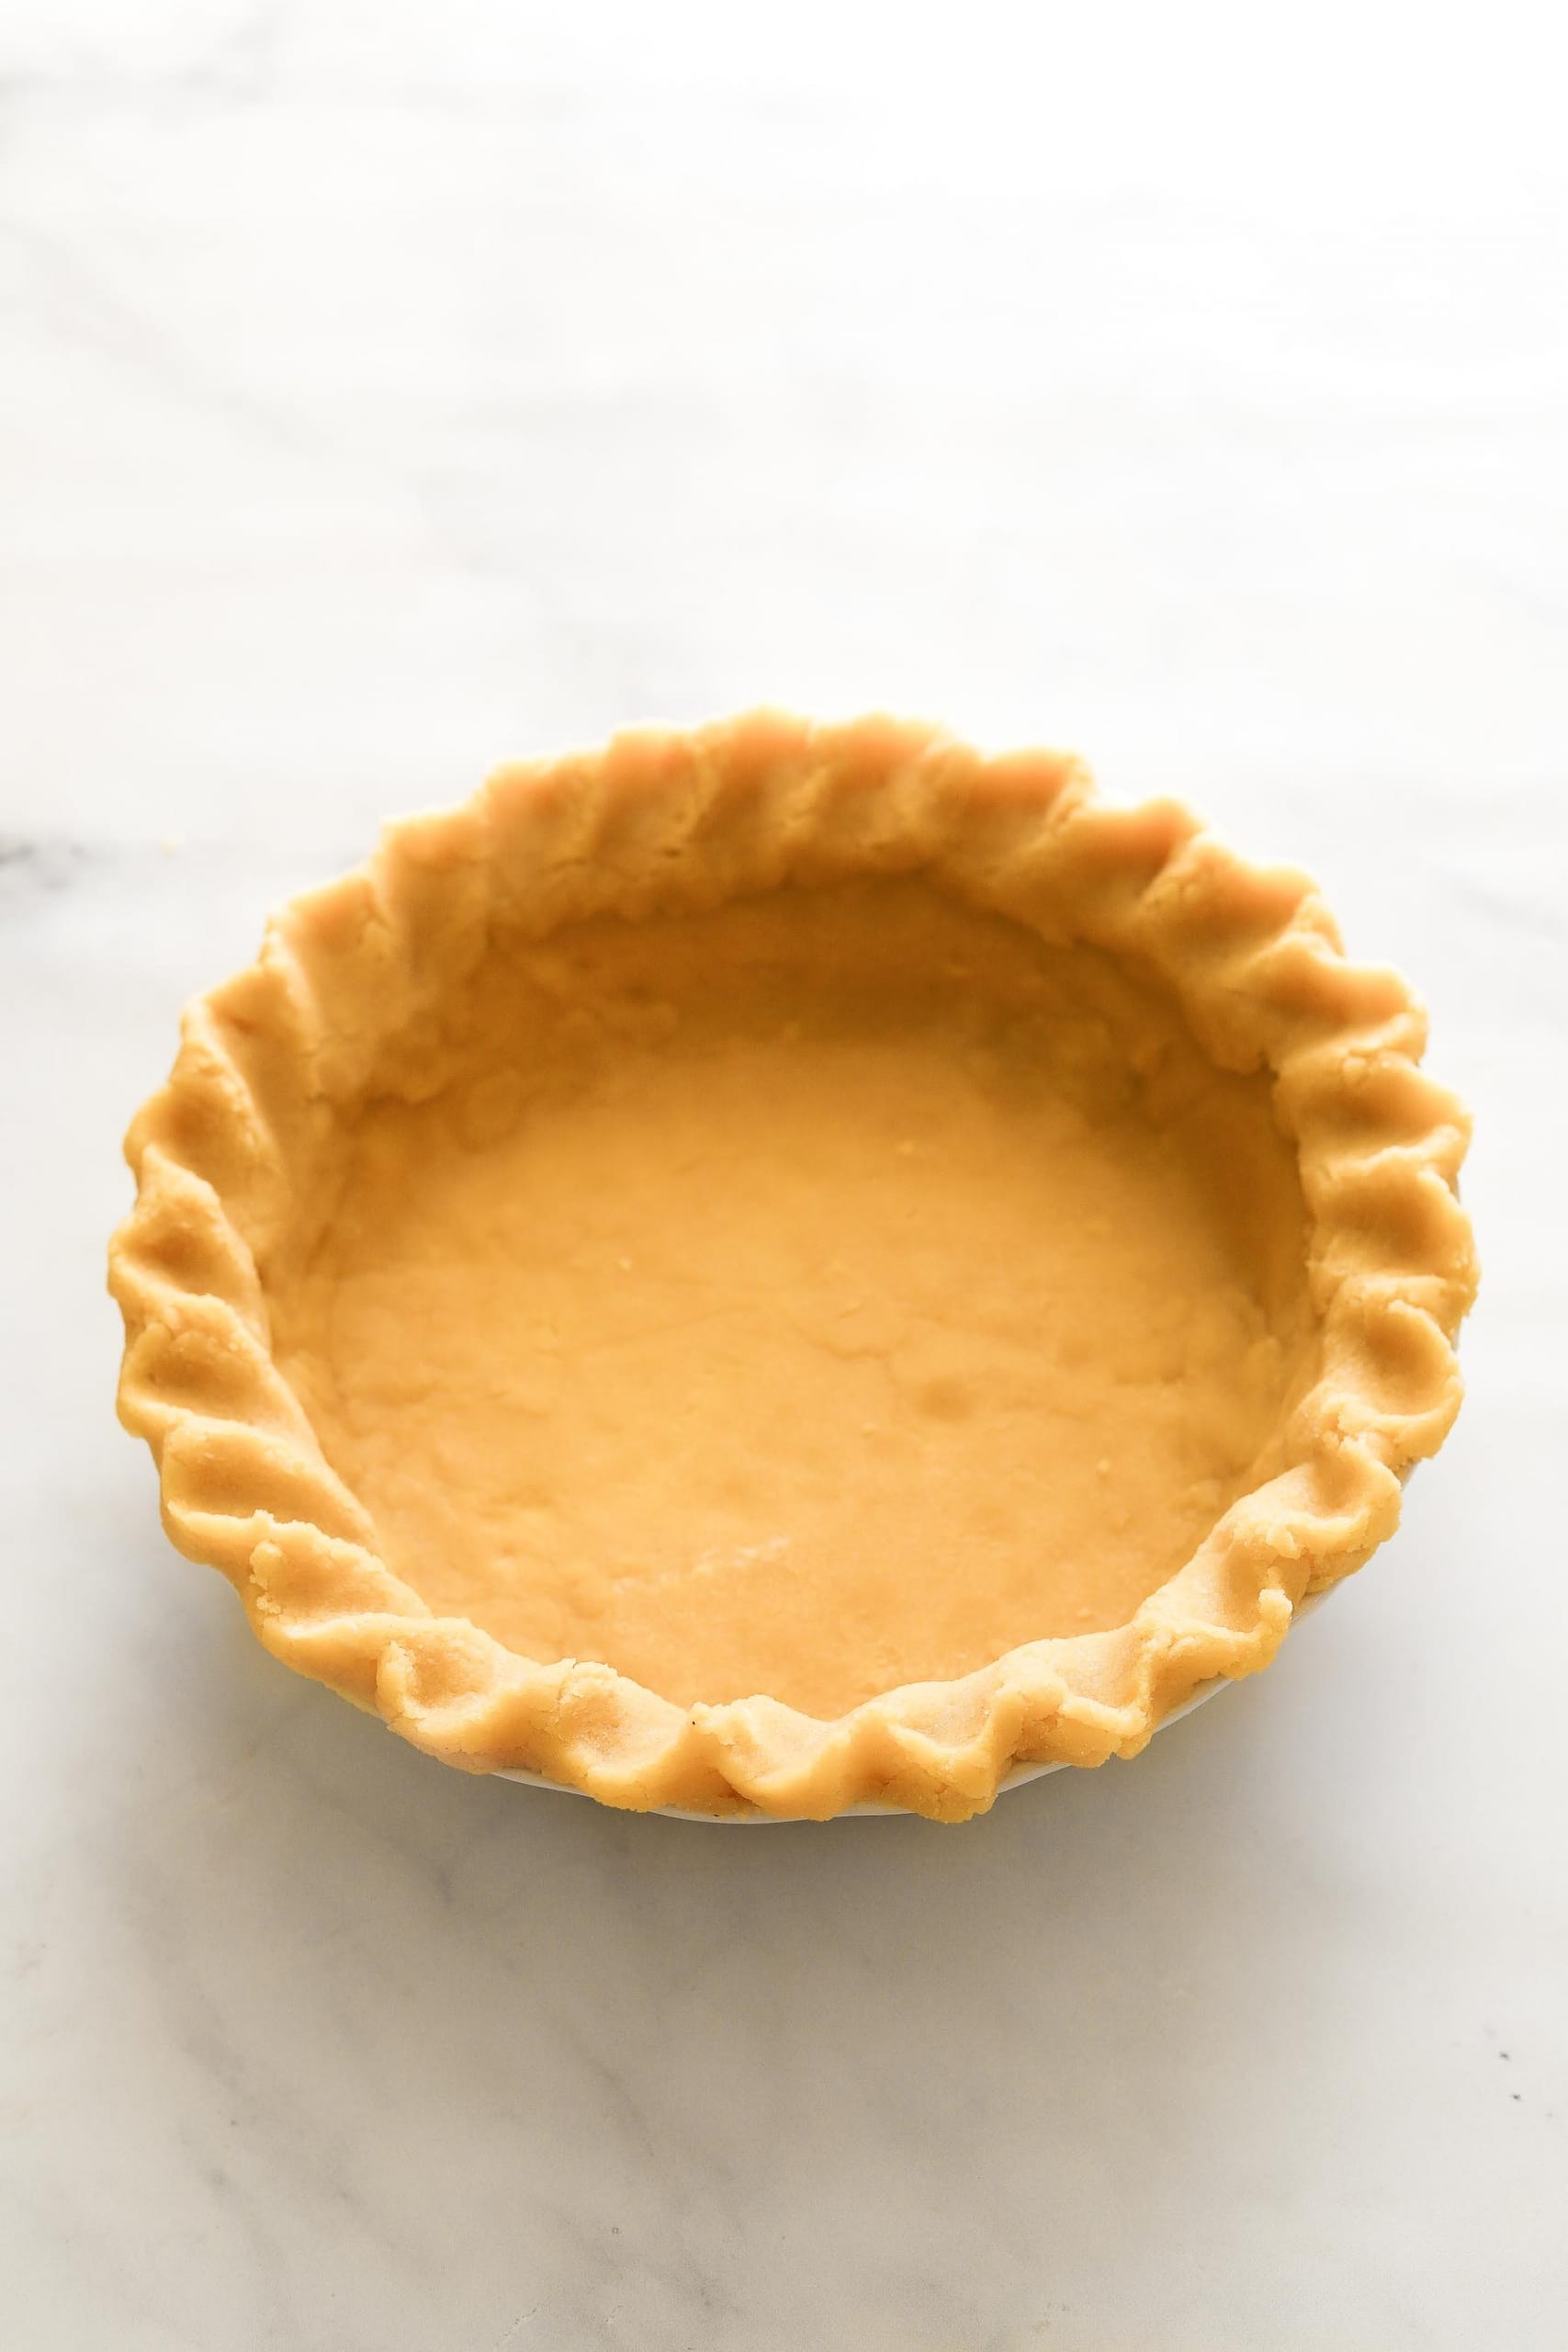
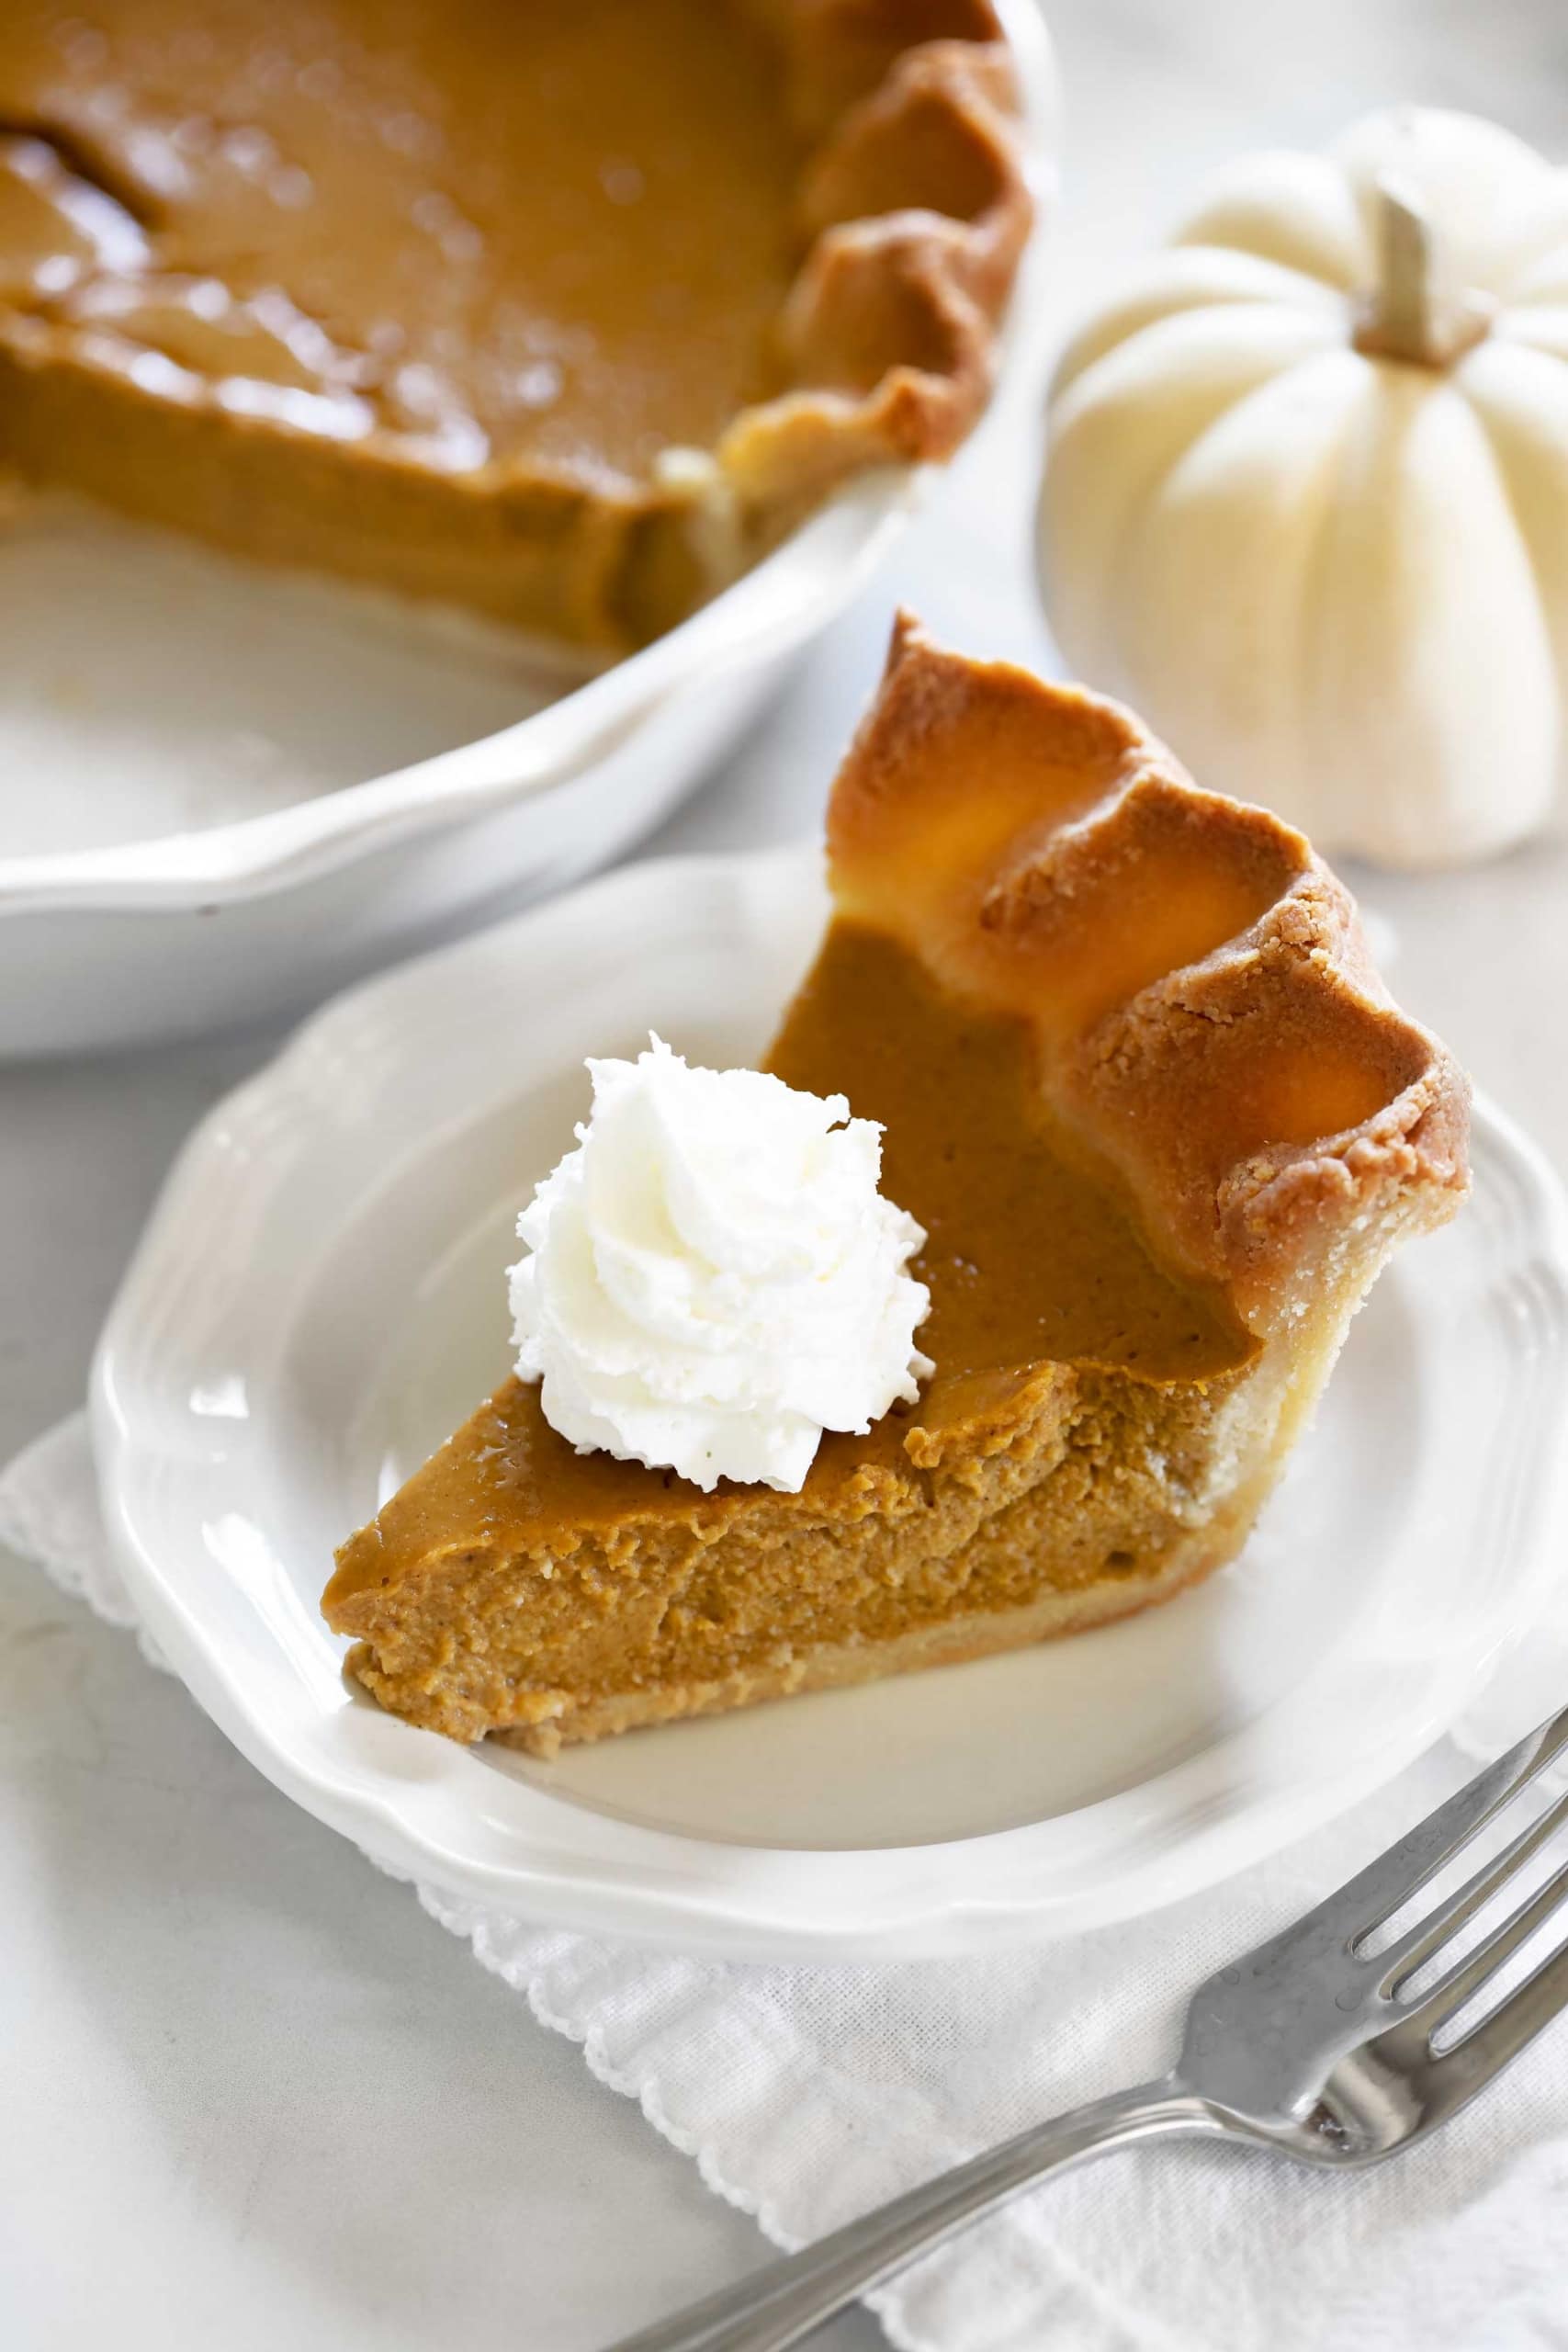
7. Patch any rips or holes with the excess overhang. Trim any excess with scissors and flute the edges. If wanting a thicker crust to flute along the edge (like the photos), press some of the excess back along the edge to build it up a bit before fluting the edges.
8. Place the crust in the freezer for 10 minutes, poke holes in the bottom with a fork, then cover the edges with foil. Bake at 350ºF for 11-12 minutes on the center rack. You can also use pie weights on the bottom of the crust, if desired, but making holes with a fork is sufficient for this recipe. If using a pie tin, make sure to bake on top of a sturdy baking sheet to prevent any cracking when you move the crust. Pie tins tend to be a bit flimsy.

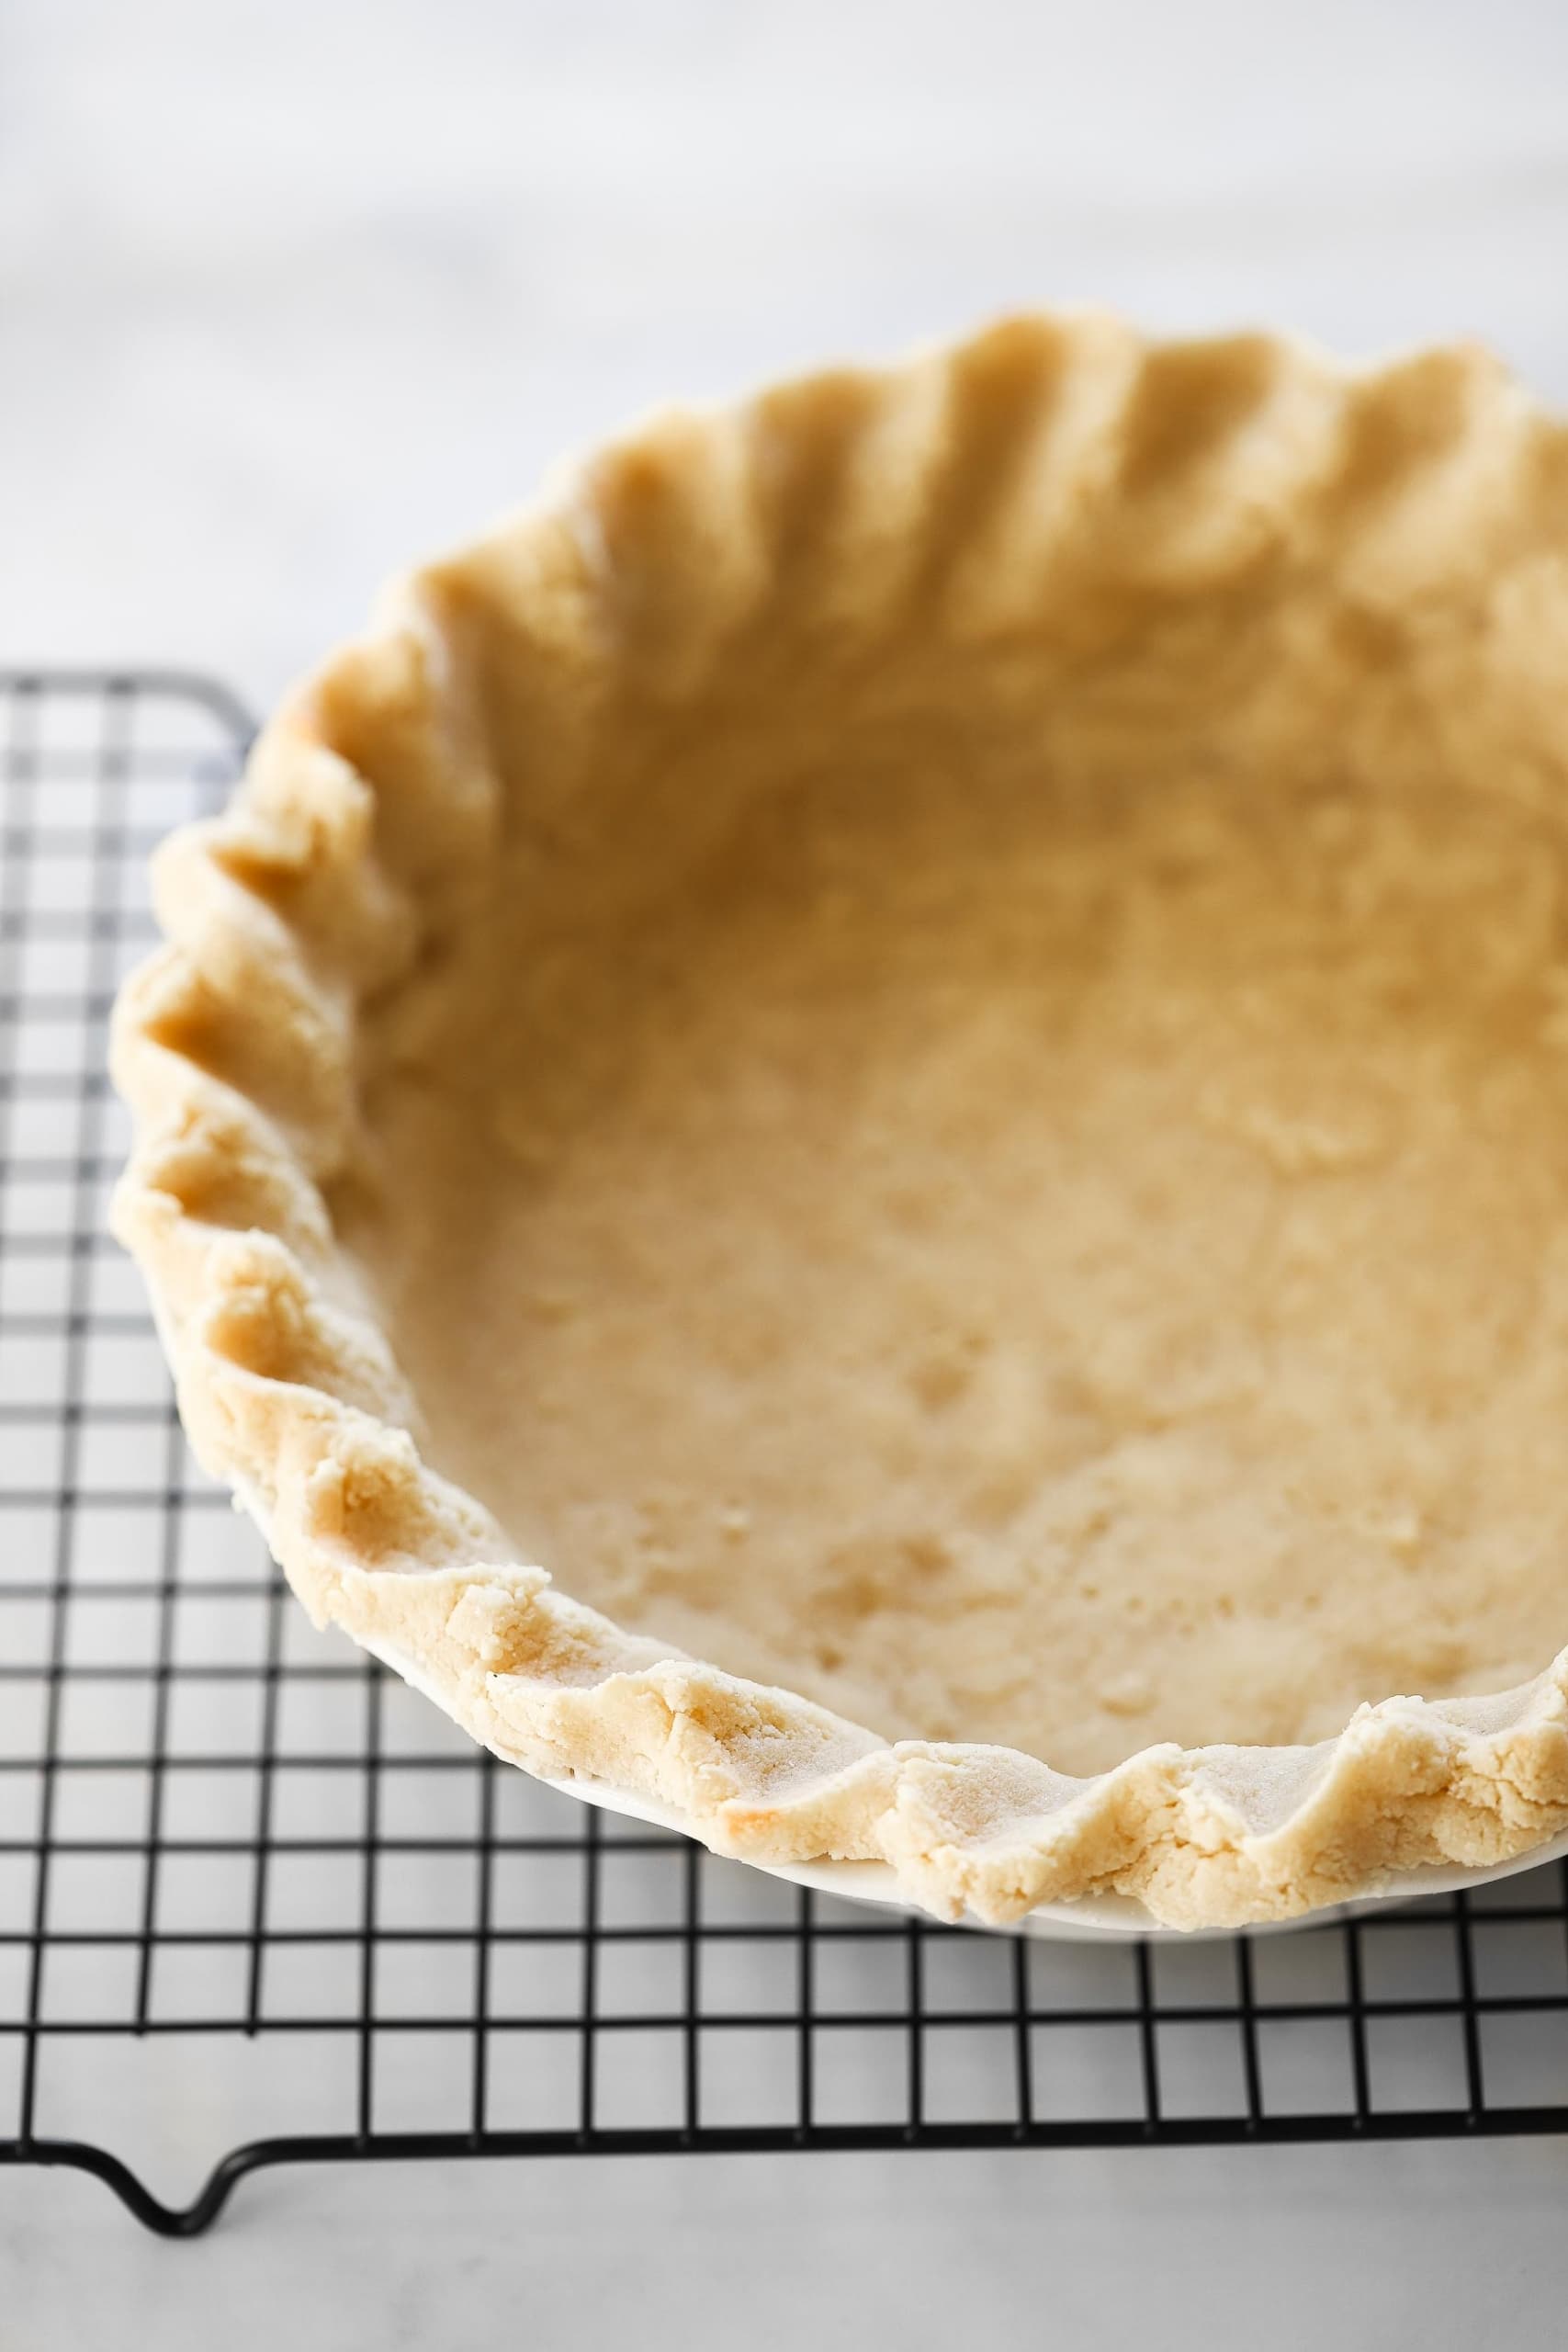
9. Remove the foil and allow to cool to room temperature on a cooling rack (away from the hot oven) before filling with your favorite pie filling! Make sure to cover the edges with foil when you bake your final pie to prevent any burning. The edges and top of the dough should be just beginning to turn golden brown when you remove it.
How much pie crust does this make?
This homemade gluten-free pie crust recipe makes a single pie crust big enough for a 9-inch pie plate with tall sides, as shown in the photos.
To make a double crust pie for something like an apple or chicken pot pie, just double the recipe and divide dough into two balls before wrapping in cling wrap and refrigerating.
For a double-crust pie, bake the bottom crust first then roll out the top crust once your bottom crust is cooled and then filling is ready! Remember that this dough is delicate since it doesn’t contain gluten and the top crust should be rolled out only when you’re absolutely ready to use it.
This gf pie crust recipe also makes enough for 4 mini pies! I have some cute little 6″ pie pans that I love using to make mini pies and this recipe fills 4 of them perfectly!
What do I do if my pie dough is too crumbly?
If your pie crust dough is looking a little dry, just add a splash of cold water to bring it to the right consistency. You want this gf crust dough to stick together well, but not be too sticky to the touch. You want to use cold water (like ice water) so that the dough stays nice and cold.
Add enough water to help it stick together, but don’t go crazy with it or you may end up with a super sticky dough that’s impossible to roll out. If you’ve added too much water, just add a sprinkle of coconut flour to bulk it back up. Coconut flour can soak up a ton of moisture!
Can you freeze this Gluten Free Pie Crust dough?
Yes! This dough can be frozen for up to 3 months. Just wrap really well with cling wrap and then place in a zip-top bag in the freezer. When you’re ready to use it, just let it thaw in the refrigerator overnight. For best results, I don’t recommend trying to thaw it at room temperature.
If you’re making a single crust pie, you can also make a double batch of the gluten free dough and freeze half of it for next time!
Some alternative ingredients to play around with if you feel like experimenting!
I’m always down for a good kitchen experiment, so if you’re like me, you may be curious about other gluten free ingredients you could add or substitute to make your own original crust. Here are some options to play around with! It’s all about finding the right ingredients and proportions when making a gluten-free pie crust recipe.
- Coconut oil (instead of butter)
- Palm shortening (if you want something dairy-free and paleo)
- Organic lard (if you want a super authentic pie crust, this is the way to go! It’s what’s in Pillsbury crusts!)
- Dairy free yogurt
- Double the butter (if you want to make this pie crust even flakier, you can try doubling the butter and cutting down on the amount of yogurt (or eliminating it)
- Tapioca starch (also called tapioca flour)
- Brown rice flour (a classic alternative to wheat flour in the gluten free world!)
- Millet flour
- Egg wash on top (only add it to the bottom portion of the crust before baking to get it to brown some more… like the bottom that faces up while baking, not the bottom bottom… I hope that makes sense!)
- Sour cream – While this ingredient may seem random, it’s actually super commonly used in pie crusts! I would use it in place of the Greek yogurt in a 1:1 ratio.
- All-purpose flour blend (gluten free, of course!) – This gluten-free flour blend from King Arthur is one I always have in my pantry! Keep in mind that gluten free flour blends are all different and perform differently in every recipe! For example, one of my favorite dinners is my Easy Gluten Free Oatmeal Pizza. I make it with the Bob’s Red Mill 1:1 gluten free flour blend ONLY. I’ve tried with the King Arthur brand and it makes the pizza taste super strange and turns out way too brown and crumbly. And vice versa for my 2-Ingredient Gluten Free Biscuits! I only use the King Arthur brand, as the Bob’s 1:1 makes them gummy and dense. Gluten-free baking is so funny like that. It takes a lot of experimentation!
- White rice flour

Looking for some yummy, healthy holiday recipes? Check these out!
- SUGAR FREE PUMPKIN PIE
- MAPLE BACON BRUSSELS SPROUTS WITH PECANS AND CRANBERRIES (my family’s favorite holiday side dish!)
- PUMPKIN PIE SWEET POTATO CASSEROLE WITH COCONUT PECAN CRUMBLE
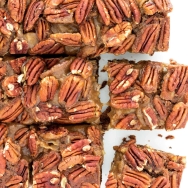
- GERMAN CHOCOLATE PECAN PIE BARS (reader favorite!!)
- PALEO PUMPKIN PECAN COBBLER
- NO-BAKE CHRISTMAS CHEESECAKE BARS
- LEFTOVER TURKEY SALAD (holiday leftover must!)
- PALEO BOURBON BALLS (my favorite holiday cookie!!)
- HOW TO COOK MELT IN YOUR MOUTH ROAST BEEF
- KETO CROCKPOT CANDY
- PALEO RUSSIAN TEA CAKES (reader favorite!)
- PEPPERMINT MOCHA FUDGE
- PALEO SWEETENED CONDENSED MILK
- MAPLE VANILLA BEAN MERINGUE COOKIES (one of my most popular recipes ever!)
Join My Community!
Want to get my new recipes delivered straight to your inbox?
Sign up for my weekly newsletter and never miss a new recipe!

The Best Gluten Free Pie Crust Recipe (Easy + Extra Flaky!)
- Gluten-Free
- Low Carb
- Keto
Ingredients
- 2 cups packed 300g fine almond flour
- 2 Tbsp 16g coconut flour
- 2 tsp xanthan gum
- ½ tsp fine sea salt
- ¼ cup 56g salted butter, chilled and cubed
- ¼ cup 60g whole milk plain Greek yogurt, cold
- 1 large egg
Instructions
- Add cubed butter, yogurt, and egg. Pulse to mix until a dough forms (about 1 minute of short pulses).
- Gather dough, press into a disc and wrap tightly with cling wrap. Refrigerate for at least 1 hour (preferably 2+ hours).
- Preheat oven to 350ºF. Grease a pie pan lightly with butter or oil.
- Place chilled dough between two large sheets of parchment paper and roll to ⅛” thickness and at least 1” larger in diameter than the pie pan. Work quickly because this dough needs to be really cold to work with. If it starts to get sticky and difficult to work with, just place it in the freezer for a few minutes then try again.
- Carefully remove the top piece of parchment, place the pie pan upside down on top, slide your hand underneath the parchment, and then carefully flip it over. Carefully remove the parchment and guide the dough down to the bottom and along the inner edges. Patch any rips or holes with the excess overhang. Trim any excess with scissors and flute the edges. If wanting a thicker crust to flute along the edge (like the photos), press some of the excess back along the edge to build it up a bit before fluting the edges.
- Place the crust in the freezer for 10 minutes, poke holes in the bottom with a fork, then cover the edges with foil. Bake at 350ºF for 11-12 minutes on the center rack.
- Remove the foil (save for later) and allow to cool on a cooling rack to room temperature before filling with your favorite pie filling! Make sure to cover the edges with foil again when baking your final pie to prevent too much browning. Gluten free/keto pie dough has a tendency to burn if it's not shielded from direct heat.
- Make sure to check out my yummy Sugar Free Pumpkin Pie recipe!
Did you love the recipe? I would love it if you left me a 5-star review below! ![]()
Did you make this recipe?
Tag @itskitskitchen on Instagram and hashtag it #kitskitchen
Looking for more healthy gluten free recipes? Check out my Pinterest page!
Make sure to find me on social media @itskitskitchen on Instagram!
Disclosure: This post contains affiliate links (Amazon Associate). These links do not cost you anything, but I do receive a commission when you use them. They are a great way to support blogs you love and pick up some good things while doing it!
I have been cooking and baking gluten free for 22 years and this is by far the best gf pie crust I have ever baked and tasted. Your test kitchen is changing the gf landscape. Well done.
Wow, I’m so happy to hear that! I hope you enjoy it for years to come!